
Drawstring (Dolly) Bag
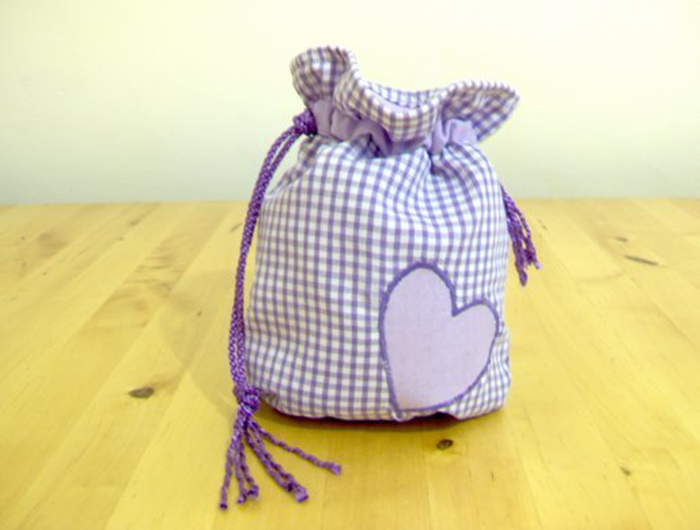
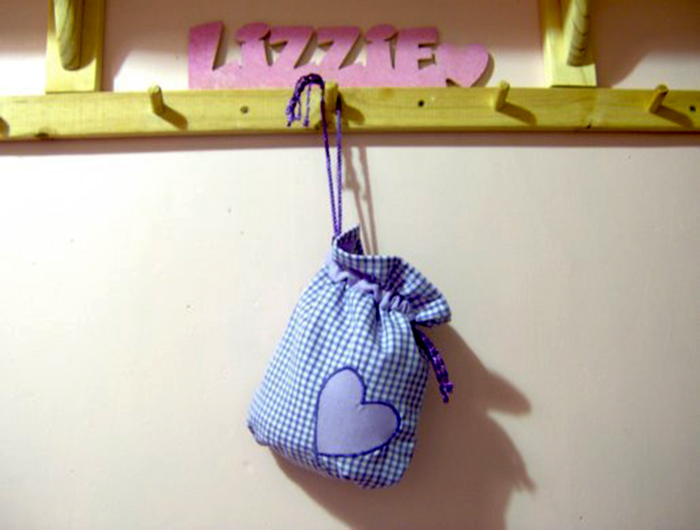
This is a lovely little bag, measuring 23½cm x 18½cm when finished. It is very easy to make larger or smaller bags, just enlarge or shrink the template to suit the size you want. I have sewn the bag using my sewing machine for speed, but it can be very easily made by hand and could be completed in a weekend.
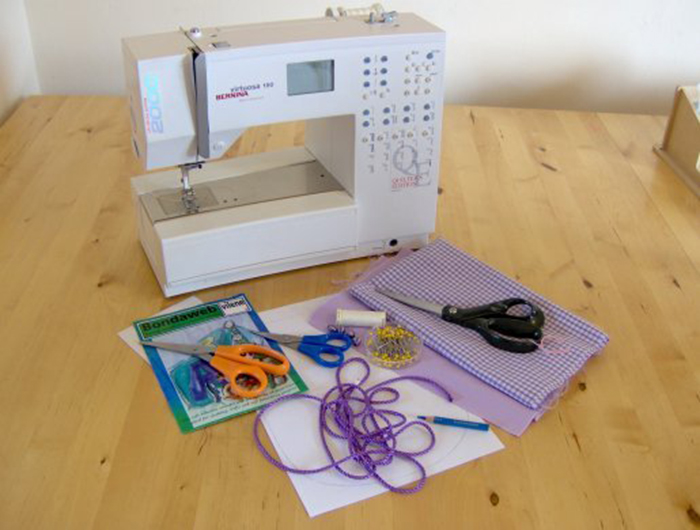
You will need:
Fabric for lining and appliqué heart
1 metre of Cord
Sewing equipment (thread, needle, pins, scissors etc)
Sewing machine (optional)
Iron
Bondaweb (fusible webbing) and iron on interfacing for the appliqué
Ruler
Fabric pencil
What to do
1. Iron both fabrics.
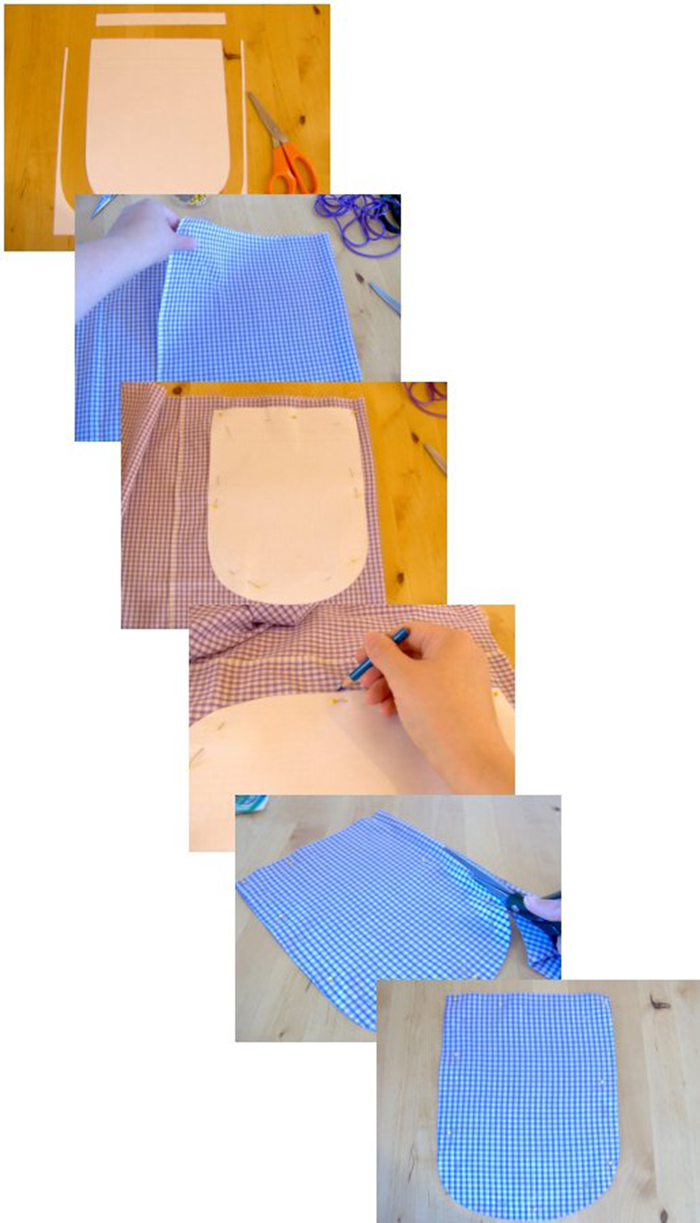
2. Download the bag template and cut it out.
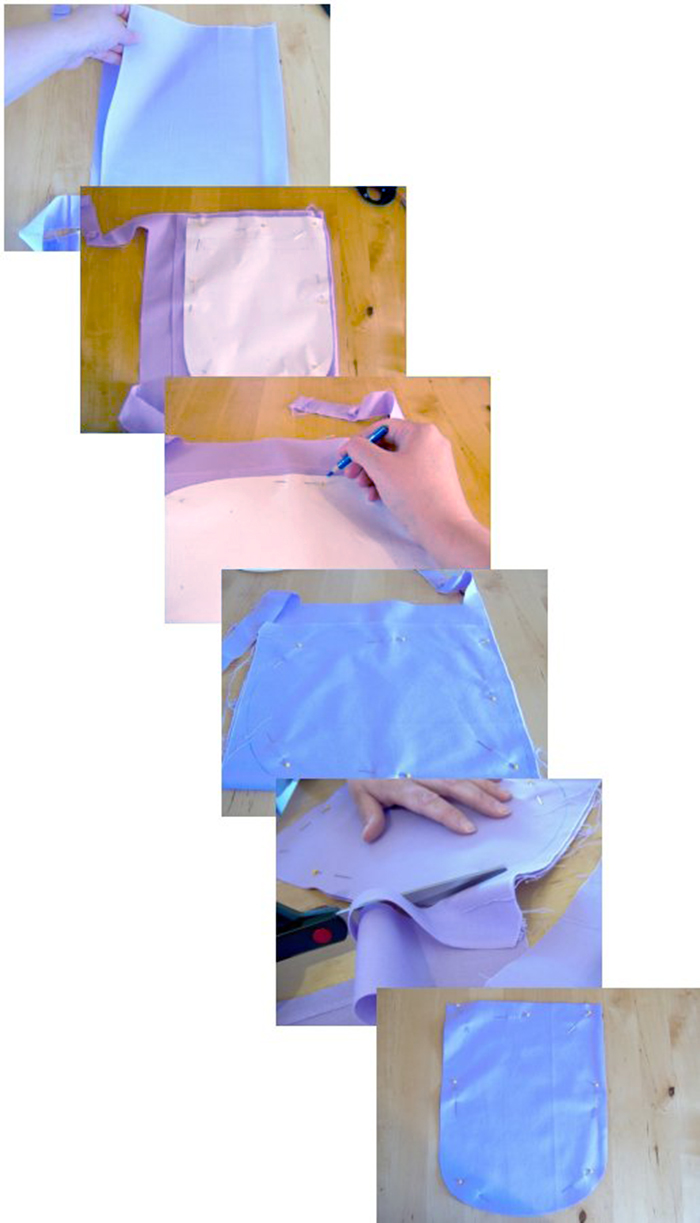
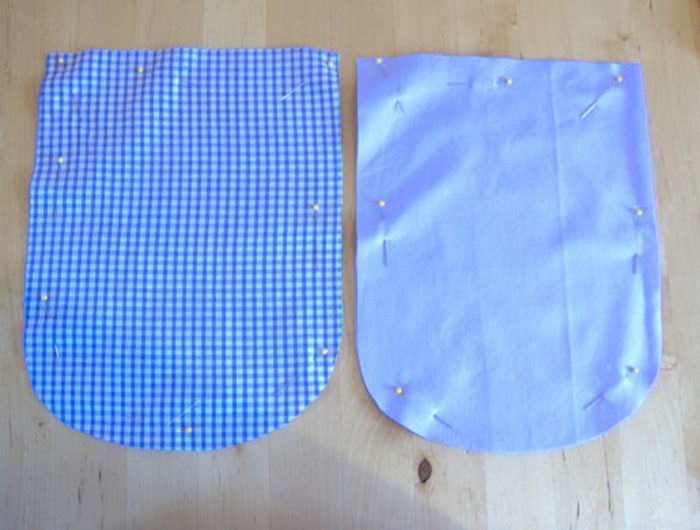
3. Fold over the fabrics, right sides together and pin to hold them steady. Pin the template through both pieces of the main fabric and draw around it, take off the template re-pinning the fabric and cut out the bag shape. Do the same with the lining fabric.
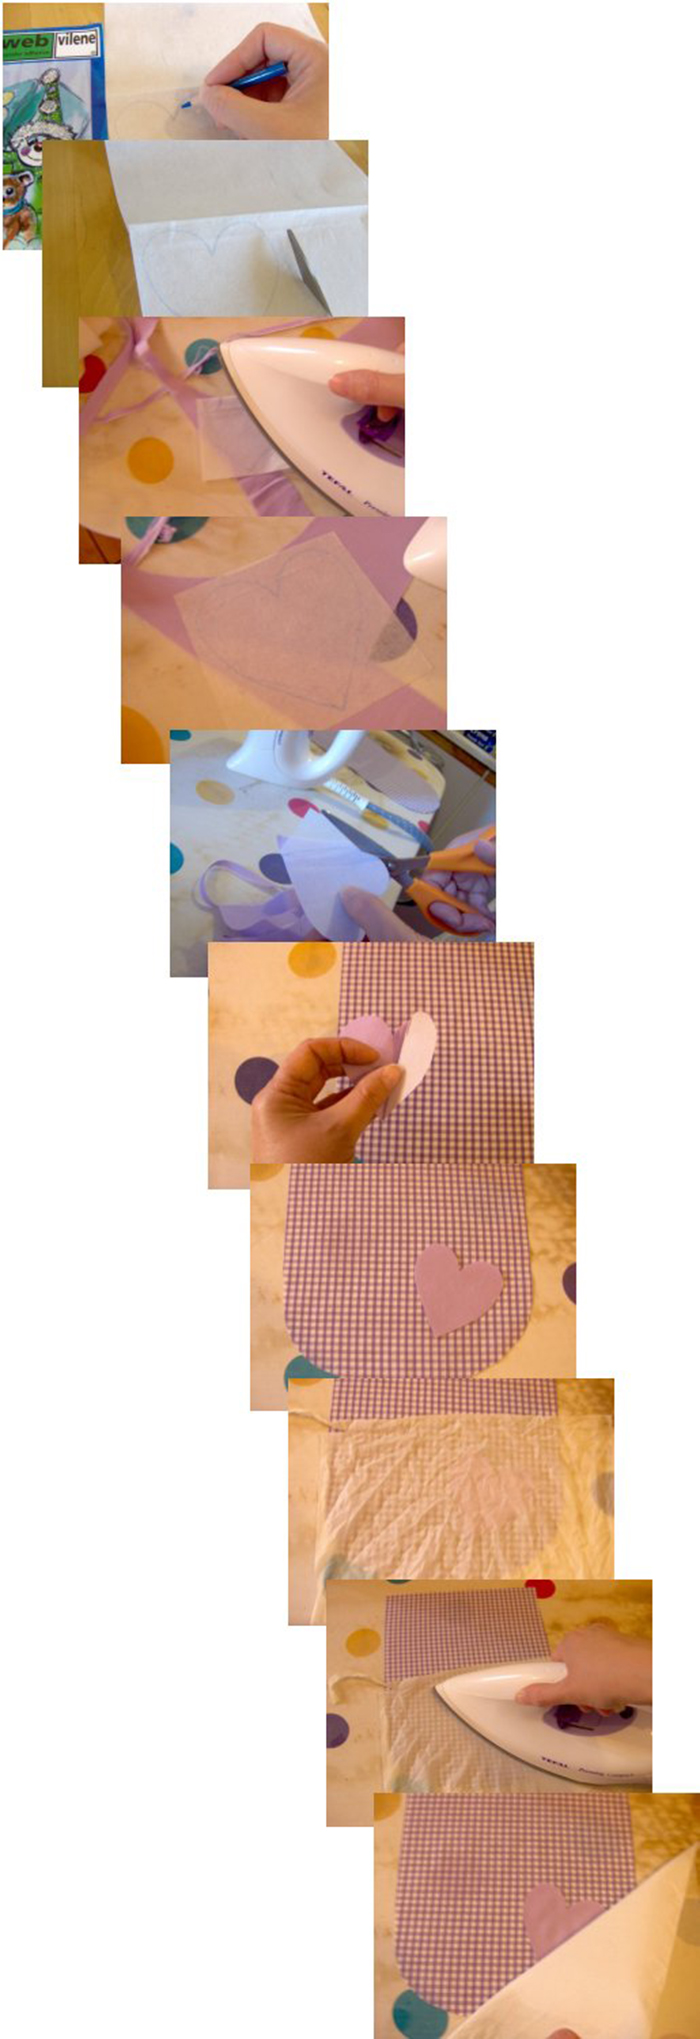
4. Decide what shape you would like the appliqué to be (I chose a heart) and draw the shape onto the papery side of a slightly larger piece of bondaweb (fusible webbing).
5. It is a good idea to iron a piece of iron on interfacing onto the back of where you want the appliqué to go, this helps with the stability of the fabric, helps it sew better and stops it from puckering. I didn’t do this and the sewn on appliqué ended up a little puckered and not lying as flat as I would have liked.
6. Always follow the instructions on the bondaweb (fusible webbing). Iron the bondaweb (fusible webbing) with the drawn shape on it onto the back of a piece of the lining fabric for a few seconds and then cut out the drawn shape. Peel off the paper backing and position on the front of the bag piece, glued side down. Cover with a damp cloth and press with an iron for a few seconds, remove the damp cloth and leave to cool for a few minutes before sewing.
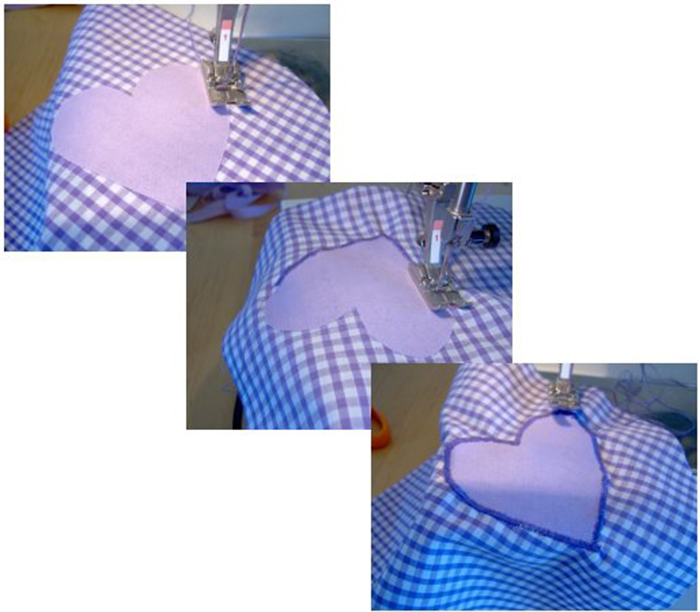
7. If sewing by hand, it is traditional to sew the appliqué on with a buttonhole or blanket stitch around the edge. If sewing by machine, sew around the edge using a zig-zag stitch with the stitches close together.
8. With right sides together and leaving the top of the bag open, sew the two pieces of the main bag together about ½ inch from the edge (the width of the sewing foot on the machine). Do the same for the lining.
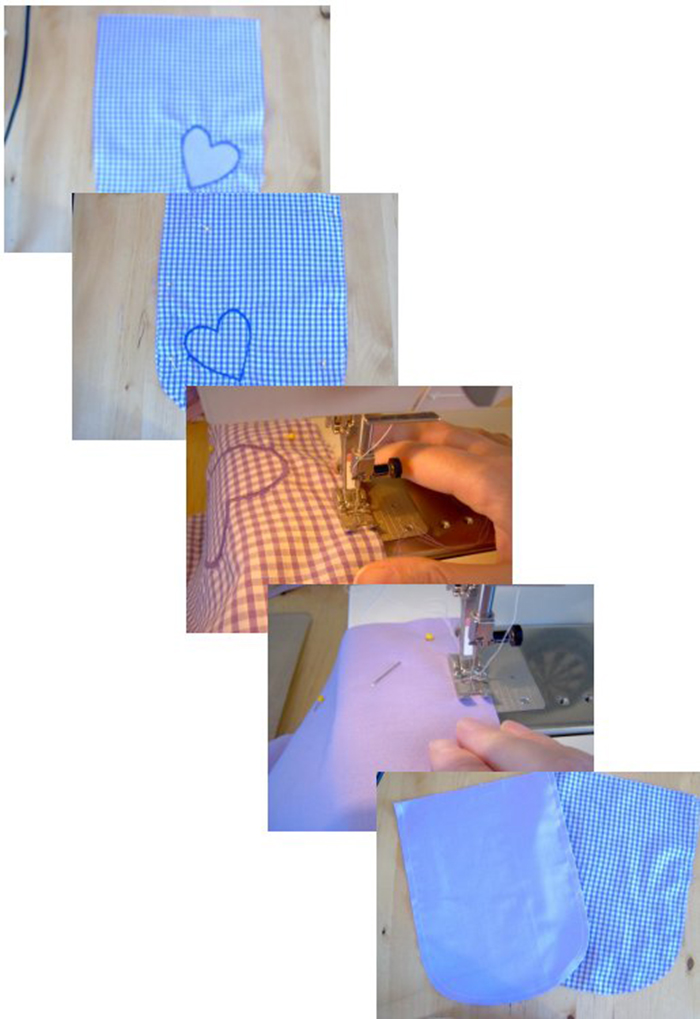
9. Turn the main bag right side out and slip the lining inside the main bag, matching up the seams.
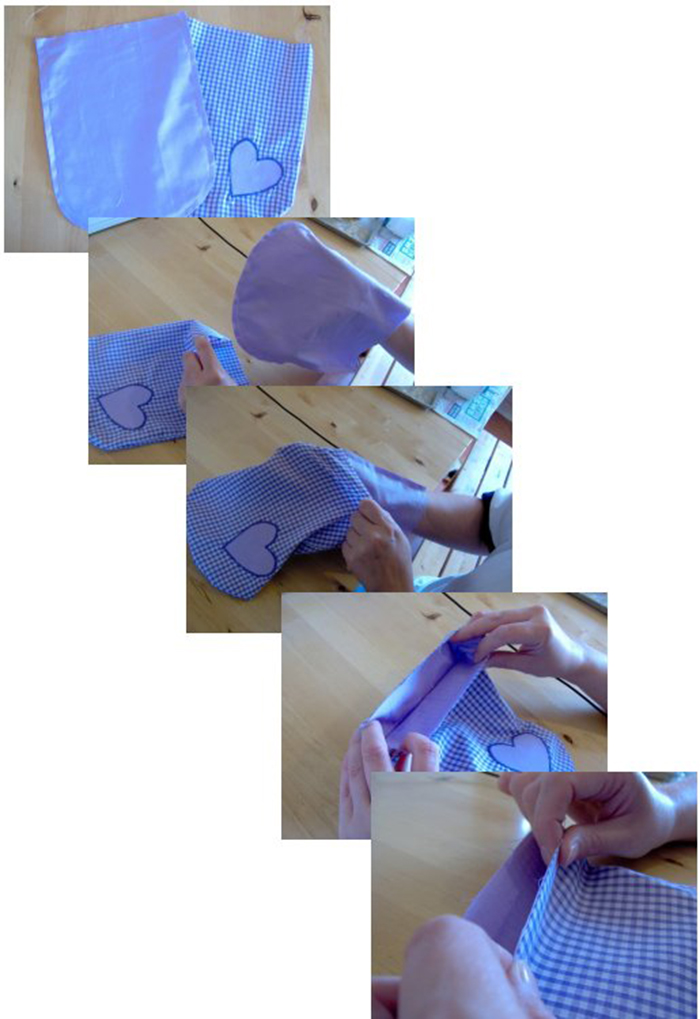
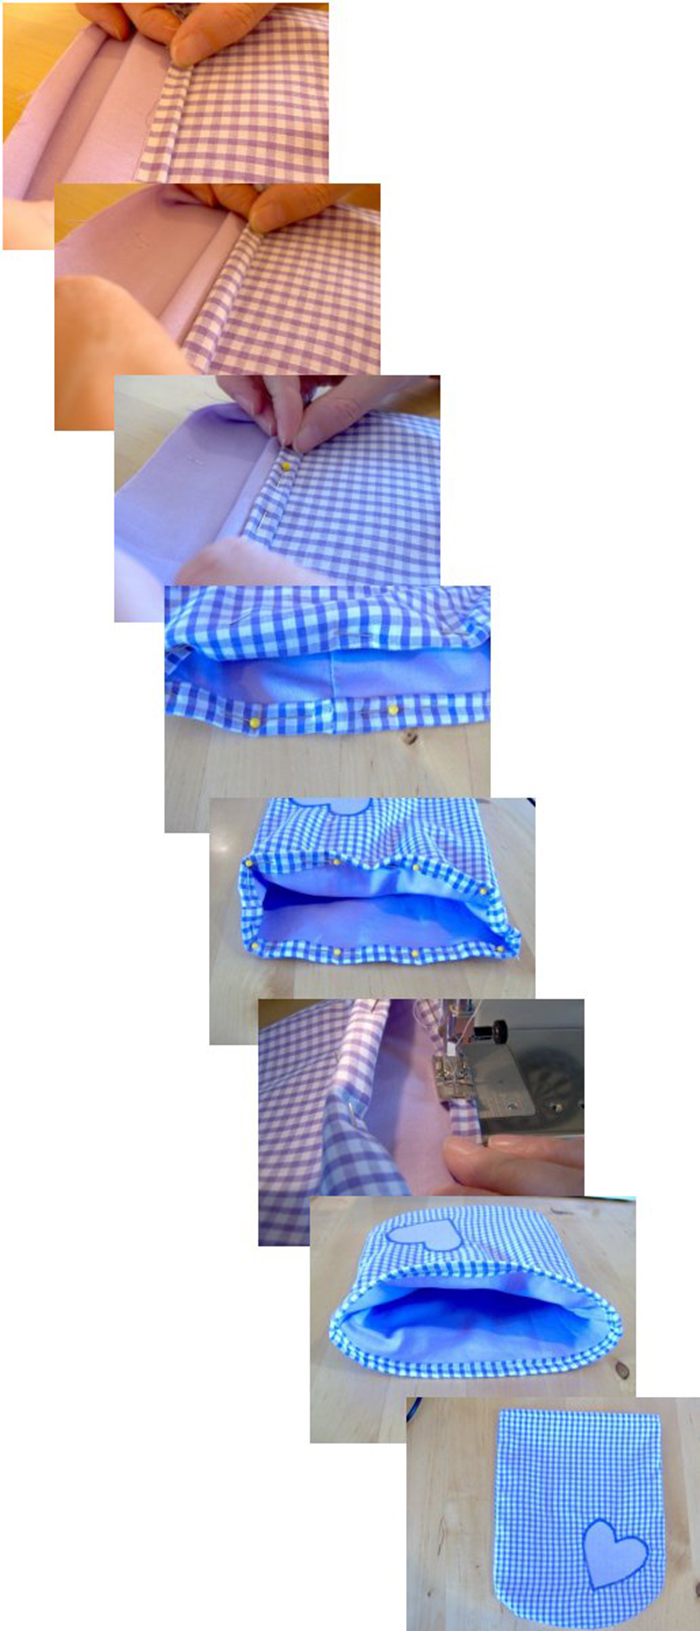
10. With the main bag and lining edges together, fold over ¼ inch (½cm), then another ¼ inch and pin in place. Sew all the way around ¼ inch (½cm) from the edge.
11. Now we need to make casings for the cord to go through. Cut four pieces of lining fabric 18cm x 4cm. Pin them together in pairs with right sides facing. Sew the pinned pairs ¼ inch (½cm) from the edge along three sides, leaving one short side open.
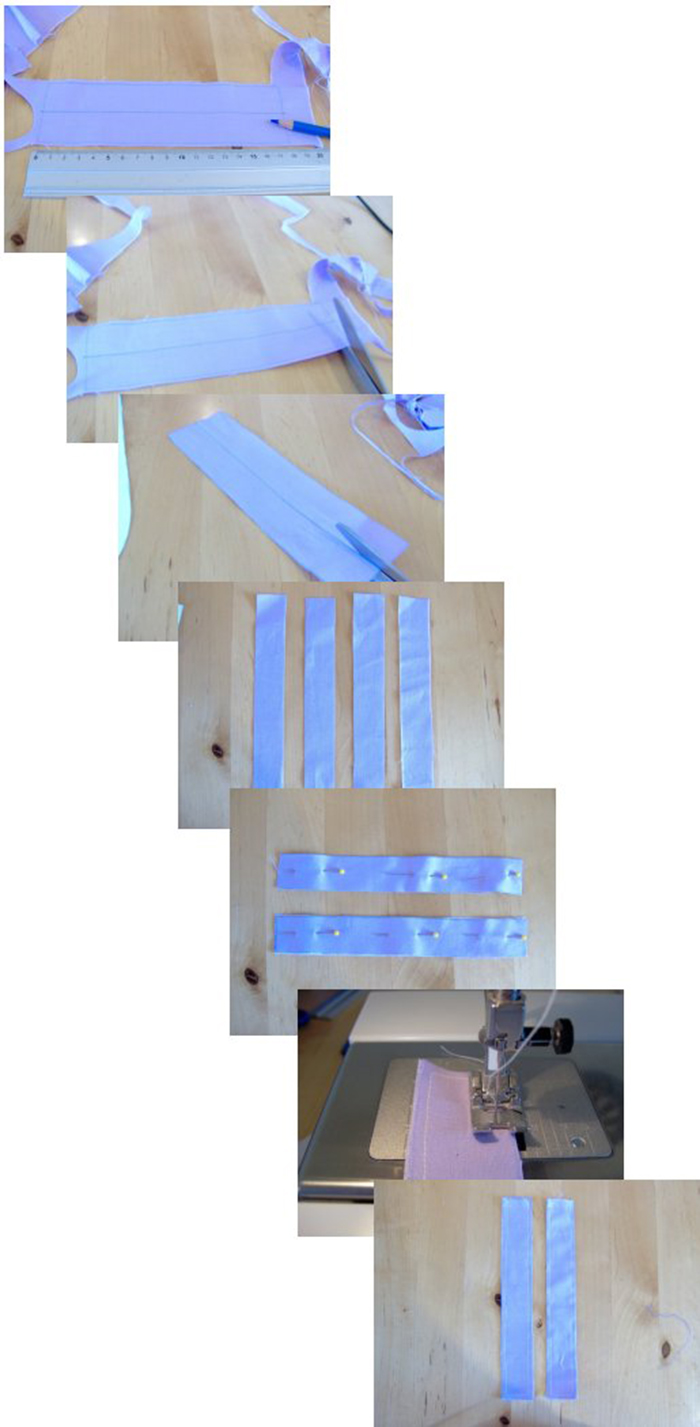
12. Turn them right sides out, this can be a little fiddly, remembering to poke out the corners (a knitting needle is good for this, unless you have a tool specifically designed for the job). Turn in the open end and sew closed using a slip stitch. The casings will now be creased, so it is a good idea to iron them before sewing them onto the bag.
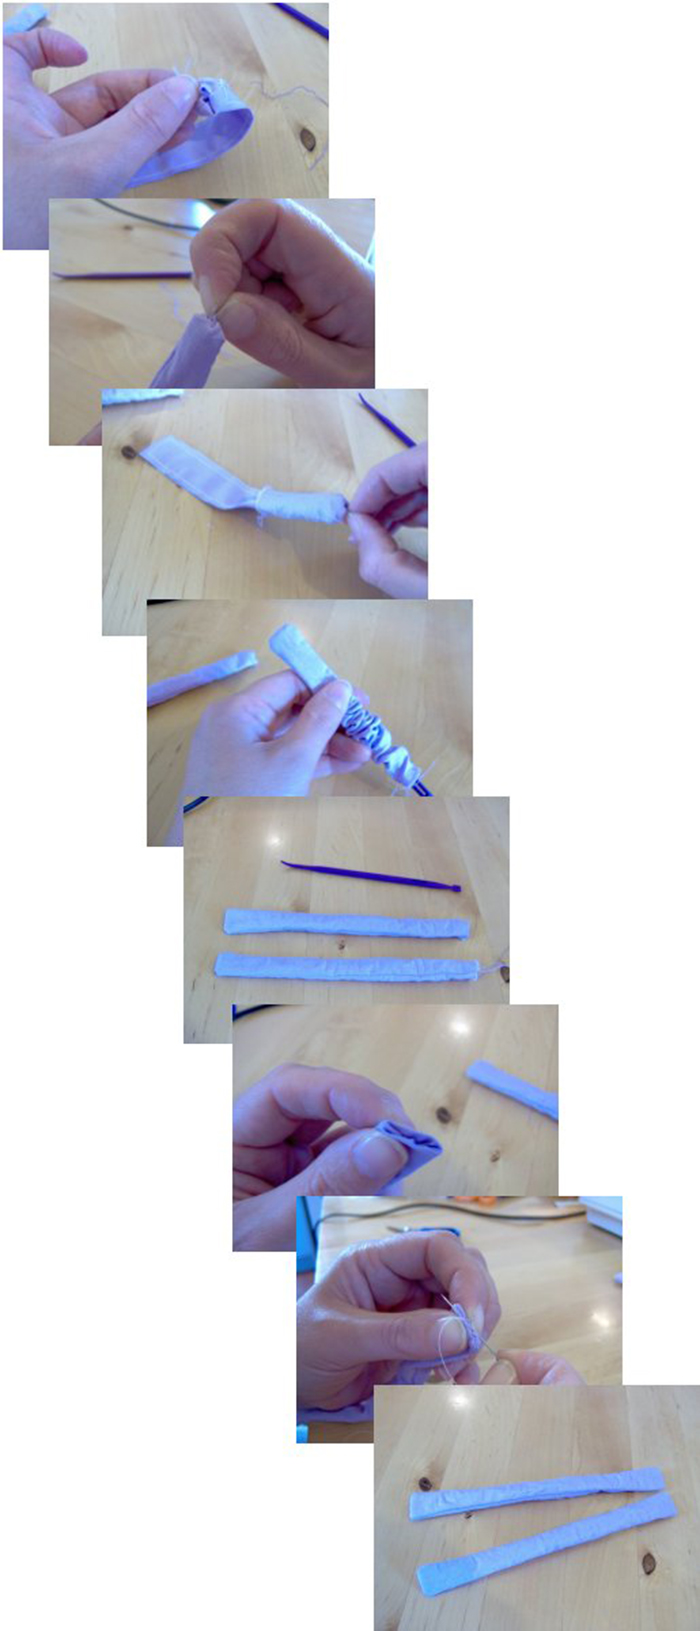
13. Cut the cord in half, so you have two pieces of equal length. Then using the template as a guide, pin a casing to each side of the bag, trapping the cord as you go. Sew the two long sides of each casing to the bag by hand with a slip stitch, trying not to sew through the lining or the cord.
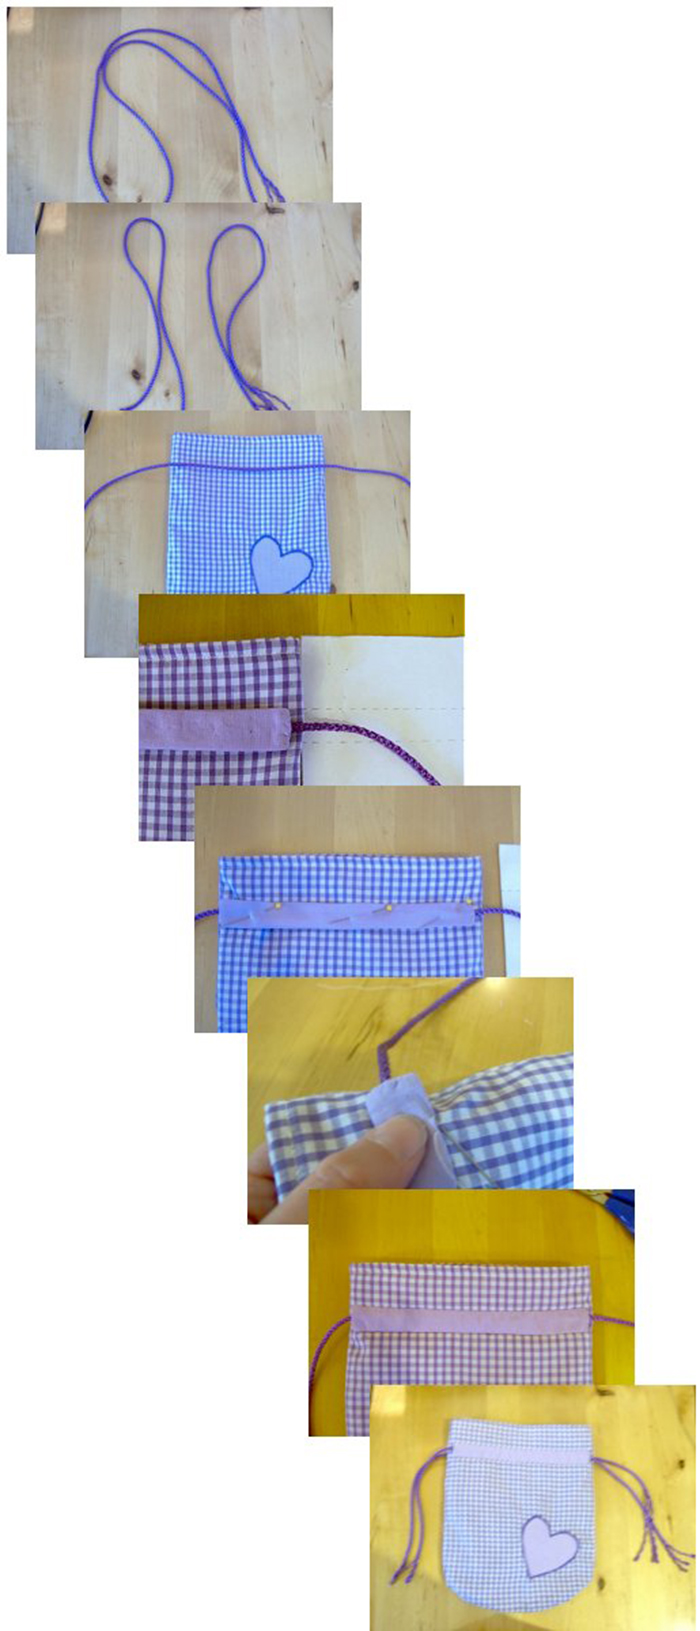
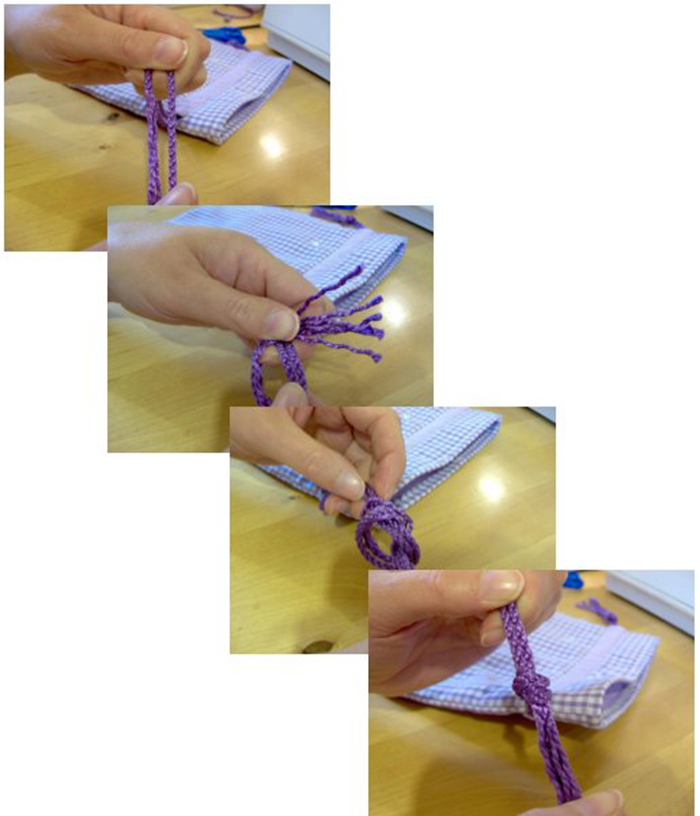
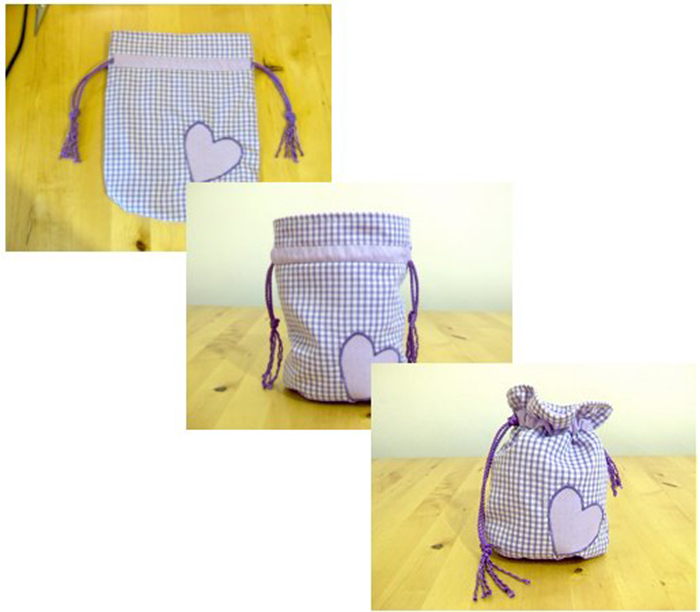
14. Knot together the cords on each side. Your bag is now finished. To close the top of the bag, pull the cord at one side away from the bag while pushing the bag in the other direction and secure with a slip knot near the bag.
Back to the Fabric and Sewing menu...


