
Tote Bag
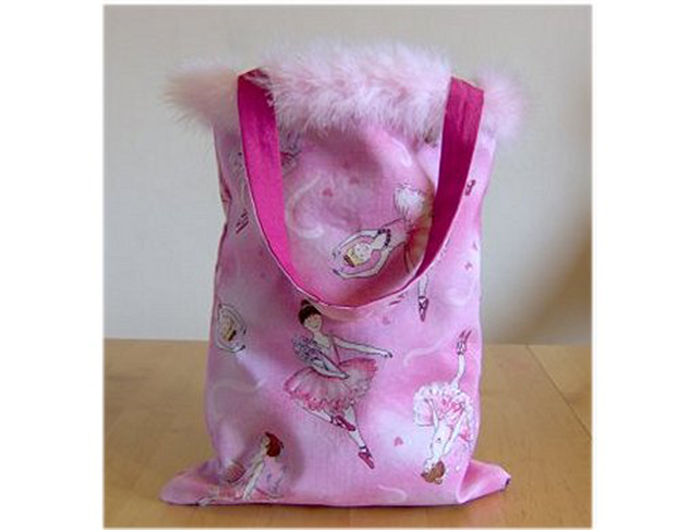
The ‘tote bag’ is a simple design that can be made any size and with handles of any length. Trims can be added around the opening of the bag and also along the bottom edge, A pocket can be added to the outside or inside of the bag, but I’m making this one as simple as possible and will be showing you how to make pockets in another bag project. The size of the bag I have made is 28cm x 21cm but you can make it any size you like.
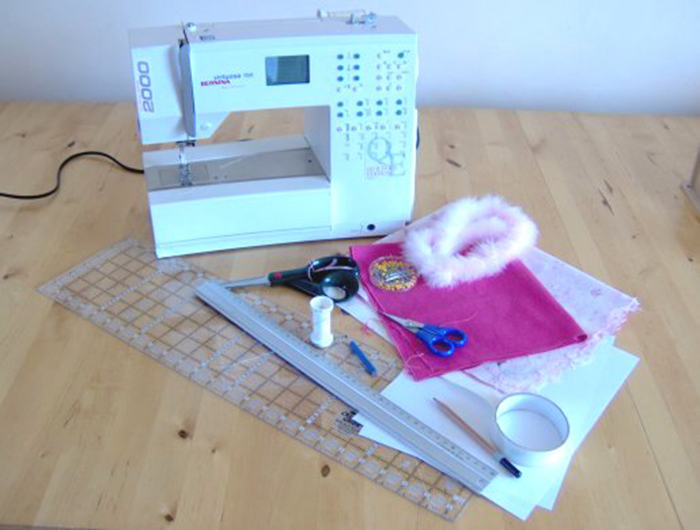
You will need:
Fabric for lining and handles
Sewing equipment (thread, needle, pins, scissors etc)
Sewing machine (optional)
Iron
Ruler
Fabric pencil
Feather trim
What to do
1. Iron both fabrics.
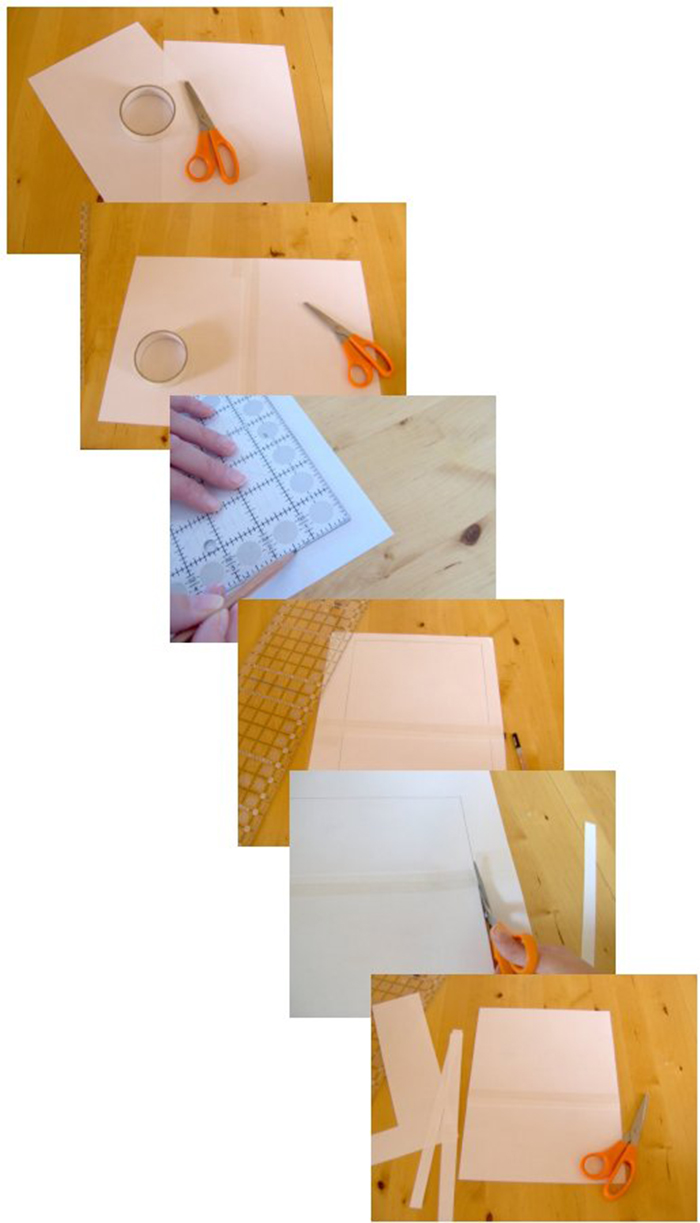
2. Decide on the size of bag you want and make a template. Templates are easily made from printer paper, if the size of bag is bigger than a piece of paper then join two or more pieces together with sticky tape and draw the bag template onto it. The template size I have used is 9 inches (23cm) x 12 inches (30cm). Cut this out of the paper.
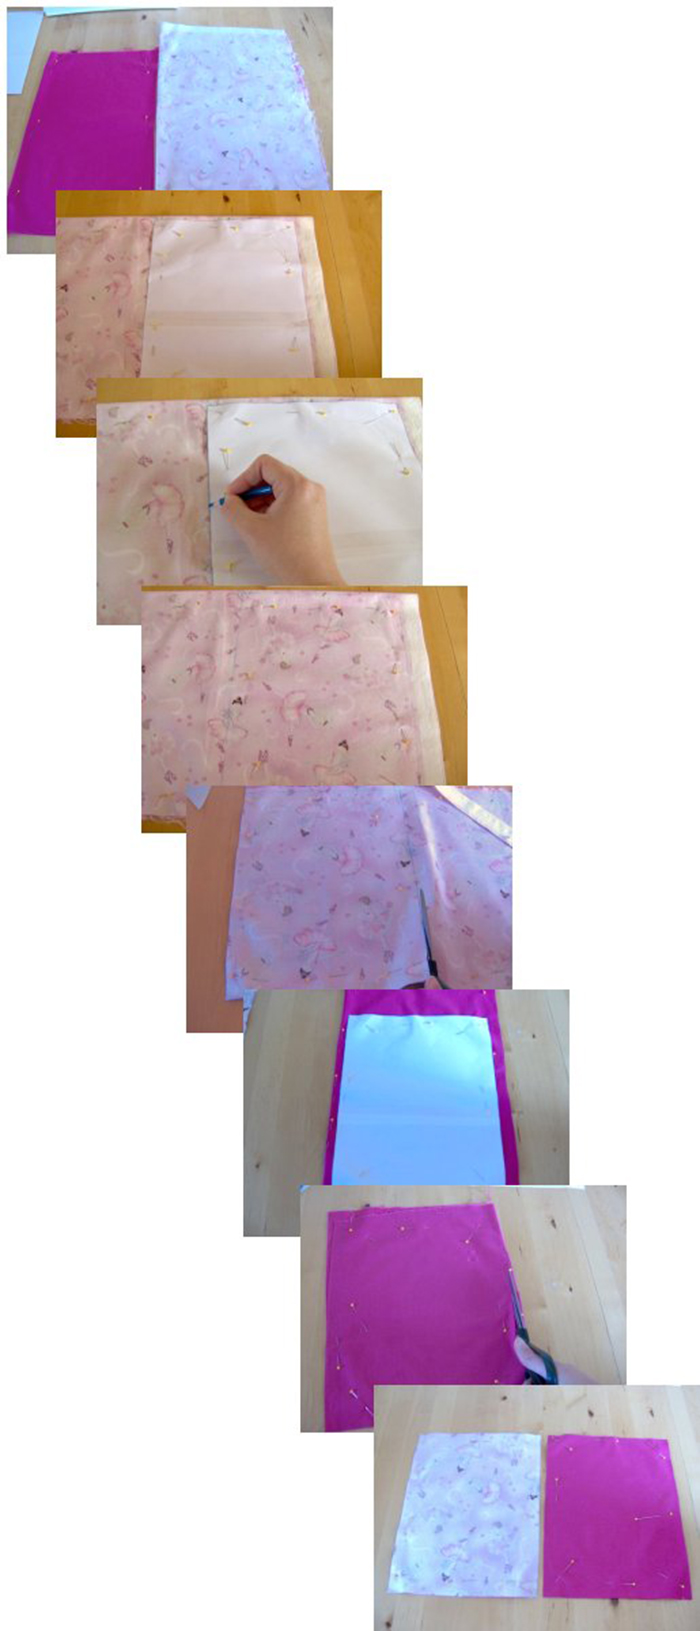
3. Fold over and pin the main fabric right sides together and pin the template to it. Draw around the template and take off re-pinning the fabric. Do the same for the lining fabric. Cut out the fabrics following the template outline. You will then have two main fabric pieces and two lining pieces.
4. Keeping the right sides pinned together sew along the sides and bottom of the main bag leaving the top open. Sew the lining fabric pieces in the same way.
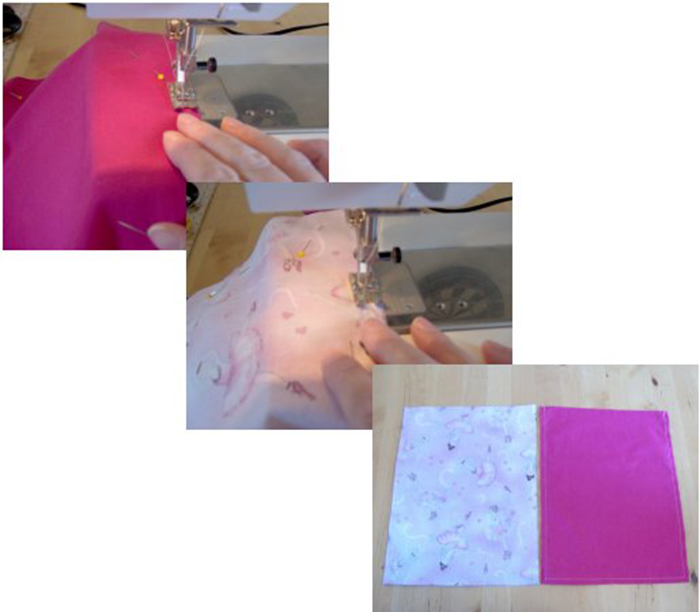
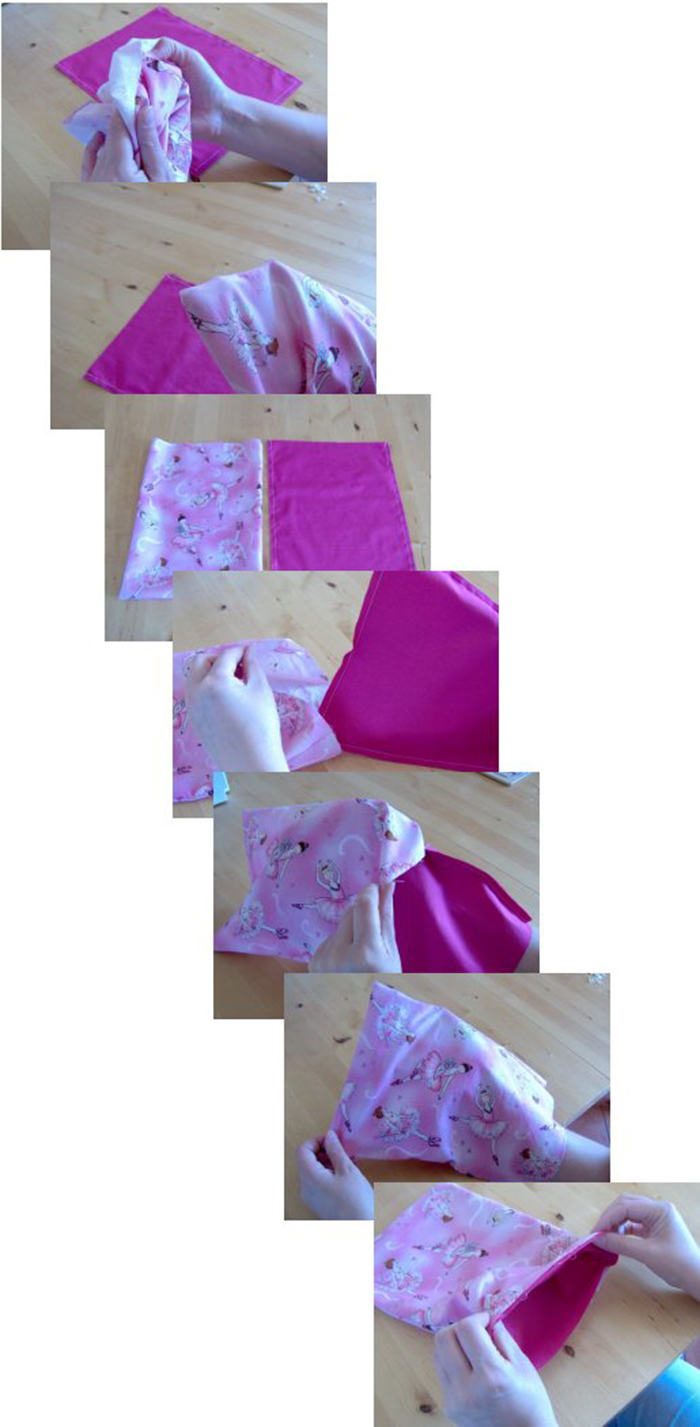
5. Turn the main fabric bag the right side out, remembering to poke out the corners (a knitting needle is good for this, unless you have a tool specifically designed for the job). Then place the lining bag inside the main bag. Put to one side while you make the handles.
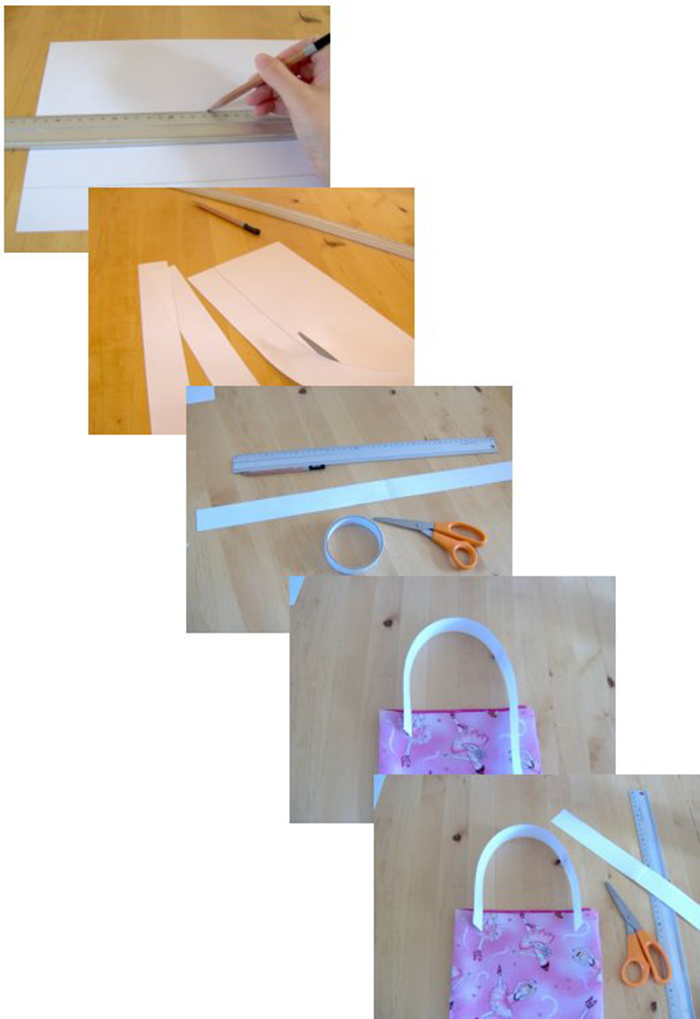
6. To make the handles, first you have to decide the length and width you want them to be. Take a strip of paper and position it where the handles will go, you can even pin it and hold it like you will when the bag is finished to make sure you get the right length and width that you want. When you have decided on the length and width you want add on 2 inches (5cm) to the length and ½ inch (1cm) to the width for the seams and sewing onto the bag. The handles I made were 40cm long and 3cm wide.
7. Cut out four pieces for the handles, I cut two out of the main fabric and two out of the lining fabric but you can make them out of just the main fabric or just the lining fabric if you like.
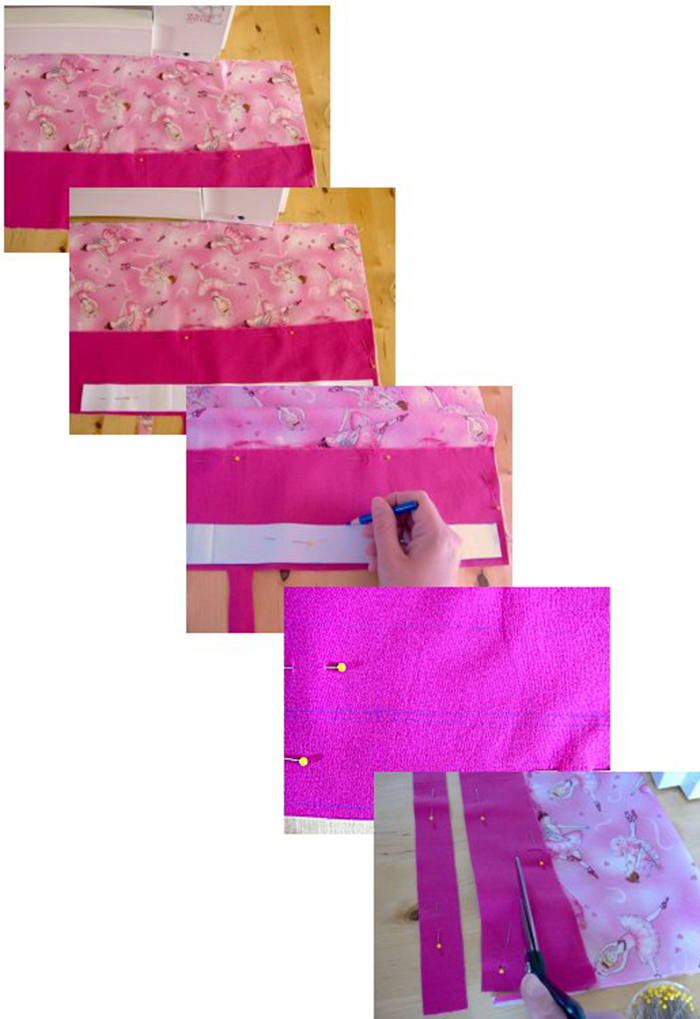
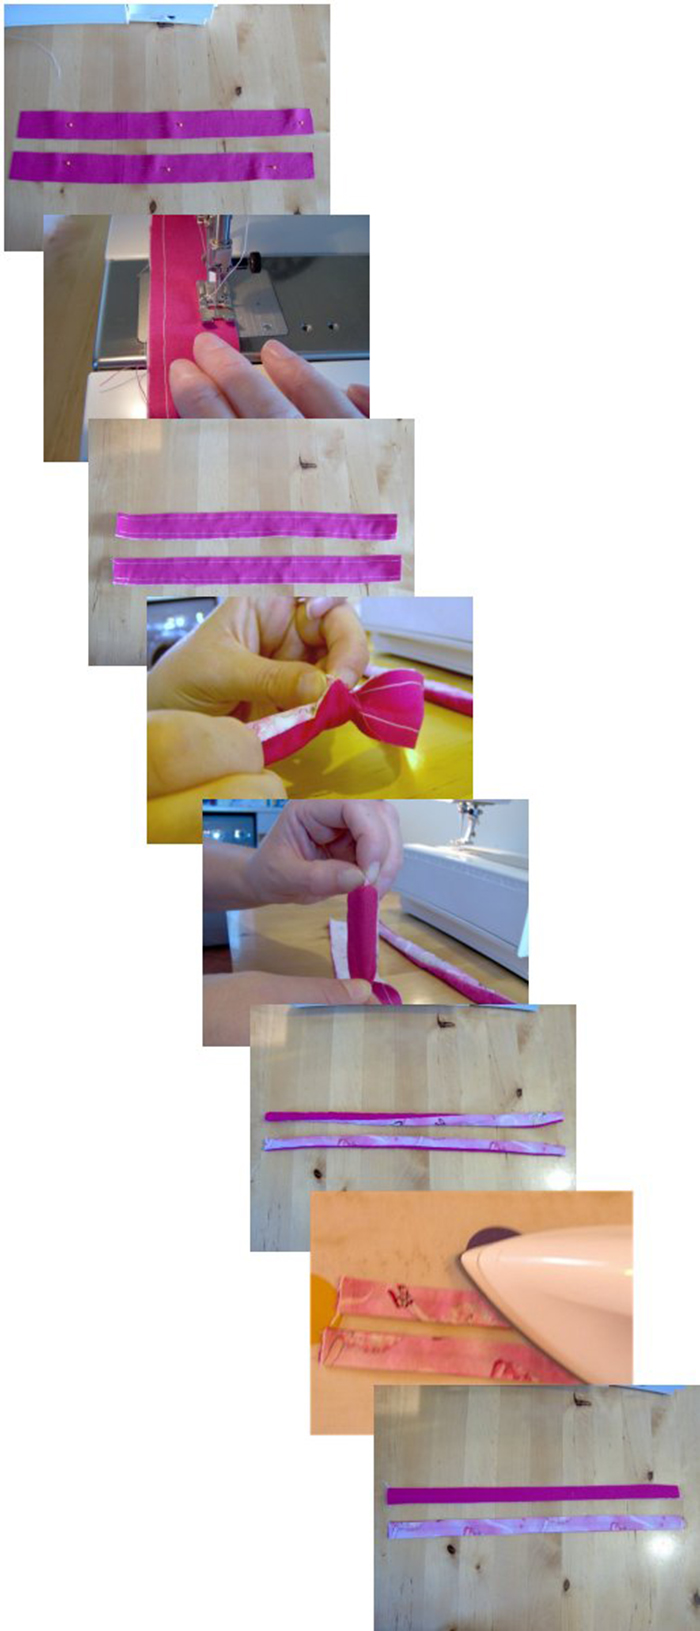
8. Pin two of the handle pieces together with right sides facing and sew along the long sides only. Do the same for the other handle. Turn the handles right side out, this can be a bit fiddly, then iron the handles and put to one side.
9. Fold the top of the main bag over ¼ inch (turning away from you, towards the inside of the bag), then fold it over ¼ inch again and pin in place.
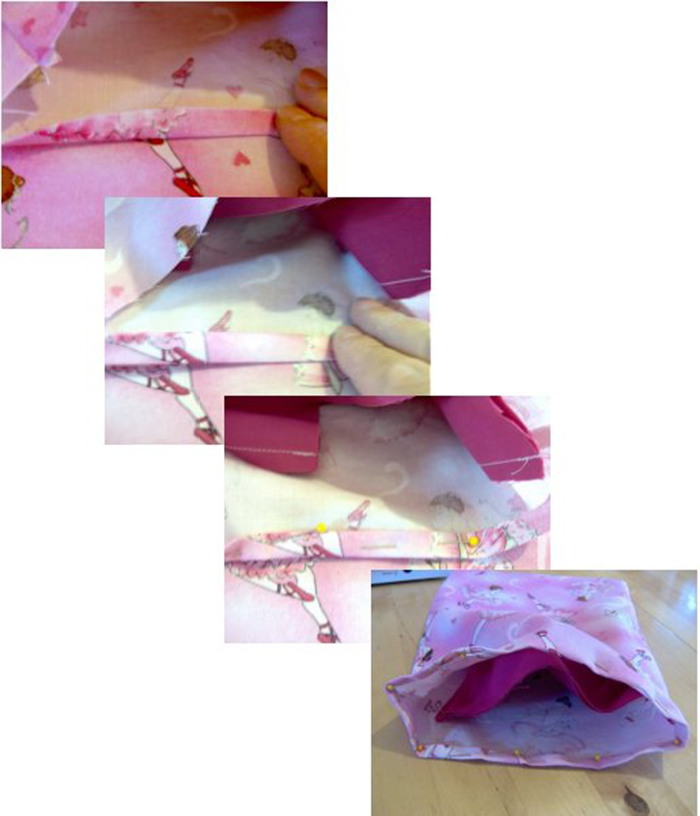
10. Fold the top of the lining over ¼ inch (turning it towards you and the main bag), then fold it over ¼ inch again and pin in place. Tack the folded fabrics, taking out the pins as you go.
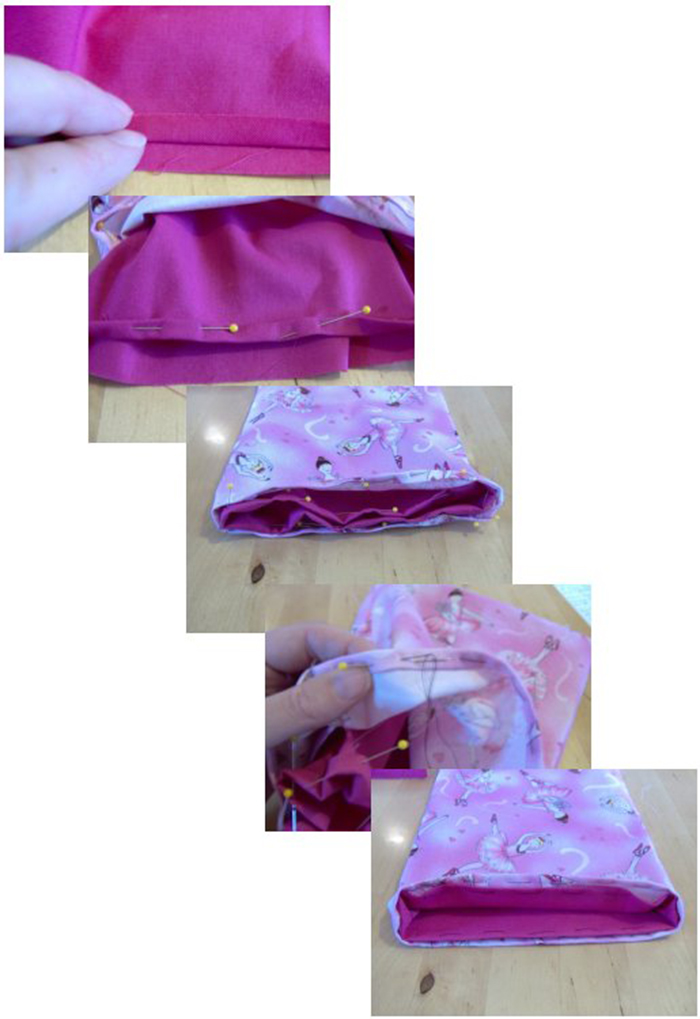
11. Position the handles sandwiching them between the main fabric bag and the lining bag and pin in place making sure that there is an inch (3 cm) of handle sandwiched inside the bag where the handle goes in.
12. Pin the lining bag to the main bag with the lining seam slightly below the main bag edge and trapping the handles between the two fabrics. Hold up the bag with the pinned handles to make sure they are the right length and in the correct position. Tack the main fabric, the lining and the handles together.
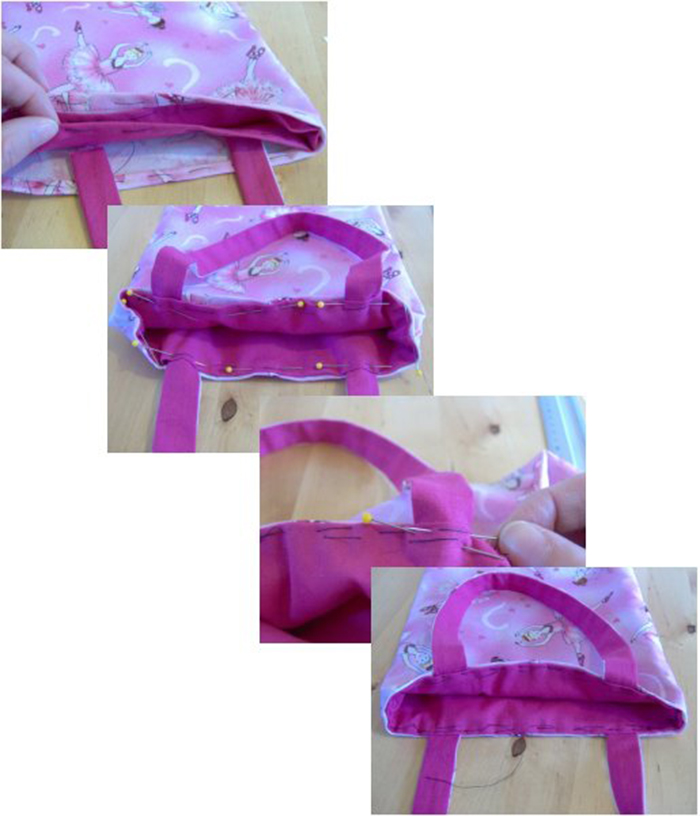
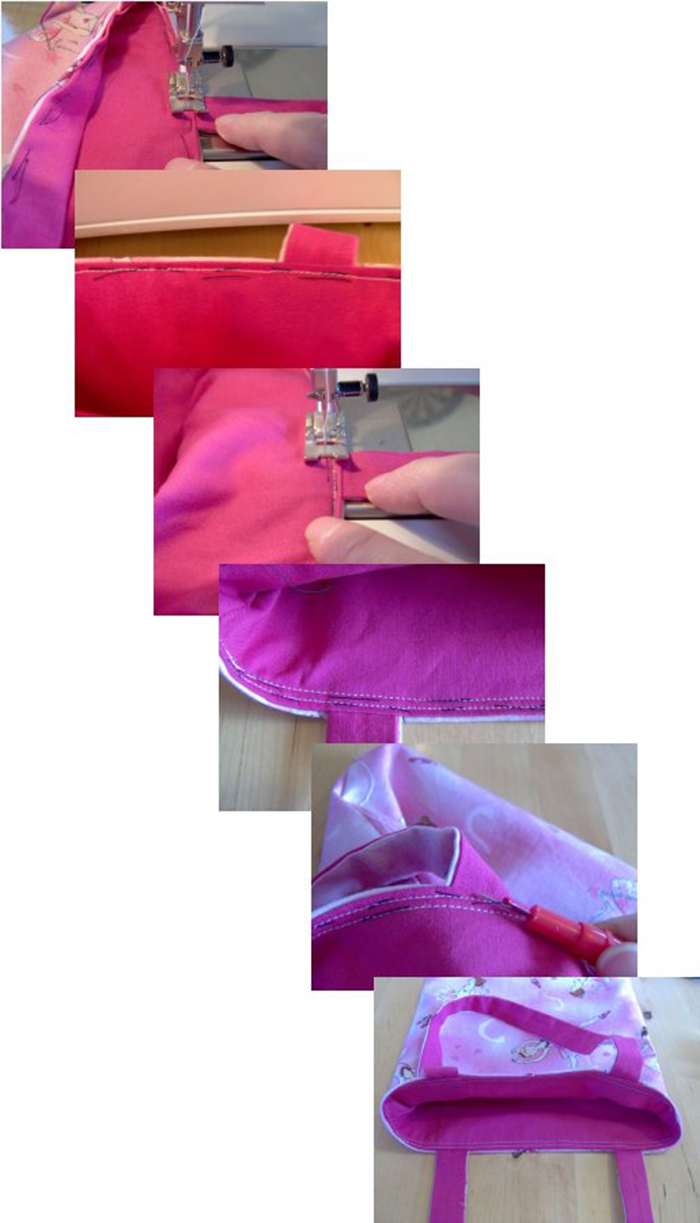
13. Sew using the lining edge as a guide ¼ inch in from the edge. Then sew a second line ¼ inch in using the first sewn line as a guide.
14. Take out the tacking stitches.
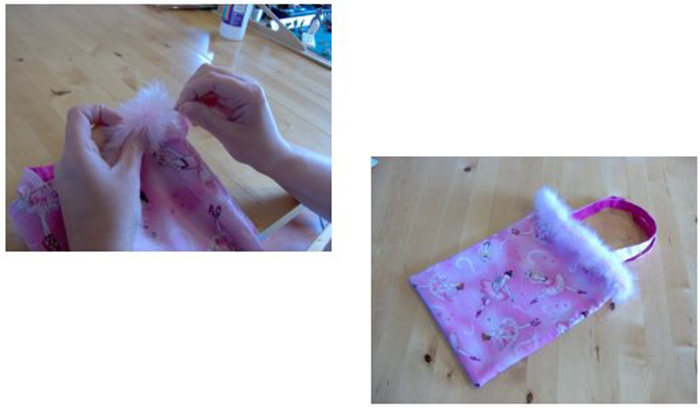
15. The basic bag is now finished so you can add any trims that you like. I have hand sewn a pink feather trim around the opening of the bag to complete the bag.
Back to the Fabric and Sewing menu...


