
Embroidery Frame Fabric Art
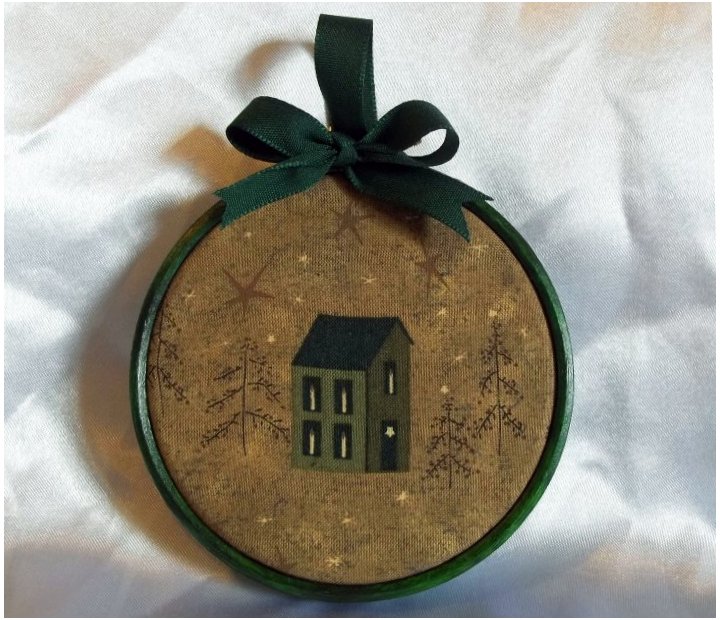
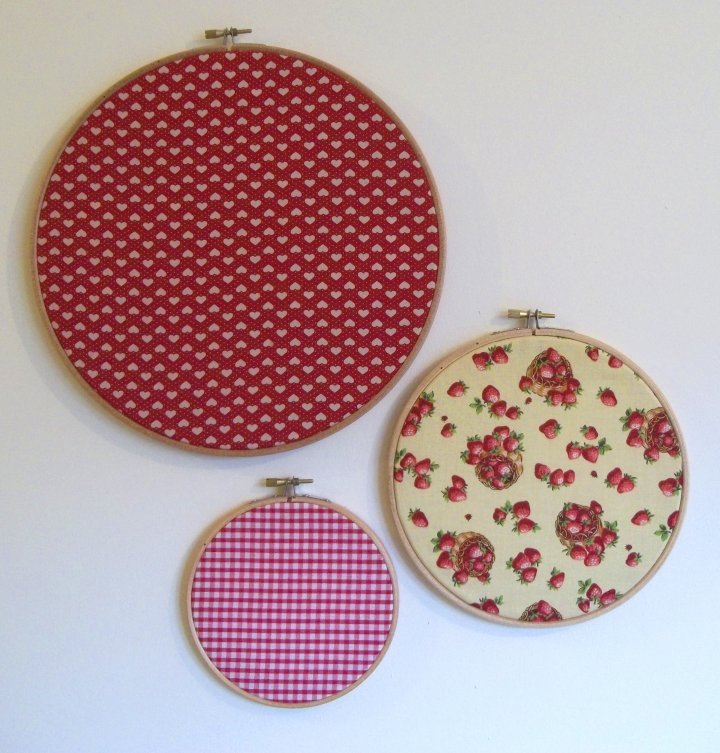
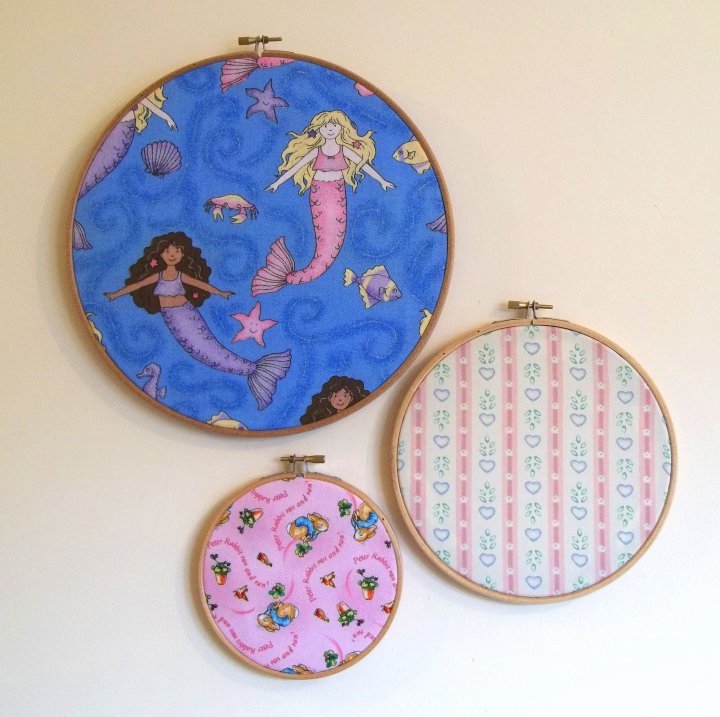
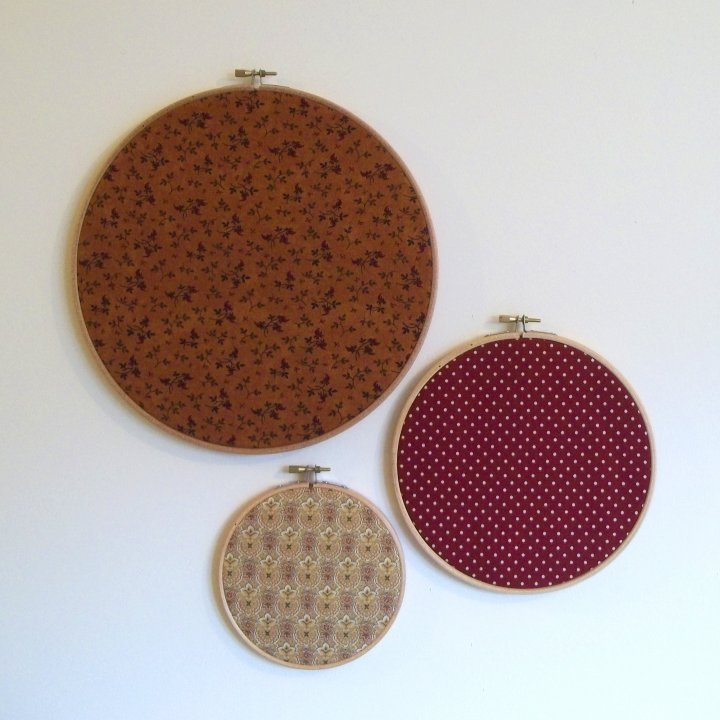
Using embroidery hoops as frames is a fantastic way to display beautiful or favourite fabrics, you can leave the frame natural (which makes it easier if you fancy changing the fabric from time to time) or you can paint the frame to compliment or contrast with the fabric to make a personal & unique piece of art.
They can be made individually (like the one below) or they can be displayed as a group (examples are at the bottom of the page, odd numbers work best). I've used masking tape to hold the fabric in place but if you are making it as a gift or want it to be fixed permanently then just carefully stick the fabric to the back of the frame with fabric glue.
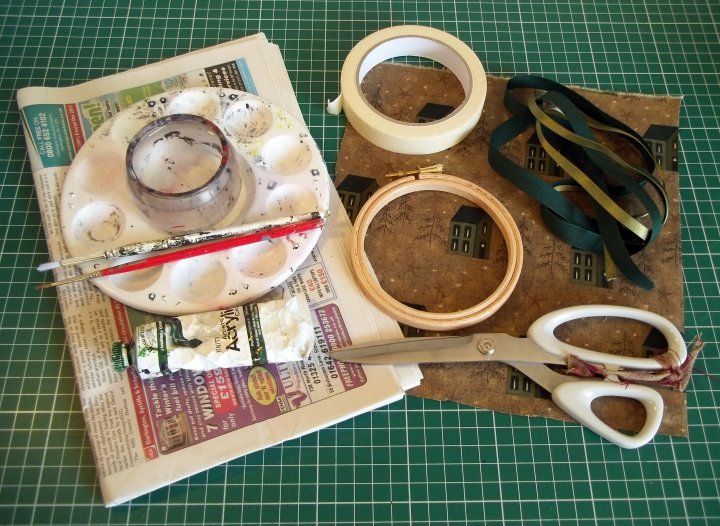
You will need:
Acrylic paints & brushes
(if you are painting the hoop)
Newspaper (to protect surface)
Fabric, about 2" larger than
the frame (ironed)
Fabric scissors
Masking tape or fabric glue
(to stick fabric to frame permanently)
Optional - ribbon (to add a bow)
What to do
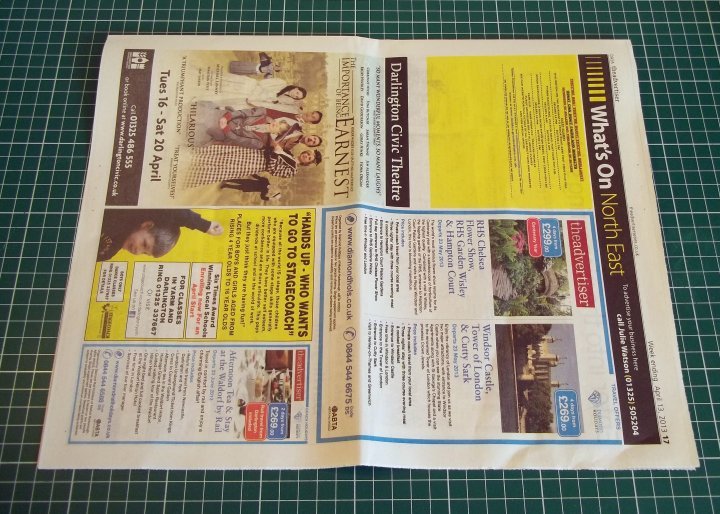
1. If you don't want to paint the embroidery hoop go straight to step 4, if you are painting the hoop then protect your work surface with newspaper.
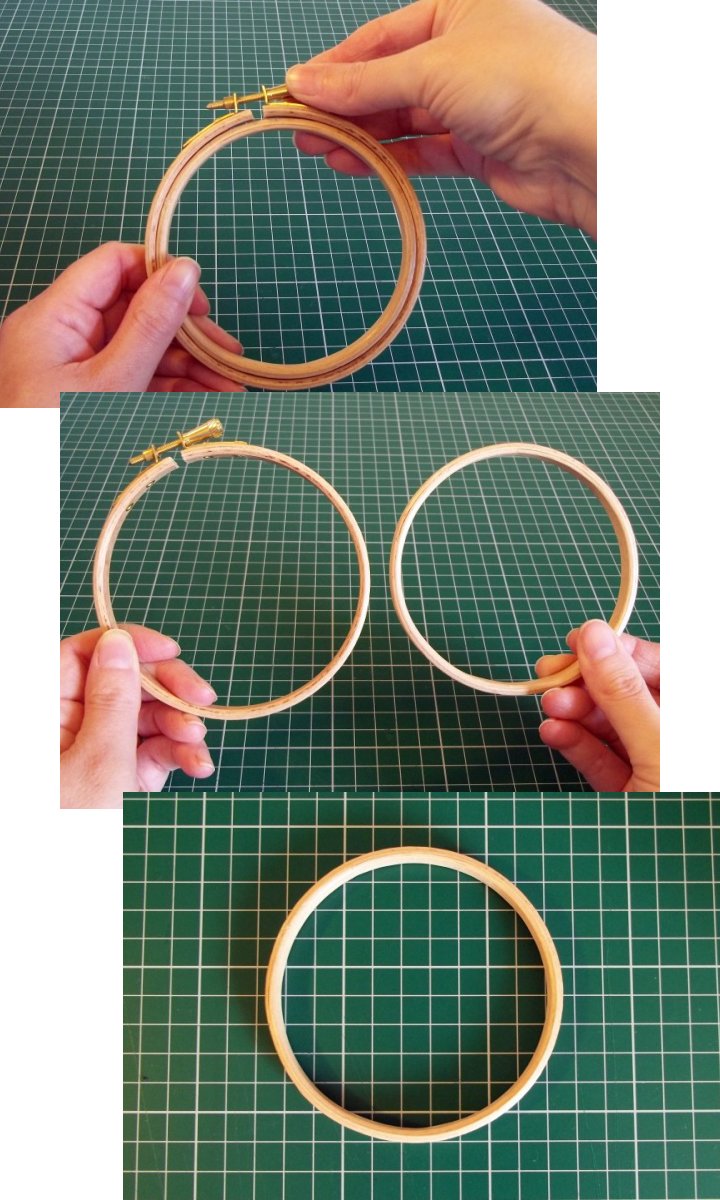
2. Loosen the hoops and separate them, put the inner hoop to one side for later. Add 3 cm seam allowance. This is the length of fabric.
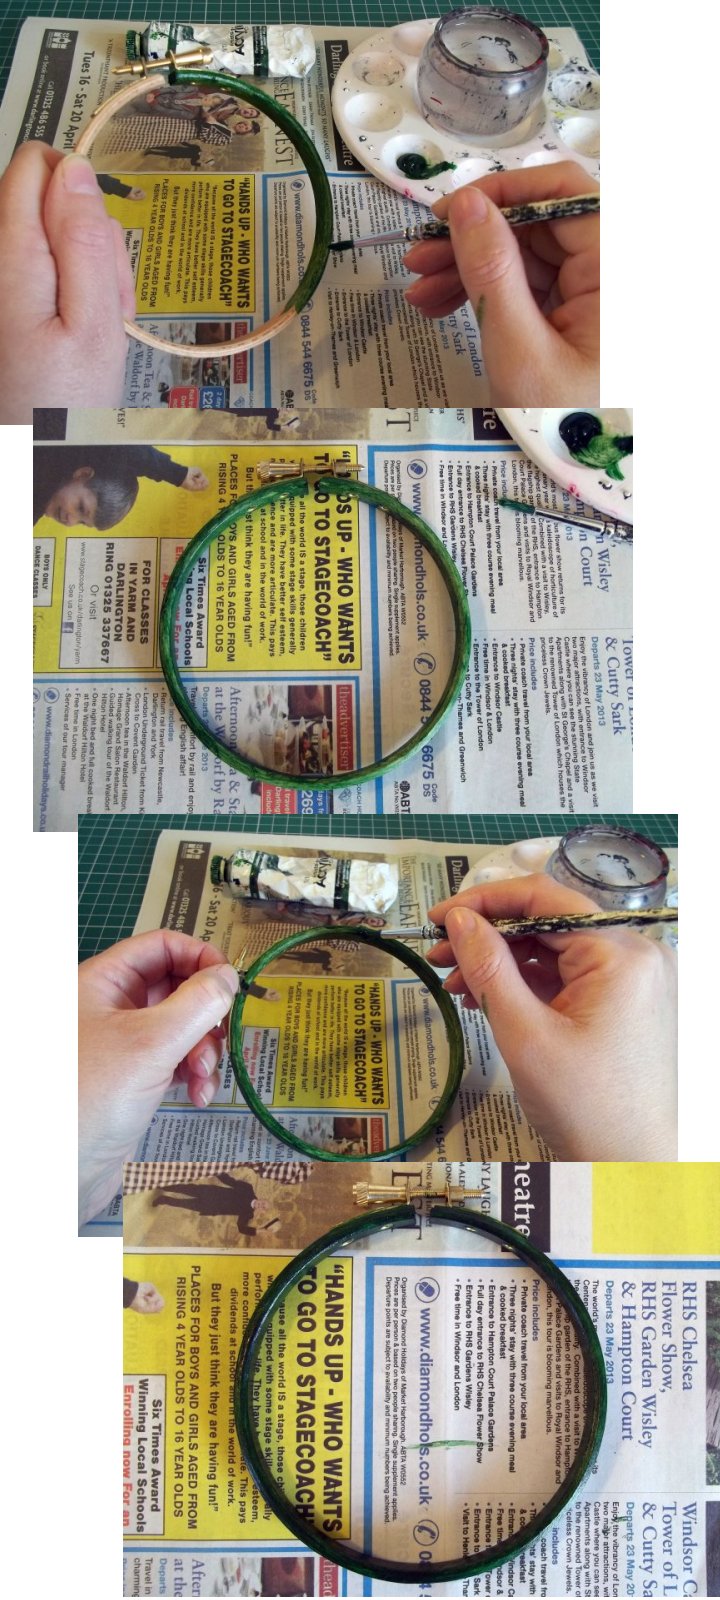
3. Paint the outer hoop in a colour to co-ordinate/contrast with your chosen fabric and leave to dry. Apply a second coat of paint if needed and leave to dry.
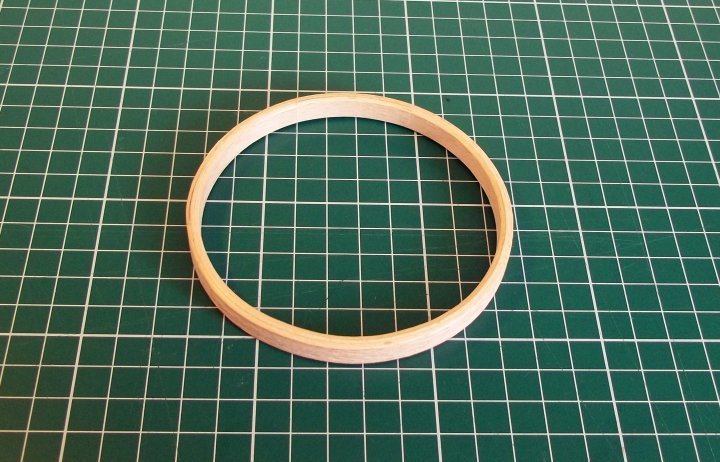
4. Once the outer hoop is dry place the inner embroidery hoop on the table in front of you.
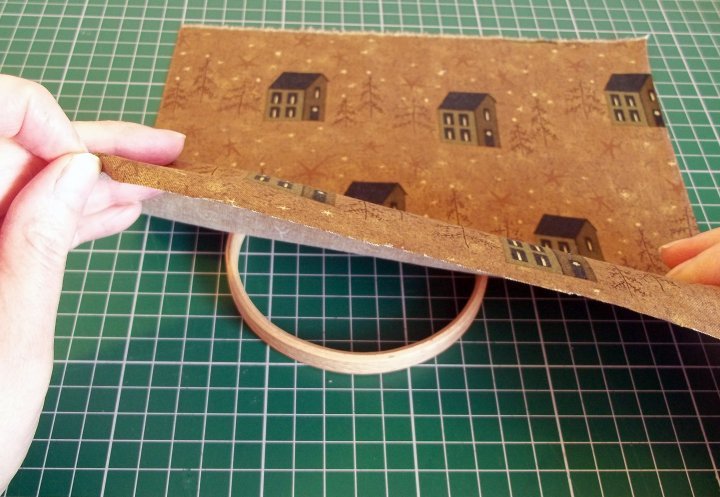
5. Lay the fabric right side up on top of the hoop.
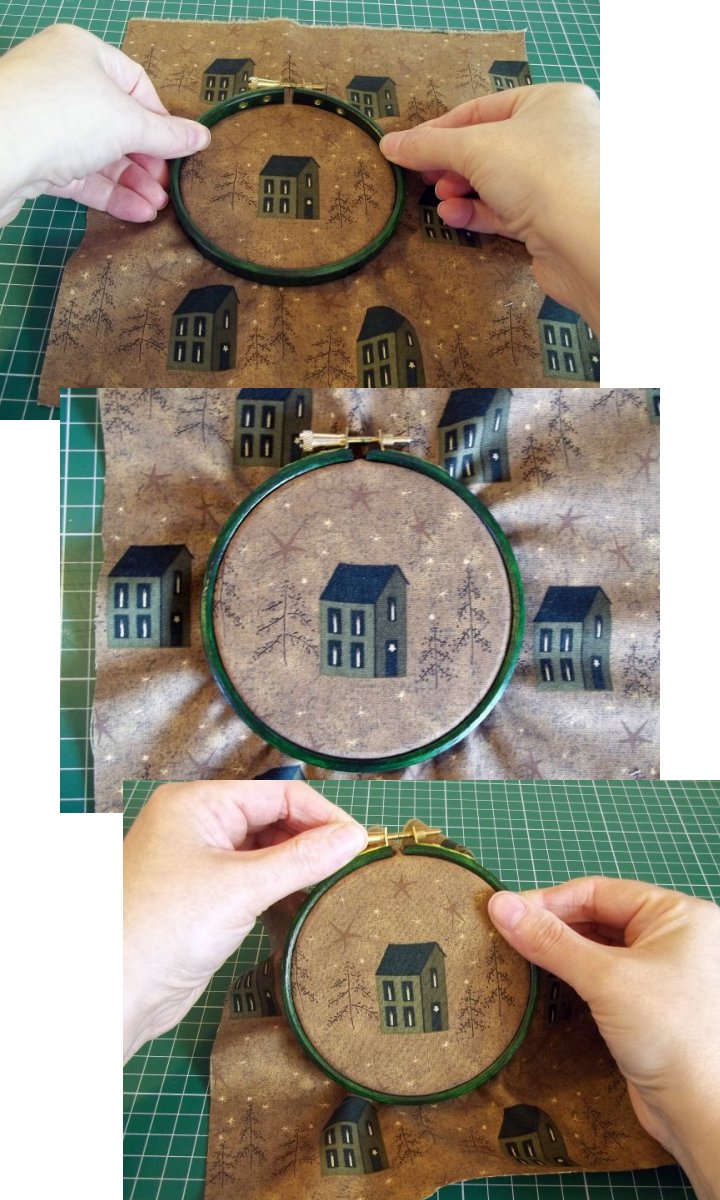
6. Push the outer hoop into place sandwiching the fabric between the frames (making sure the fabric is pulled tight but not distorted). Tighten the frame.
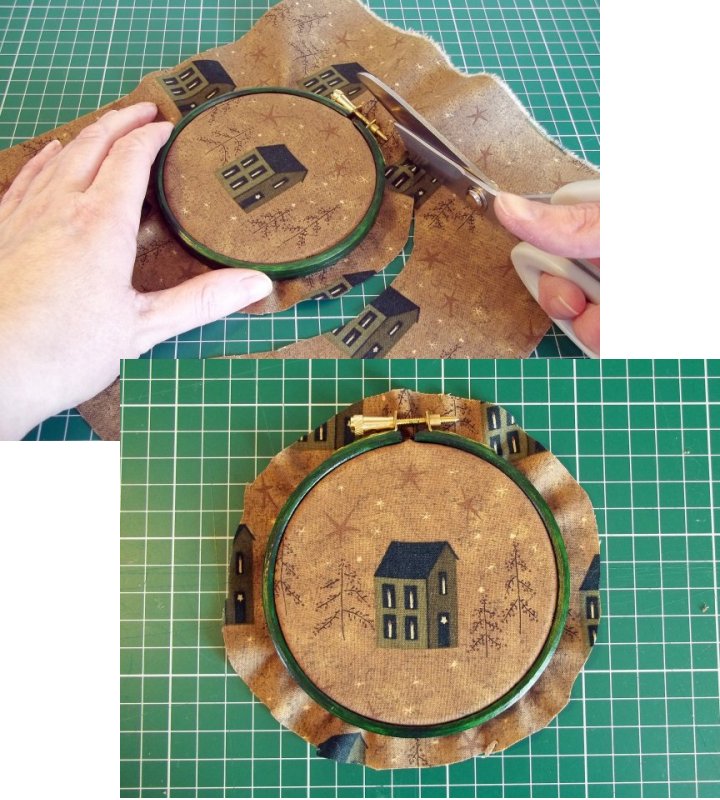
7. Leaving about 1½ - 2cm, carefully trim the fabric.
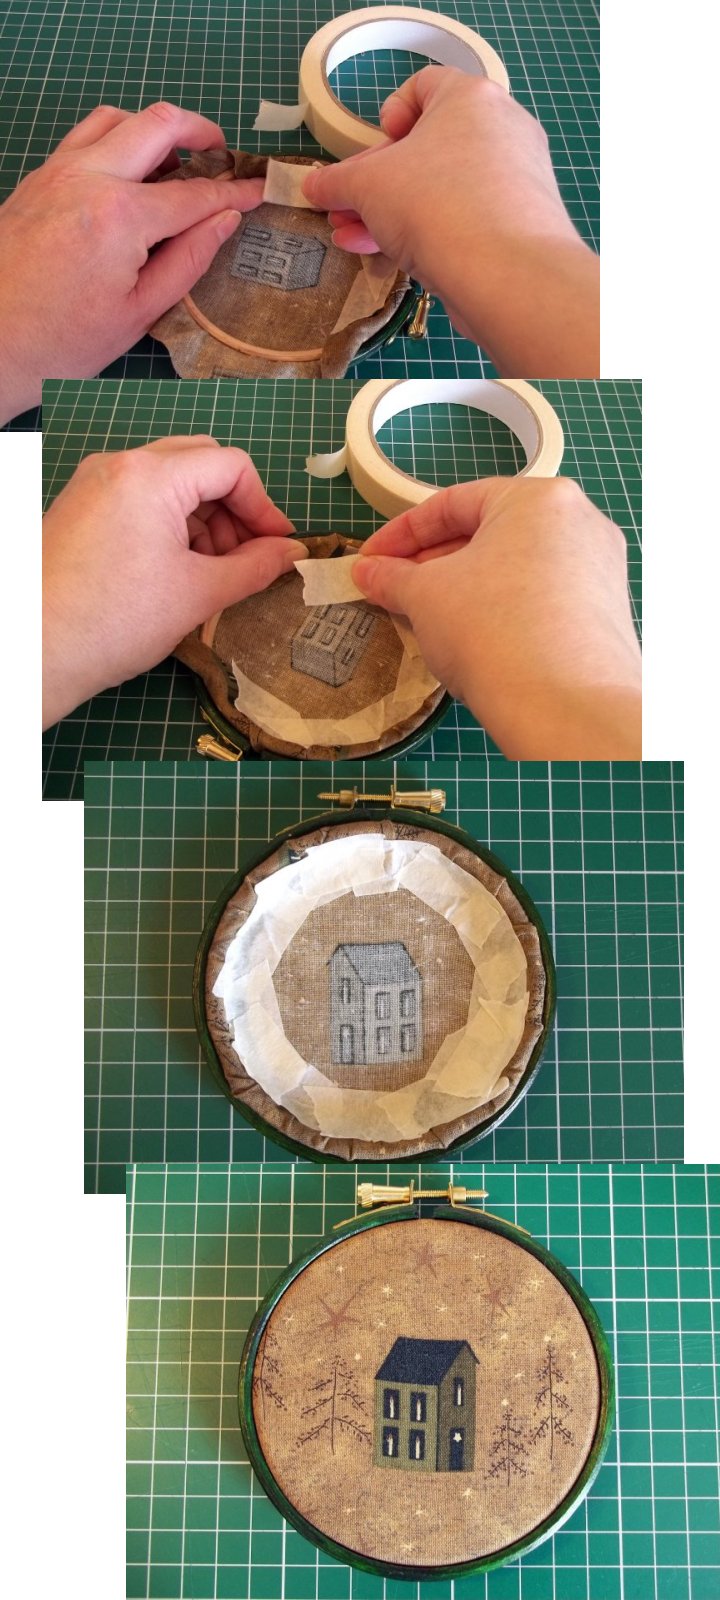
8. Hold the fabric in place at the back with masking tape.
**TOP TIP - If you are making this as a gift, or want to make the chosen fabric a permanent feature then instead of using masking tape to hold the fabric in place, trim the fabric a little more and adhere it to the back of the frame with fabric glue, being very careful not to get any glue on the main fabric part. - TOP TIP**
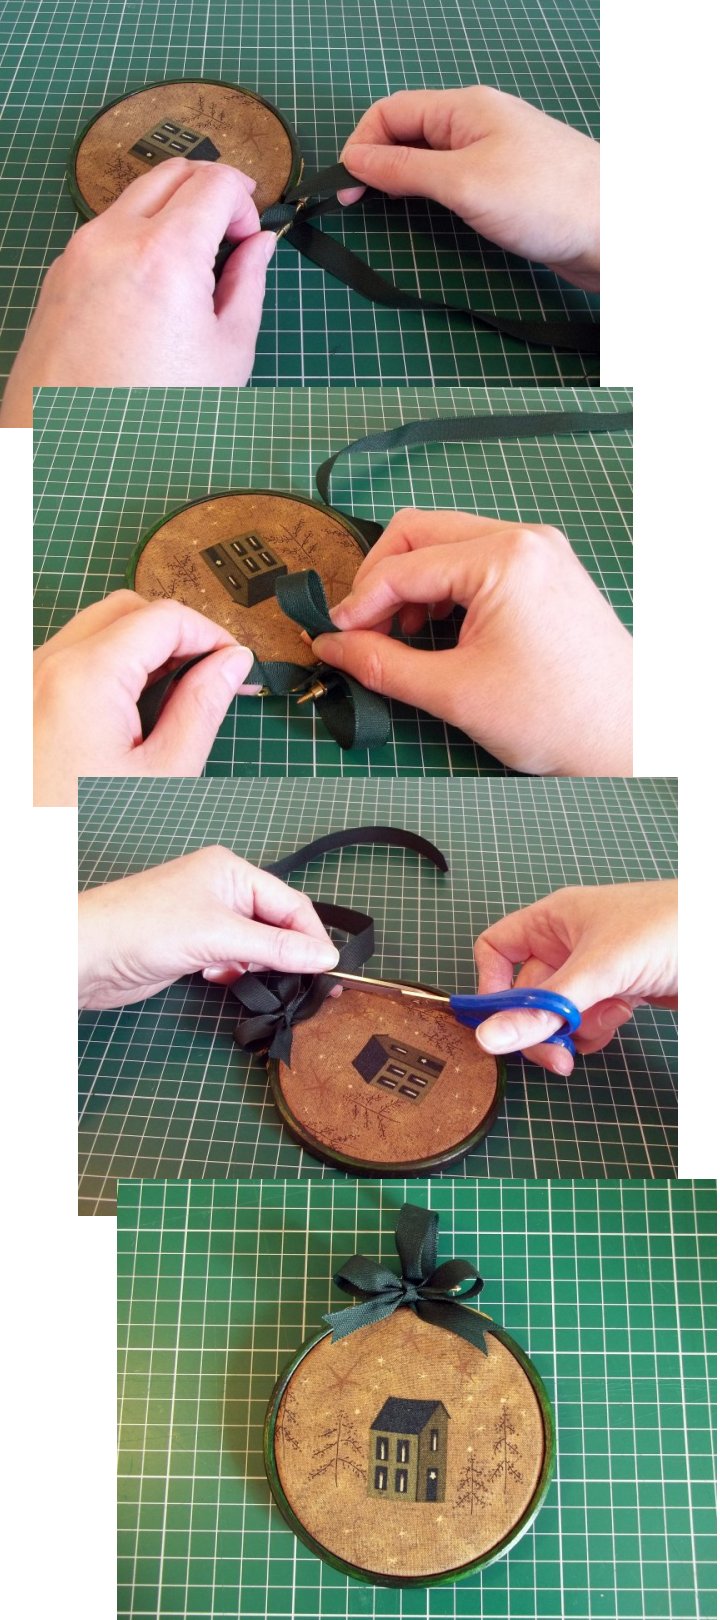
9. Optional - Tie on a ribbon bow or hanging loop to the tightening screw.
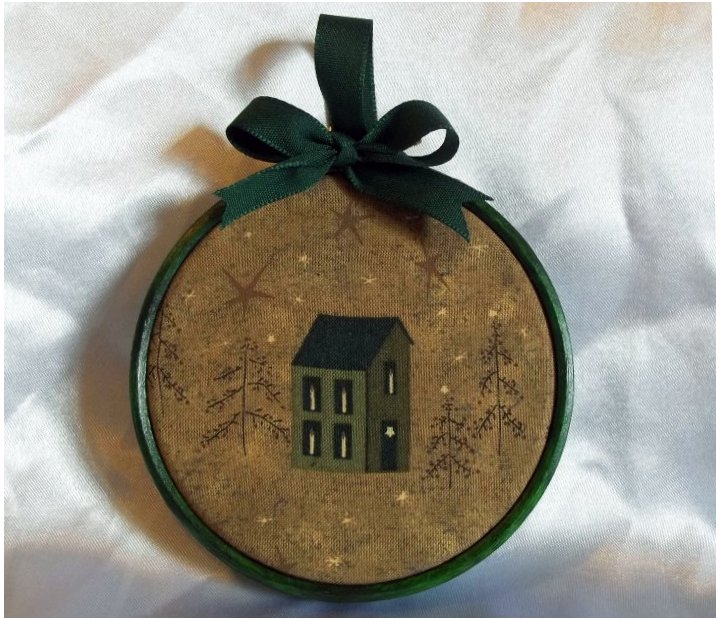
10. Hang up and enjoy your 'embroidery frame fabric art'.
Back to the Fabric and Sewing menu...


