
Ribbon Roses
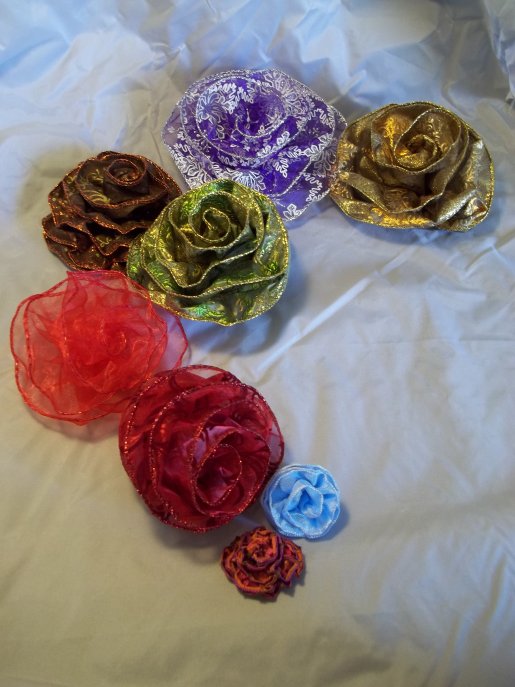
All you need are a needle & thread and a metre of wire-edged ribbon to make these beautiful roses. The technique is quite straight-forward and once you've made your first rose I guarantee you'll be so impressed you'll be dreaming up excuses to make more.
**TOP TIP - If you are hoping to achieve a particular size and shape rose, I recommend experimenting with a variety of fabric types and widths of ribbon because the end results can be quite different as you will see from the picture above -TOP TIP**
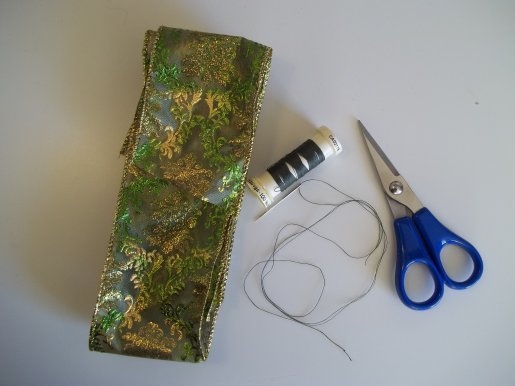
You will need:
Scissors
Needle
Thread (in a colour to match the ribbon)
What to do
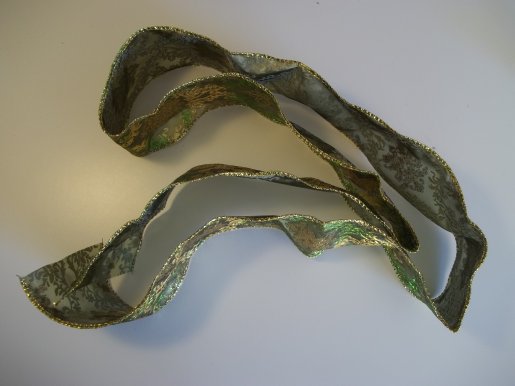
1. Cut a length of wired ribbon depending of the size of rose you are wishing to achieve.
2. Pull a small length of the two wires from one end of the ribbon and bend them backwards over the ribbon edge, fold the edge together and sew a couple of stitches to secure in place. Do not snip the thread as it will be used in steps 4, 5, and 6 to sew up the rose.
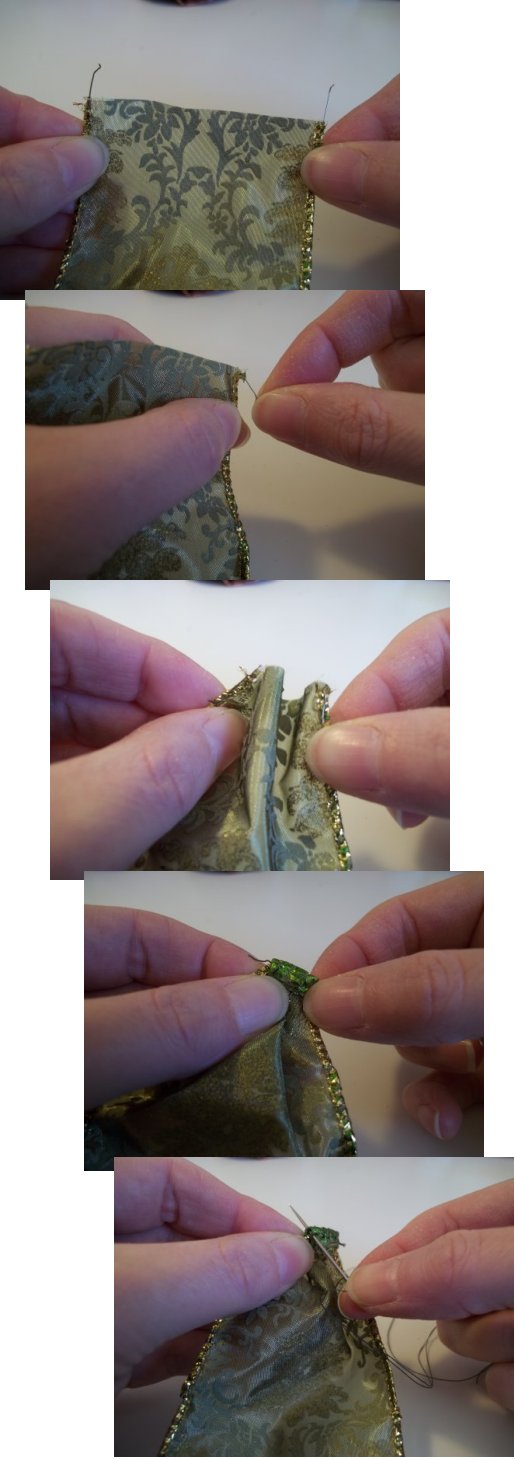
3. Gently pull one of the wires from the opposite end gathering the ribbon along one side (the ribbon will start to curl as you do so). Cut off the excess wire and bend the wire ends over to hold them in place.
**TOP TIP - If your ribbon has a definite front and back make sure that the front of the ribbon is on the inside when curling **

4. From the other end (the end with the needle and thread), start rolling the ribbon tightly at the side where the gathers are to create the flower centre, and sew a couple of stitches at the base to hold in place.
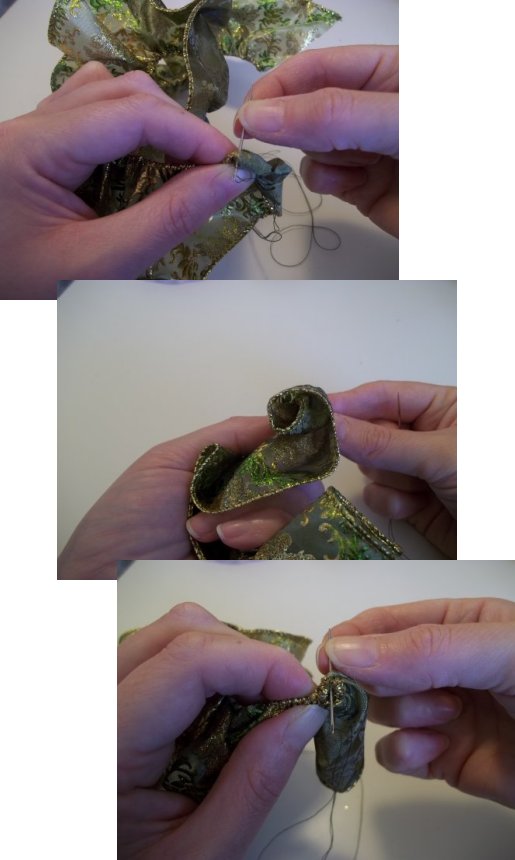
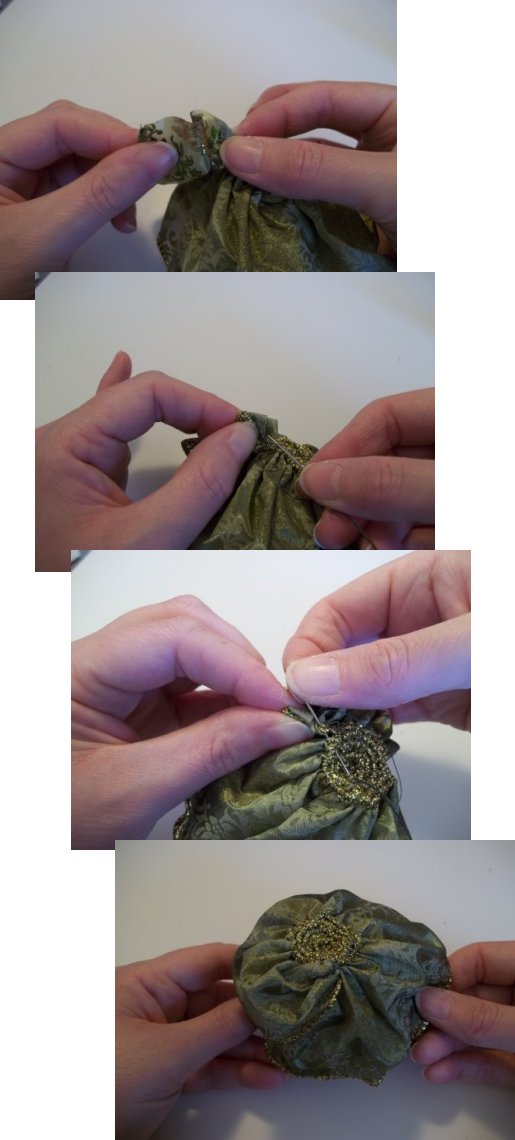
5. Continue gathering and rolling the ribbon around the flower centre, sewing in place at the base as you go.

6. When you reach the end of the ribbon fold the ends together and sew neatly in place at the base.
7. Tease and bend the ribbon into your desired shape.
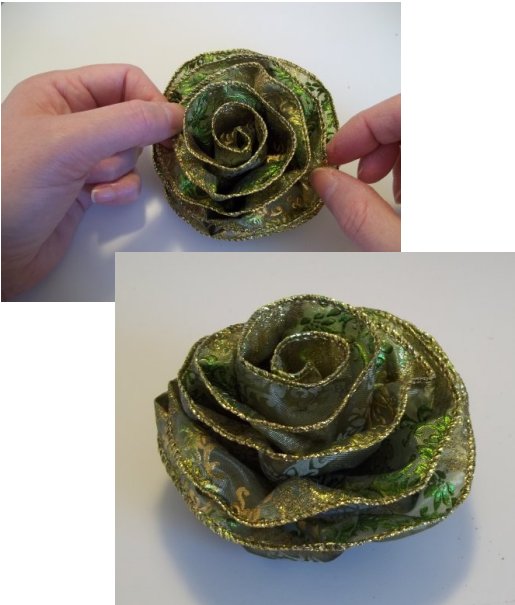
8. Your beautiful rose can now be used for a variety of craft projects such as a broach (just attach a safety pin to the back), wrist corsage/hair accessory (sew onto a length of elastic), glued to a picture frame, adorn a wedding garland or table centre-piece or even be the finishing touch on a wrapped gift.

Back to the Fabric and Sewing menu...


