
Make a Money Box
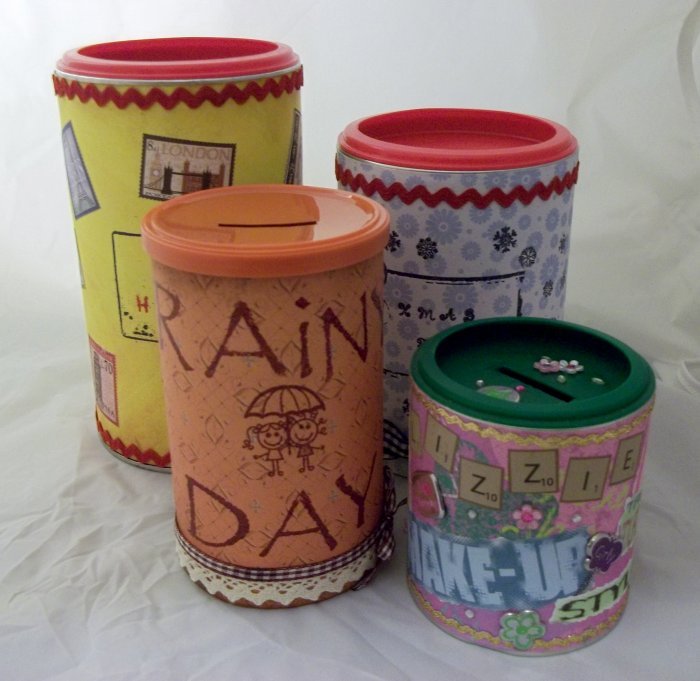
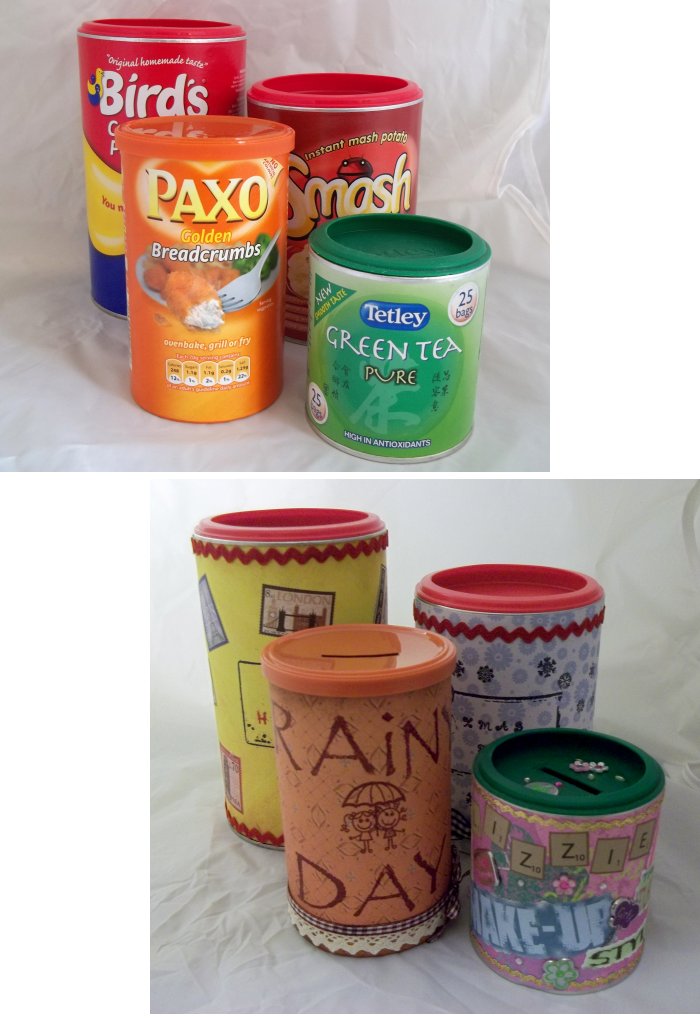
Everyone needs a money box, they are a great way to teach children the value of money and the wonderful feeling they'll get when they've saved up for something special. As adults there is always something to save for: a family holiday or special occasion, gifts, home decorating/furniture, craft supplies or even just preparing for a rainy day and unexpected bills. So why not make and decorate money boxes for each member of the family or for a variety of saving occasions.
Decorating these money boxes are a great project for a children's craft/after-school club or a rainy afternoon with the grandkids, but remember that craft knives are very dangerous and must only be used by a responsible adult.
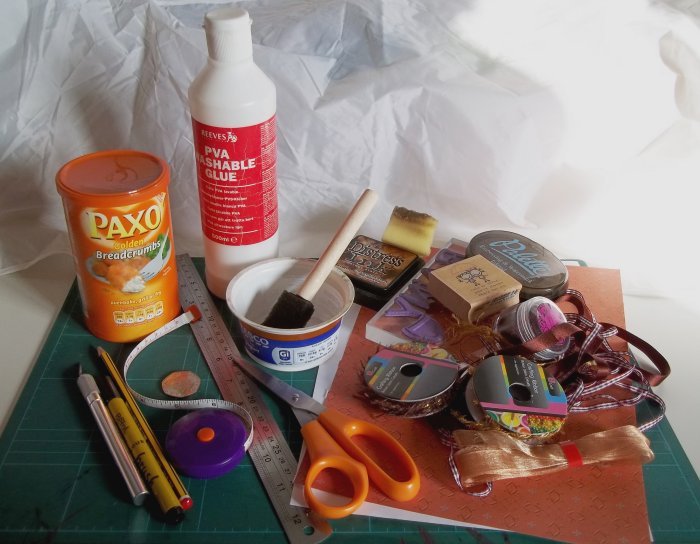
You will need:
Black felt-tip pen (DO NOT use permanent marker)
Largest coin in your currency
Cutting mat (or equivalent that you can cut into with a knife)
Craft knife/scalpel
Flexible tape-measure
Pencil & ruler
Scissors
PVA glue & brush
Coloured/patterned paper -to wrap around the tub
Extra decorations (optional - stamps, stickers, ribbon, glitter etc)
Scrap paper (to protect table surface when gluing)
What to do
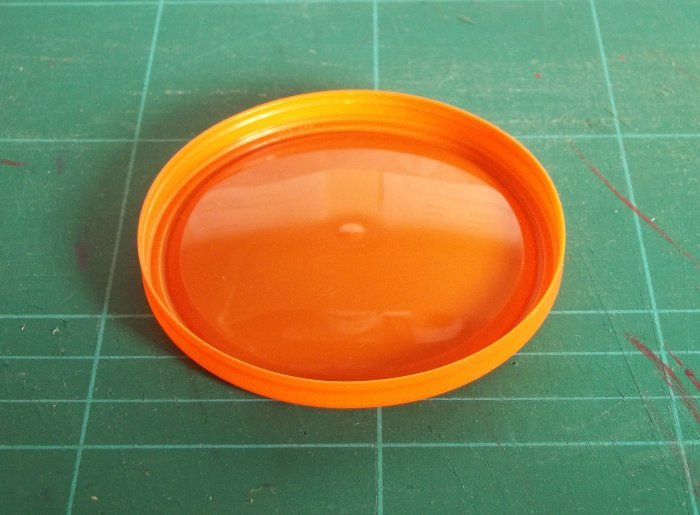
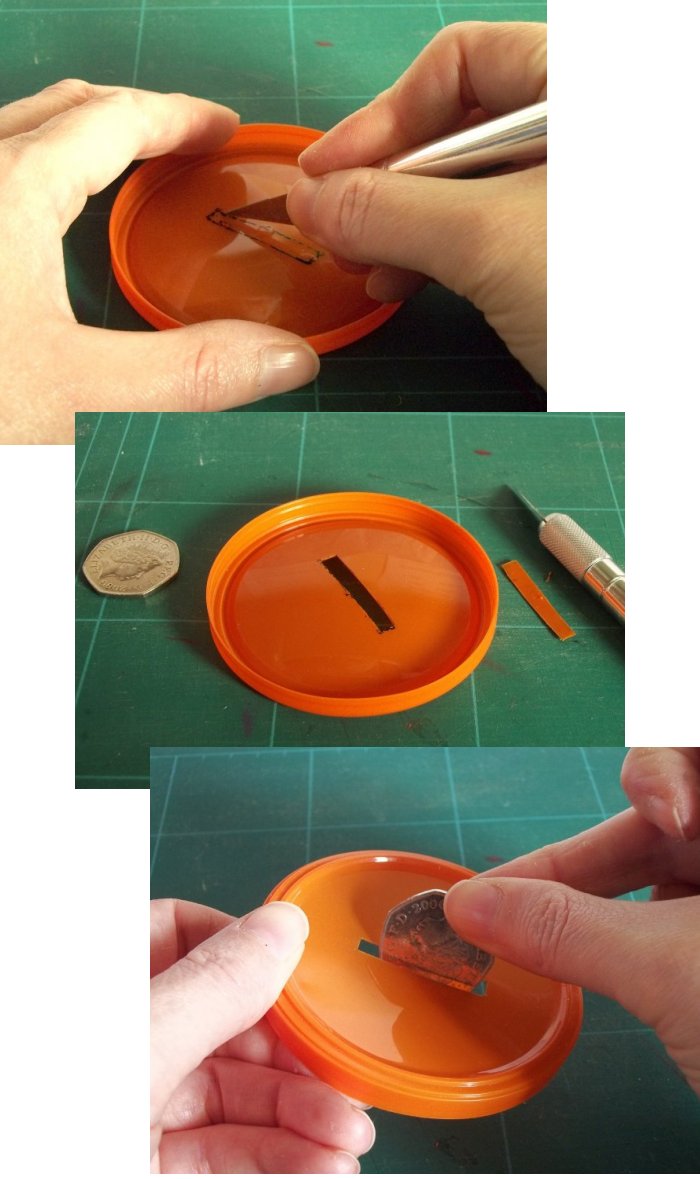
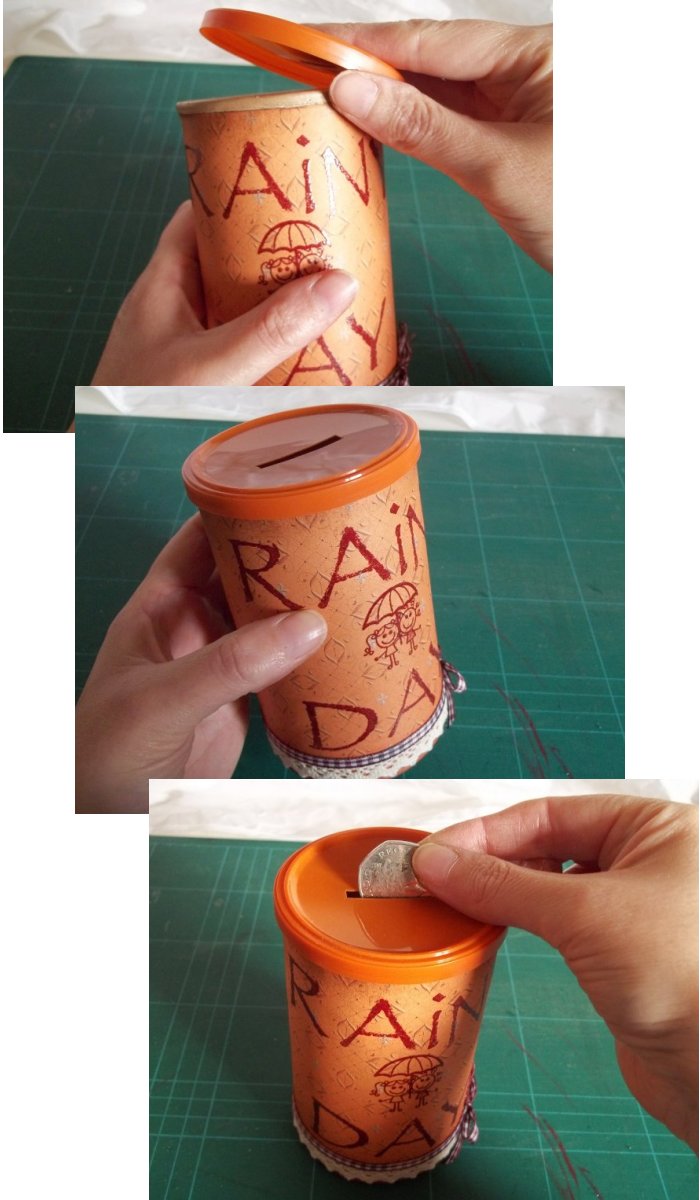
1. Take the plastic lid off of the tub and place it with the flattest plastic area down closest to the cutting mat (this keeps the lid more stable when cutting).
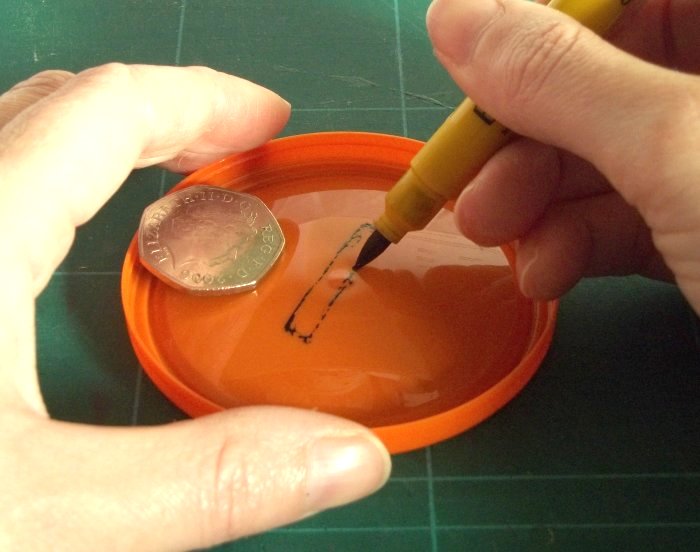
2. Using the felt tip pen carefully and neatly draw a coin slot in the lid top (using the largest coin in your currency for reference).
**TOP TIP - Craft knives are very sharp and must only be used by a responsible adult - TOP TIP**
3. Carefully cut out the coin slot with a craft knife following the drawn lines, test the hole to make sure it is big enough for your money to go through. Carefully trim if necessary.
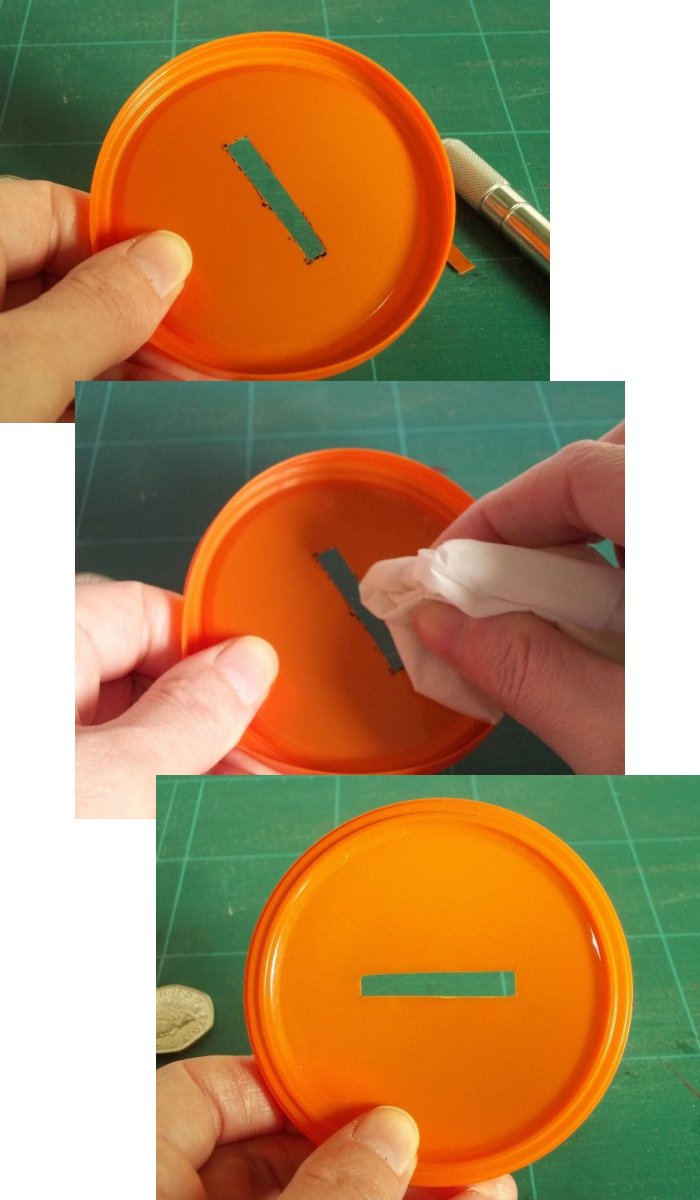
4. Clean off any left-over felt tip marks and put the lid to one side.
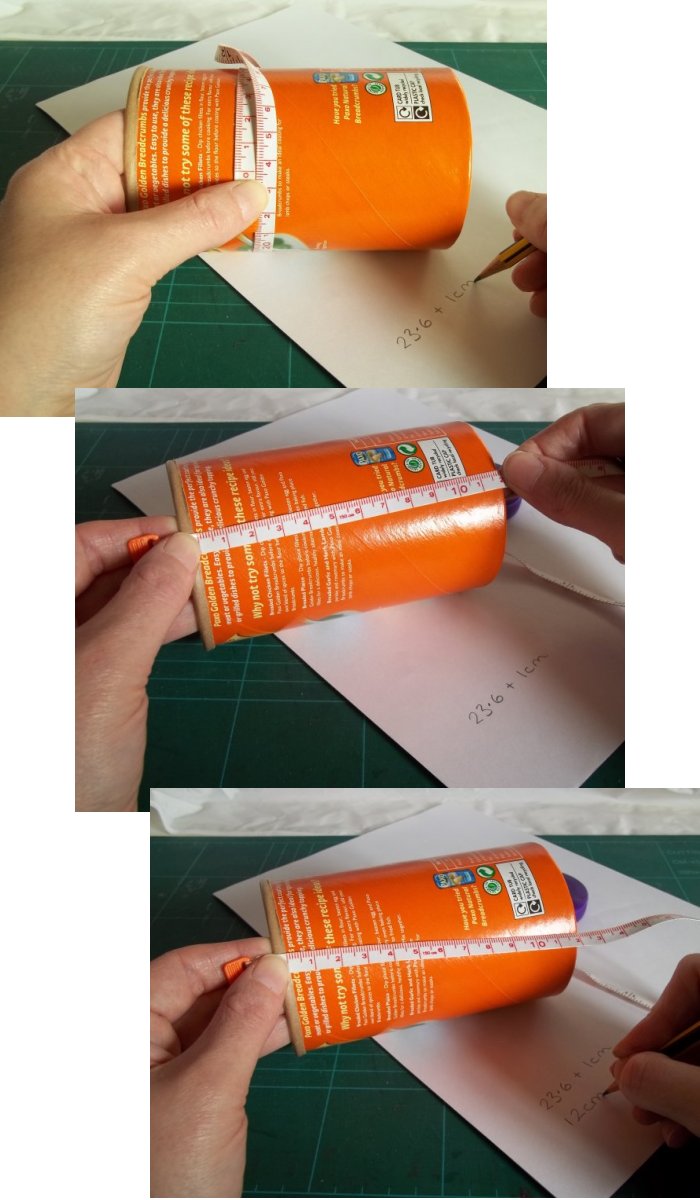
5. Measure the circumference (plus 1 or 2 cm for overlap if possible) of the tub and its height and make a note it.
6. Choose a piece of paper that is long enough to wrap around the tub and lay it face down on the cutting mat.
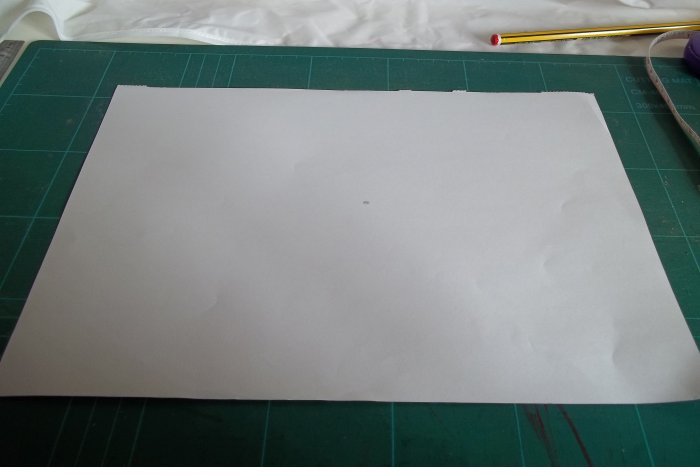
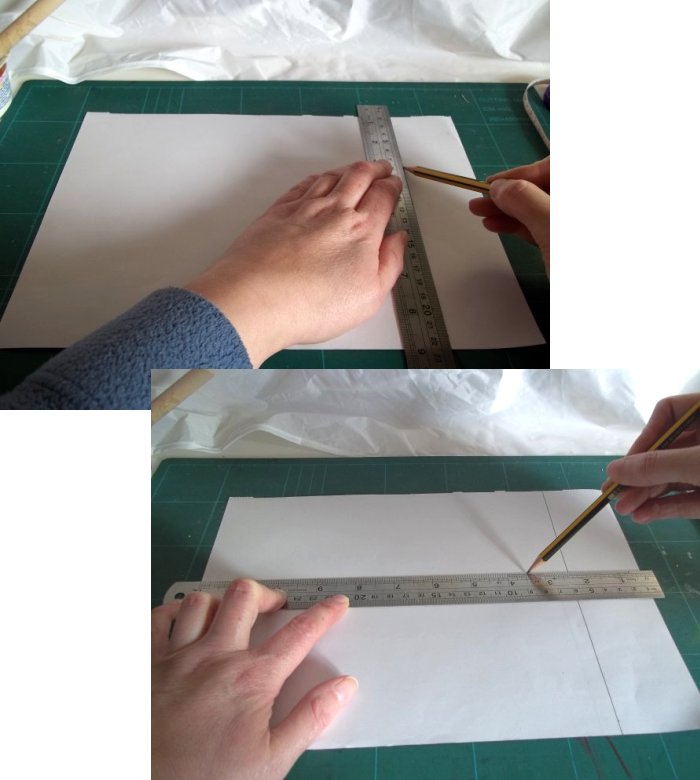
7. Using the dimensions of the tub (circumference plus a little extra & height) draw a rectangle on the back of the paper that will wrap around the tub.
**TOP TIP - If your paper is a little too short to wrap completely around the tub, then a good way to hide a small gap is with some ribbon. Cut a piece of ribbon the same height as the tub and glue in place to cover the gap (it will look like a feature and no one will know the paper wasn't big enough) - TOP TIP**
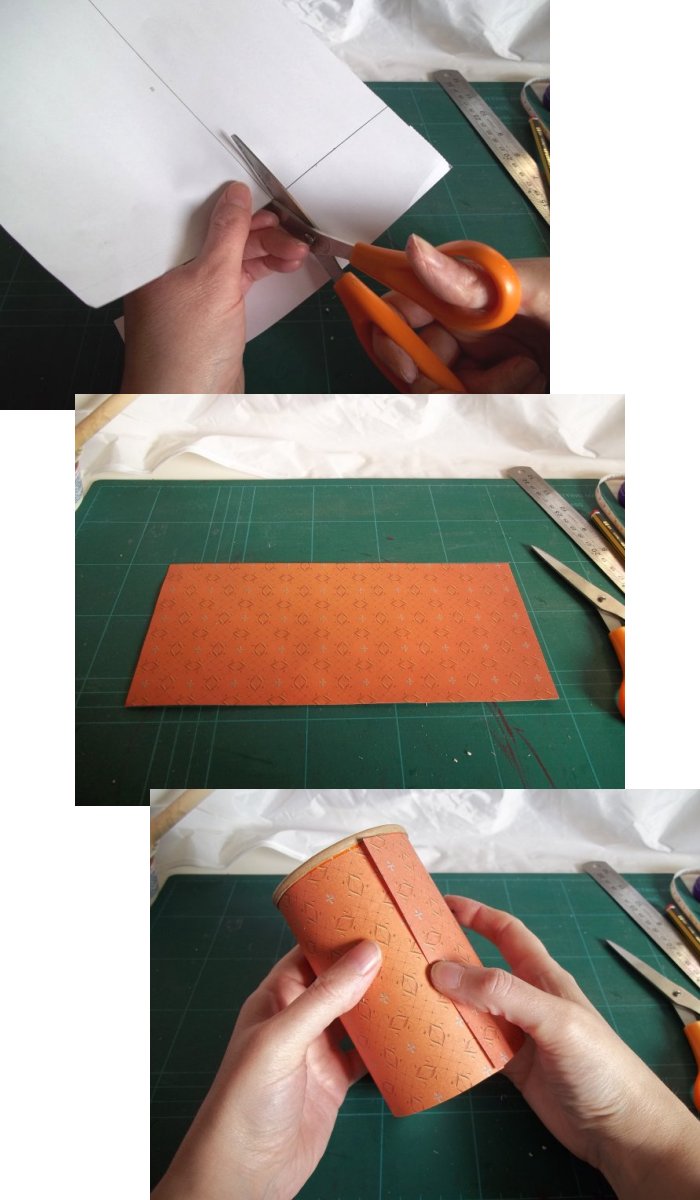
8. Carefully cut out the rectangle and wrap it around the tub to make sure it is the right size and shape.
9. At this point you can either go straight to sticking the paper onto the tub and then adding any additional decorations or you can decorate the paper first and then stick it on (if you plan to stick on items such as ribbon & buttons etc. then these are best glued on after the paper is stuck on the tub).

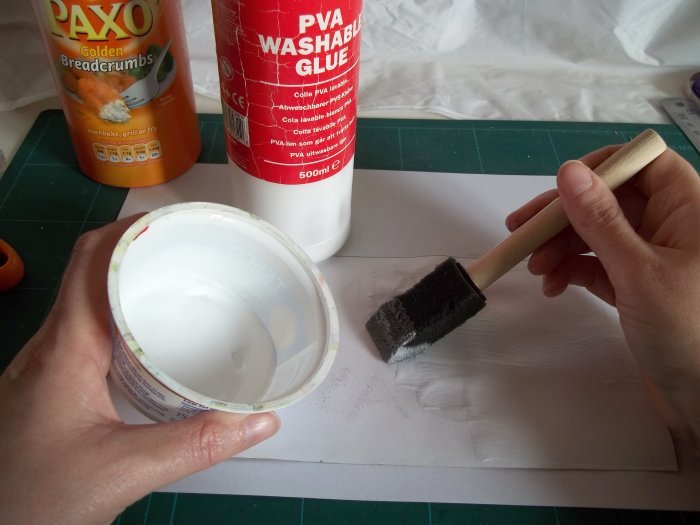
When you are ready to stick the paper to the tub, lay the paper face down on top of some scrap paper and evenly spread on a layer of PVA glue, remembering to cover the edges and corners.
10. Carefully wrap the glued paper around the tub, smoothing the paper with your hand as you go (to remove any air bubbles) - (hopefully it will overlap a little at the back, if not and there is a gap then cover this with some ribbon or a contrasting strip of paper.) Wipe away any excess glue with kitchen paper, but don't worry too much about it as the glue will dry clear.
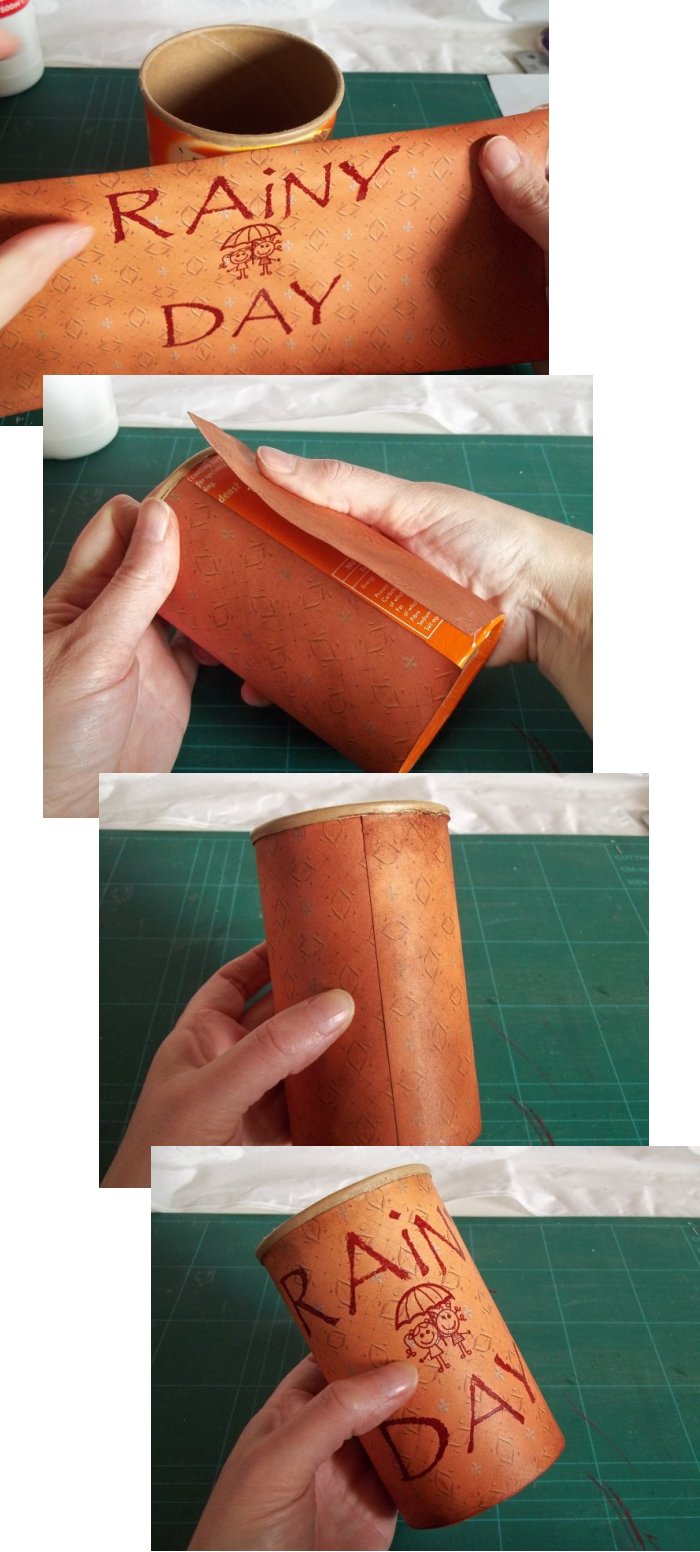
11. Add extra decorations if required and leave to dry.

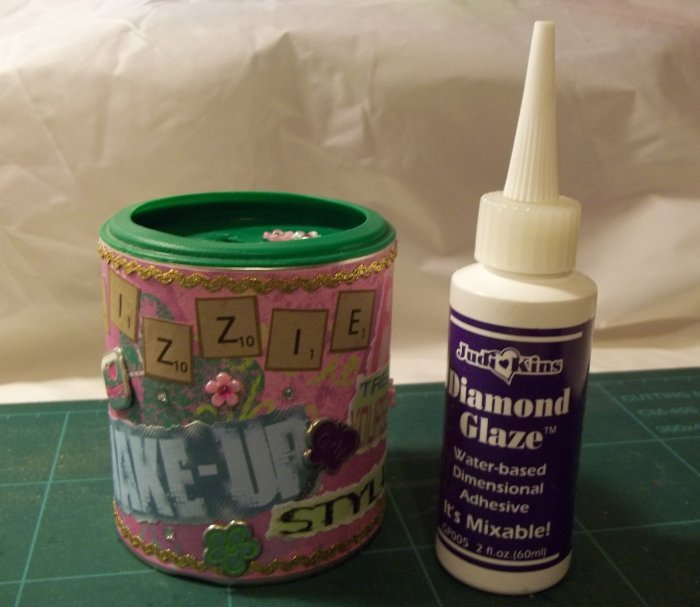
**TOP TIP - If you are adding beads, sequins & buttons etc I recommend using glue specifically designed for the purpose to make them more secure. When making the smallest money box I used 'Diamond Glaze' to attach the sparkly flowers & beads etc - TOP TIP**
12. Put the lid back on and start saving.

Back to the Other Stuff projects menu...


