
Hand Drum
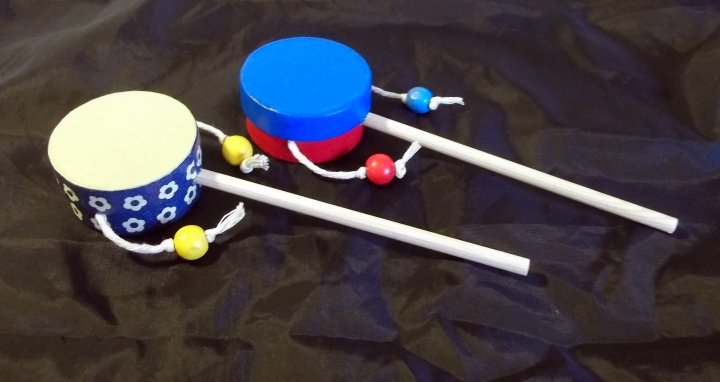
This is a lovely project for young children and adults to make together on a rainy afternoon, or for a group of older children to make in an after school club etc (with adult supervision). It could be start of some great musical talent.
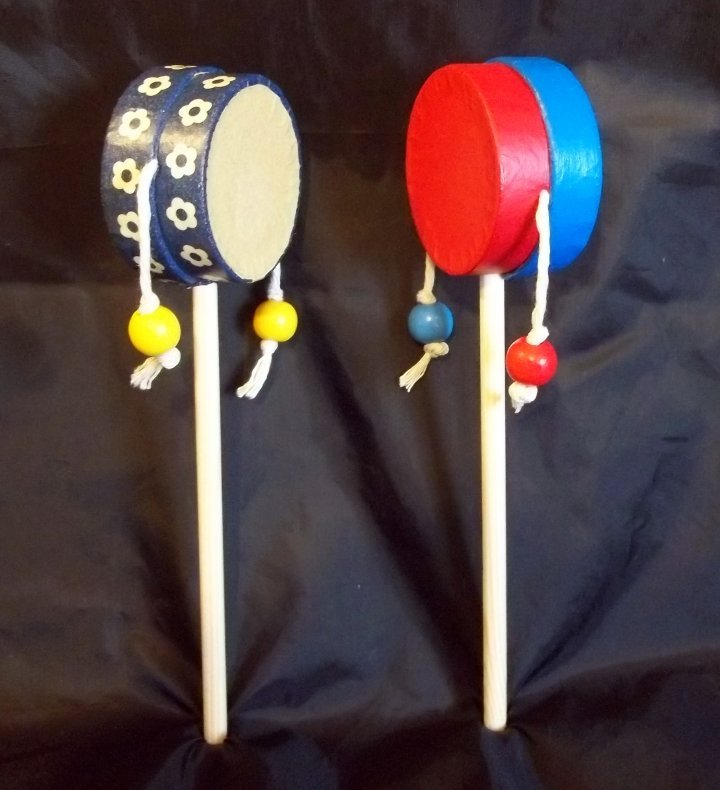
I've added some colour to this drum by painting the cardboard gift box but you could add interest with Japanese washi-tape (patterned/coloured masking tape), which would make it a quicker project as you wouldn't have to wait for the paint to dry.
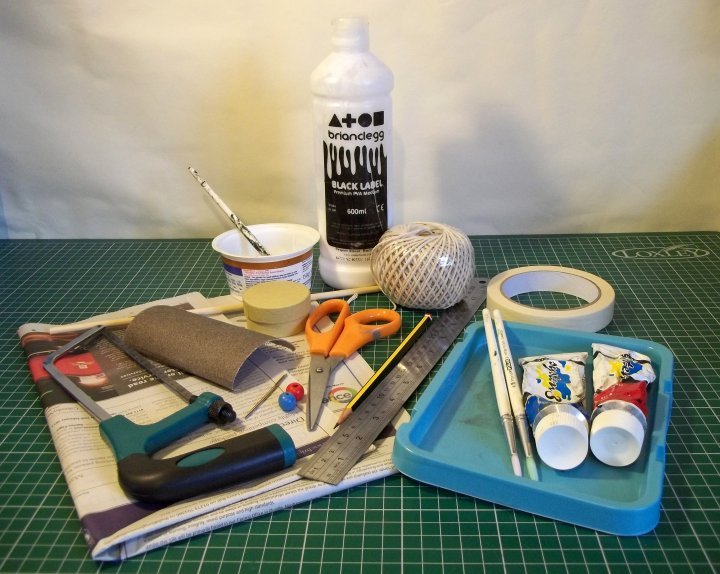
You will need:
2 wooden beads
String
Ruler, pencil & scissors
Acrylic paint & brushes or washi-tape (to decorate drum)
Awl or a tapestry needle (to punch holes in the box)
Tapestry needle
¼ inch (½cm) wide dowel (need about an 18cm (7 inch) length)
Junior hacksaw & sandpaper
PVA glue
Masking tape
Newspaper (to protect surface from paint)
What to do
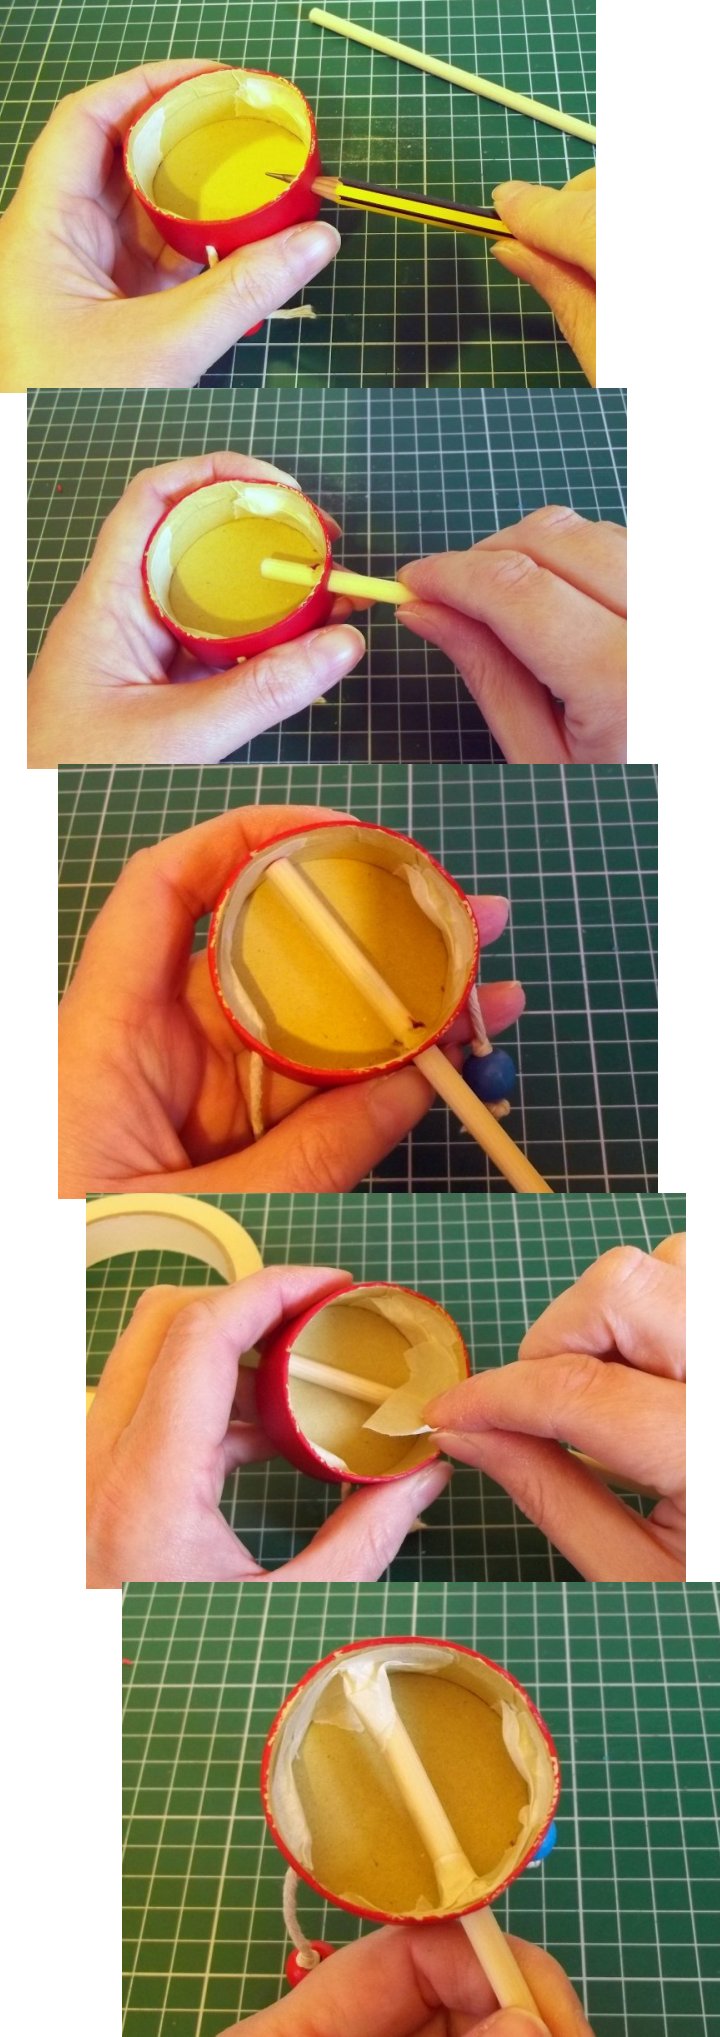
1. Make holes for the handle and beaded string - Remove the box lid and put to one side. Mark 3 positions on the base, one for the dowel handle and two either side of the dowel half way up the box sides (these are for the beaded string). Carefully make holes with the needle/awl at these points ready for the dowel and string later.

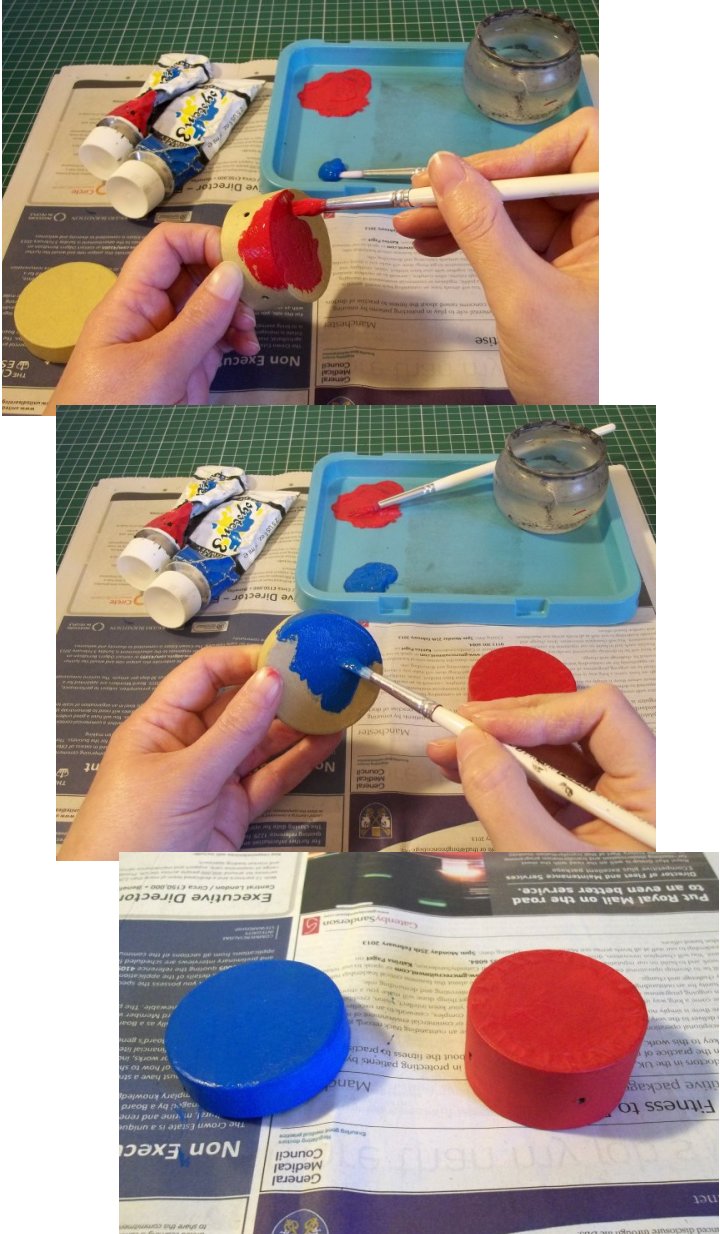
2. If painting your drum, protect your work surface with newspaper. Paint the outside of the box base and lid & leave to dry, painting a second coat if needed (if decorating with washi-tape, do it after the drum is assembled at step 9).
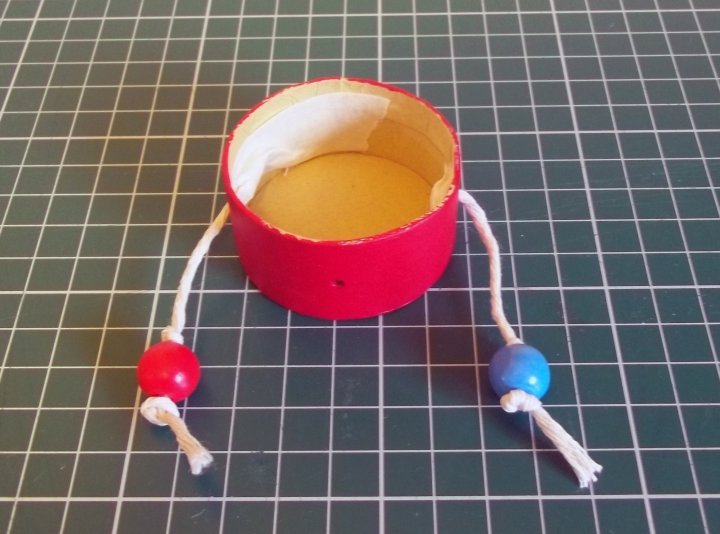
3. Cut about 20cm of string and tie a double knot near one end. Using the tapestry needle thread a wooden bead onto the string & push it up to the knot, tie another knot in the string close to the bead to hold it in place.

4. Thread the beaded string through one of the side holes in the box base. The wooden bead must touch the centre of base to make a drum. Tie a knot in the string at the hole on the inside of the box, check the bead still touches the centre of the base and the tie a couple more knots being careful not to shorten the string on the bead side. Trim the string and then secure to the inside of the box with masking tape.

5. Attach the second beaded string in the same way.
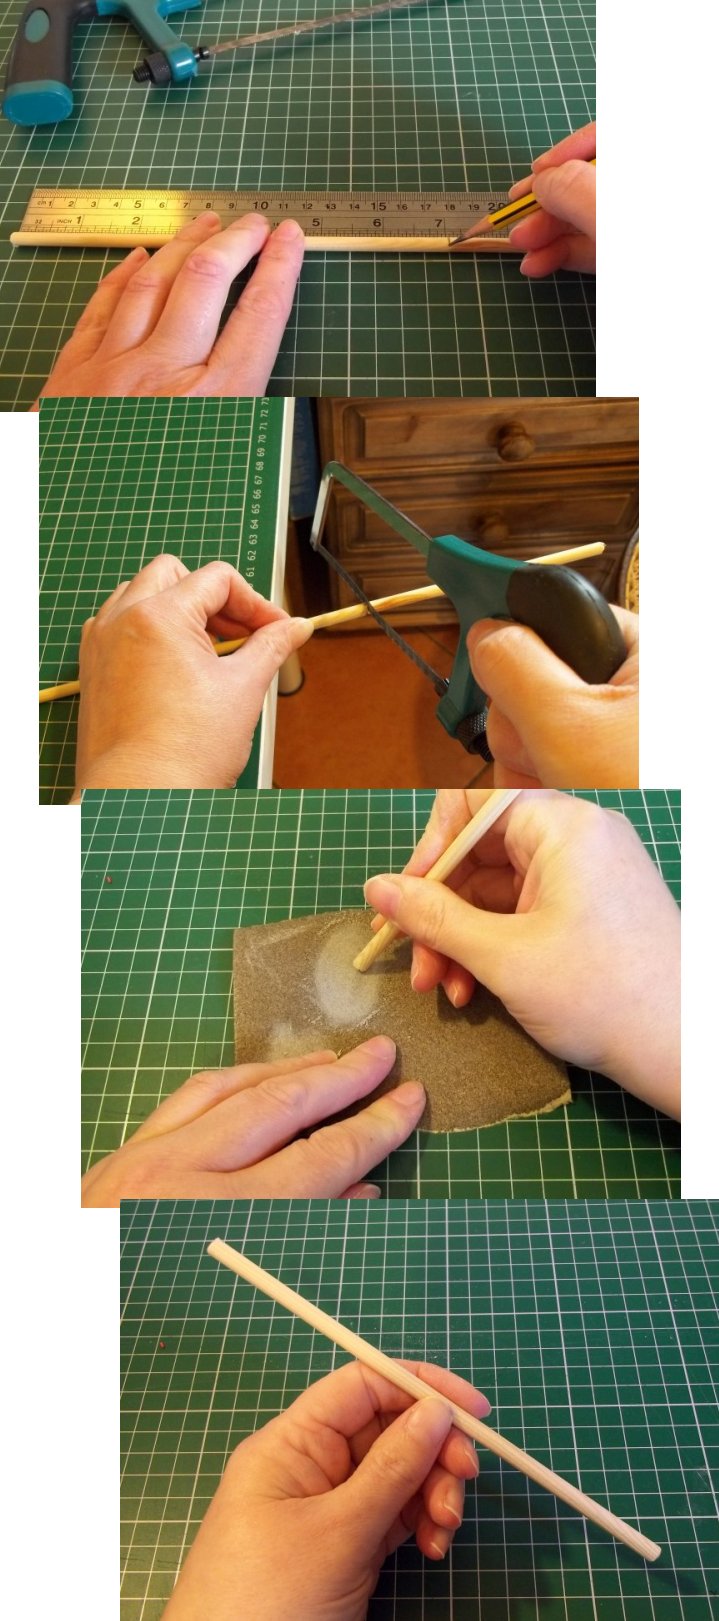
6. Cut an 18cm (7 inch) length of dowel & smooth the ends with sandpaper.
7. Push the dowel into the hole we made earlier, you may need to make the hole a little bigger first with a pencil. Hold the handle in place with some masking tape on the inside of the box.
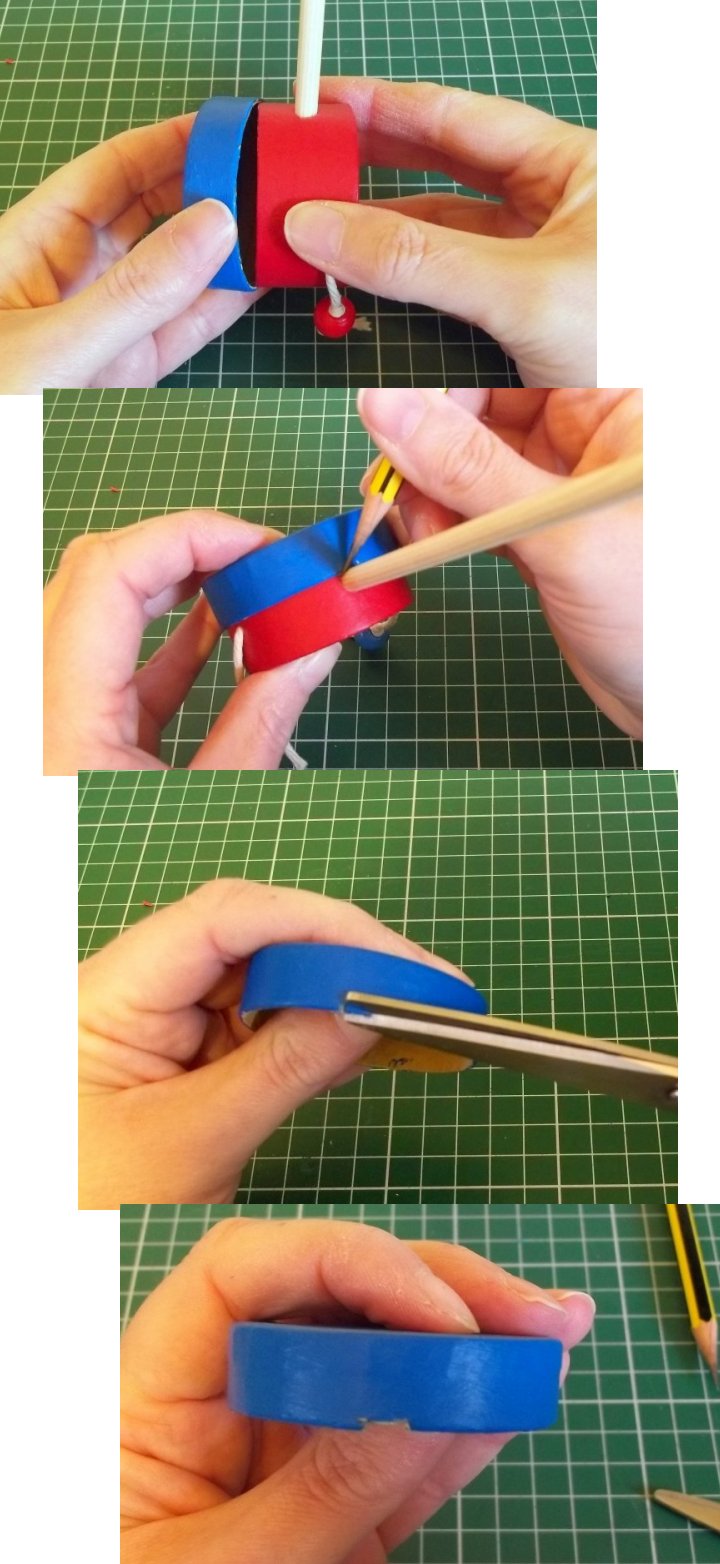
8. Put the lid on the box. Depending on the depth of the lid you may need to cut a small notch in the lid so that it fits snugly over the handle.
9. Remove the lid and spread some PVA glue around the inside of the lid where it overlaps the base and then put the lid back on the box & leave to dry.
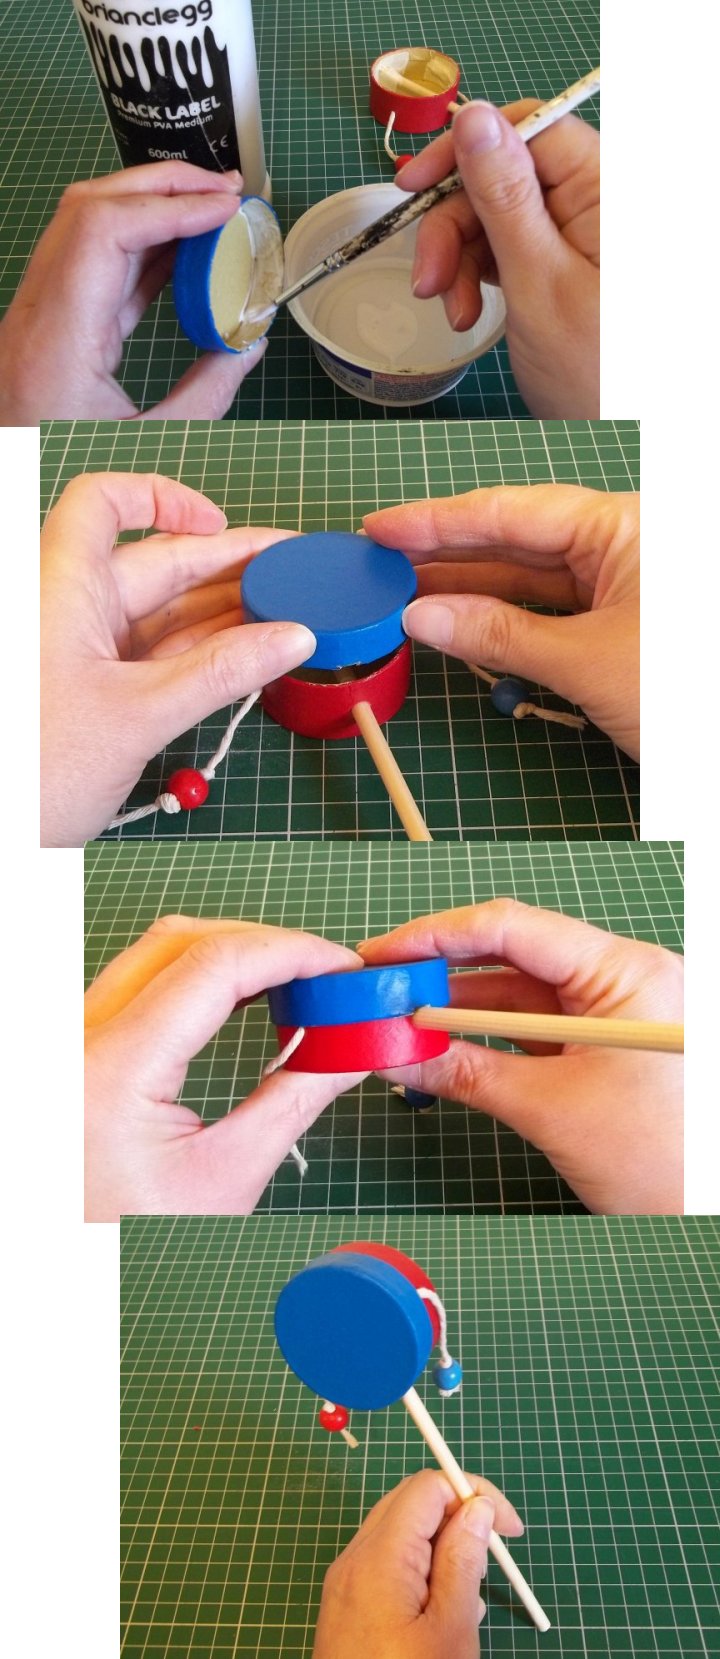
(If decorating your drum with washi-tape, now is the time for it. Just wrap the tape around the base & lid and trim to fit.)

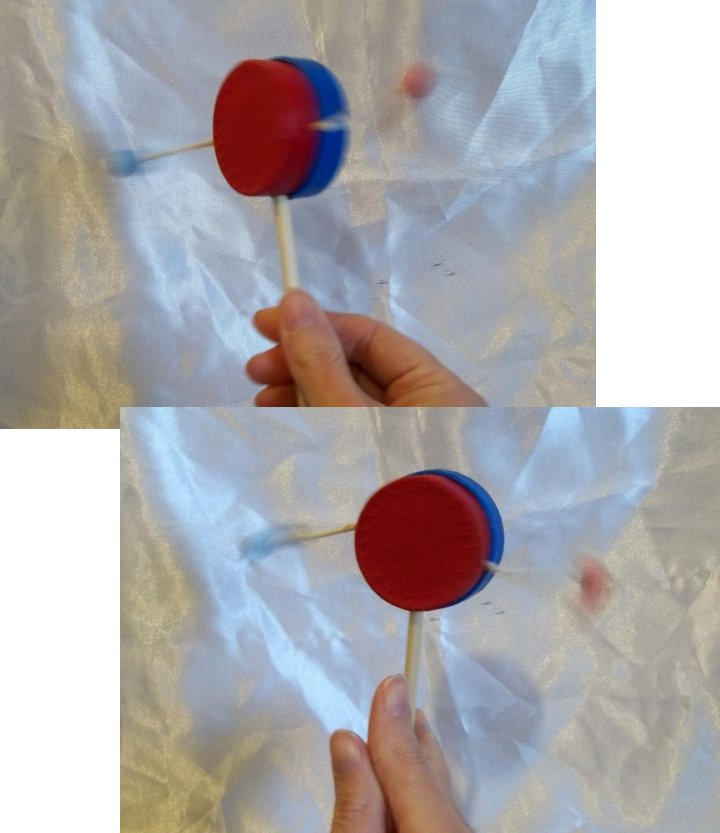
10. Roll the handle between the fingers & thumb of one hand or rub the stick handle between both your hands to make the drum work.
Back to the Musical Instruments menu...
Back to the Other Stuff projects menu...


