
How to make a pom-pom
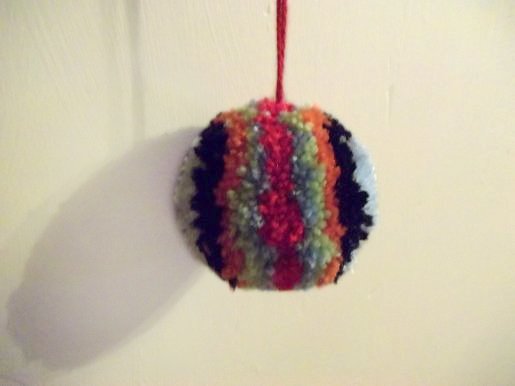
I loved making pom-poms when I was young, I remember making one on a cold winter's night to adorn a woolly hat turning it into a bobble hat. We also made them at school, joining them together to make funny caterpillars. This is definitely a project that the young and old alike can share and have fun. It's also a great way to use up any oddments of wool you have. For added safety adults may want to help younger children with the cutting out of cardboard templates.
You will need:
A pair of compasses or two circular items to draw around (one large & one small eg. a glass and a bottle top)
Pen
Wool
Scissors (for cutting cardboard)
Embroidery scissors (for cutting wool)
Tapestry needle (optional) (it has a large eye and a blunt point)
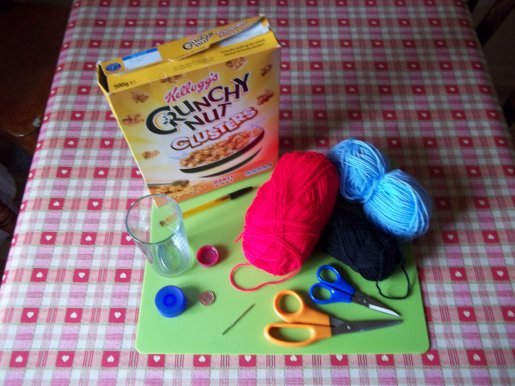
What to do
1. Cut open the cereal box and draw two circles on the inside using the larger of your two circular objects. Cut these out.
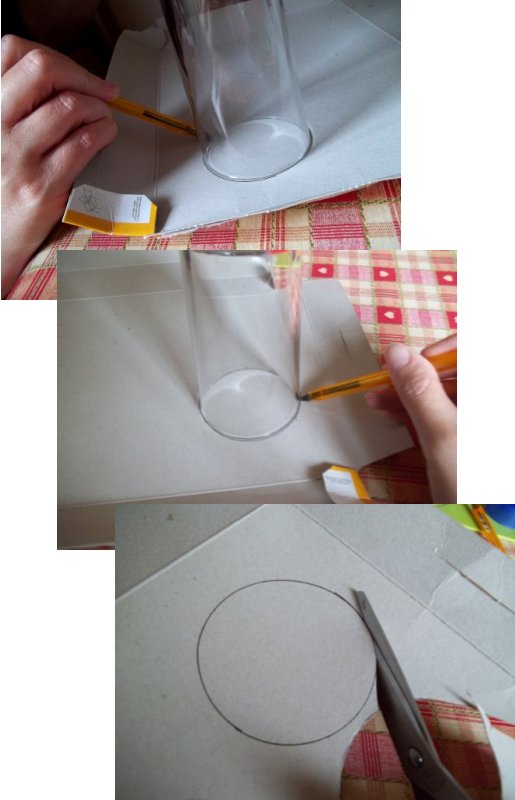
2. Place your small circular object in the centre of one of the larger circles, draw around this and cut out. Then place the one with the centre cut out on top of the other large circle, draw around the central hole and cut out (this way both centres will line up perfectly). They'll look like cardboard doughnuts. Place the two doughnut shapes together.

3. Thread a long length of wool (about 3 or 4 arm lengths) onto a tapestry needle or wind the wool into a small ball (making sure it will fit through the centre holes of the cardboard doughnuts).
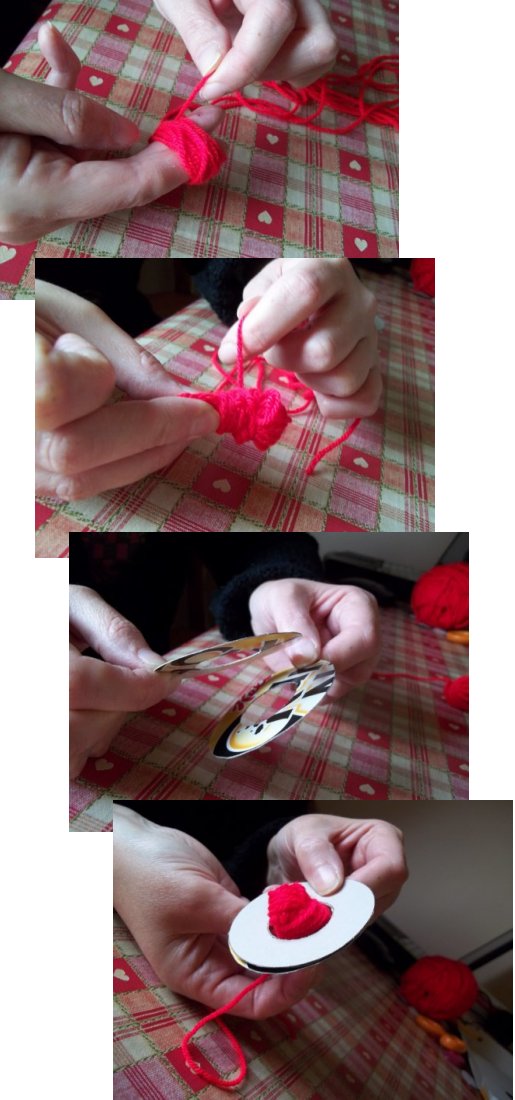
4. Make sure the two pieces of cardboard are still together, hold one end of the wool firmly against the cardboard and start wrapping the wool through the hole and around the outside edge, the first few wraps around will hold the wools end in place.
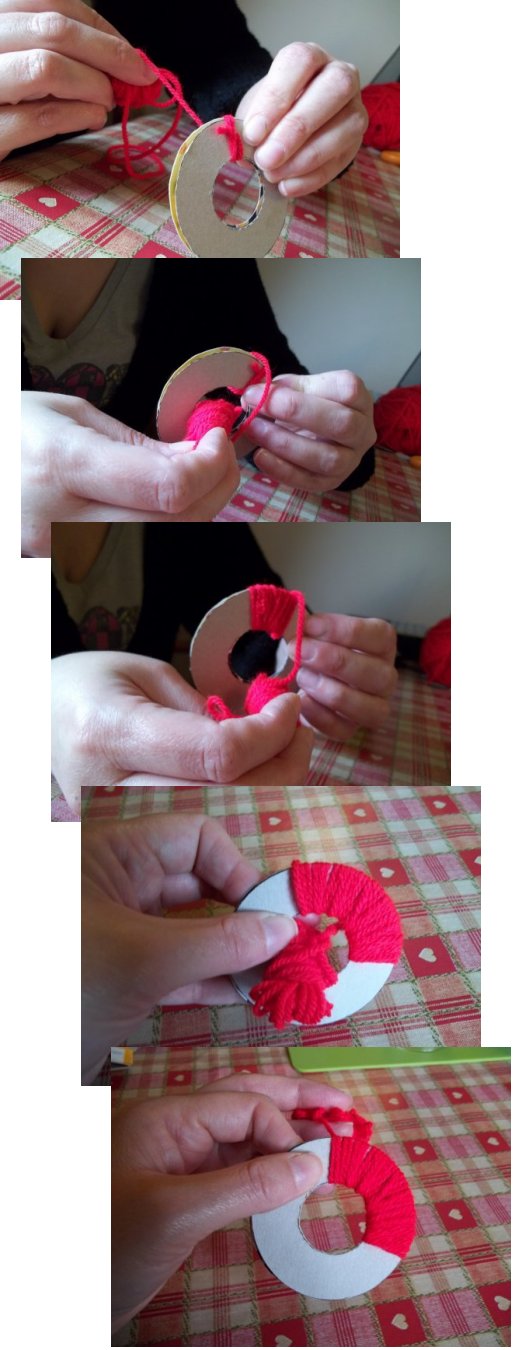
5. Continue wrapping the wool around the card in a circular motion, covering it in even layers until the hole in the centre disappears completely (the pom-poms can be made in just one colour or you can change wools several times while wrapping).

6. As the central hole gets smaller and if you were using a small ball of wool you will find it easier to start using a tapestry needle to help thread the wool through.
(When younger children are making pom-poms it is a good idea to change the colour each time you have completed a circuit, this will create a totally multi coloured pom-pom, and makes it easier for them to see where they have already wrapped the wool.)
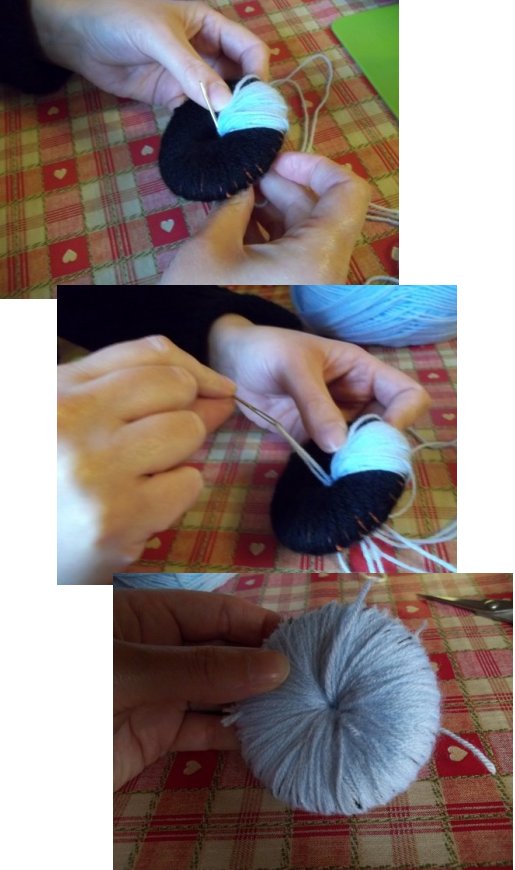
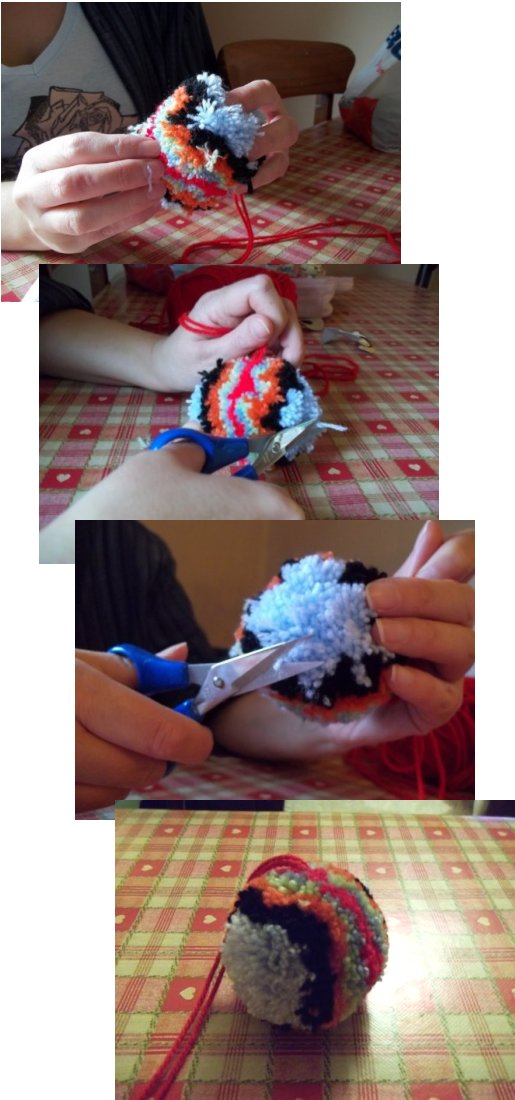
7. Using the scissors carefully cut the outside edge of the circle of wool until all of the strands have been cut and you can see the two cardboard pieces inside.

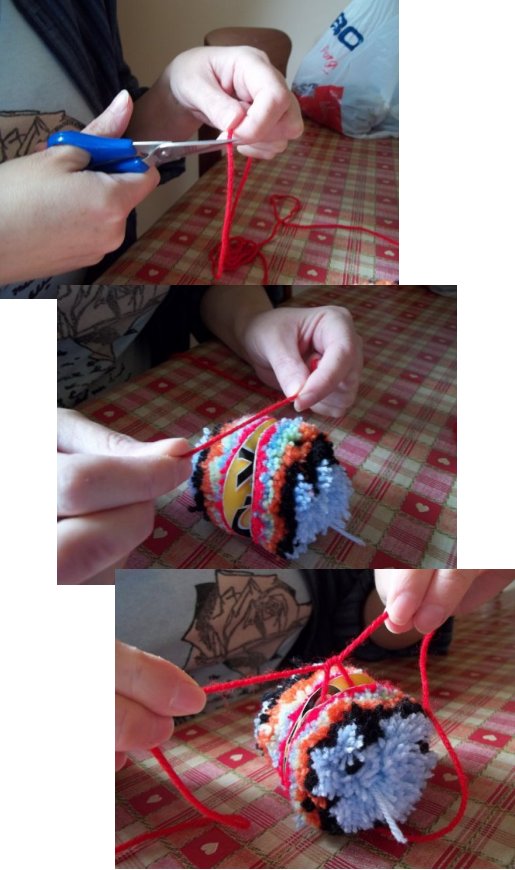
8. Cut a long piece of wool and slip it between the two pieces of cardboard. Wrap the wool around the centre and tie it tightly, knotting the wool to make it secure otherwise the pom-pom will just fall to pieces. Do not cut the long piece of wool used to tie the centre, as this will be used to attach your pom-pom to wherever you want it to go.
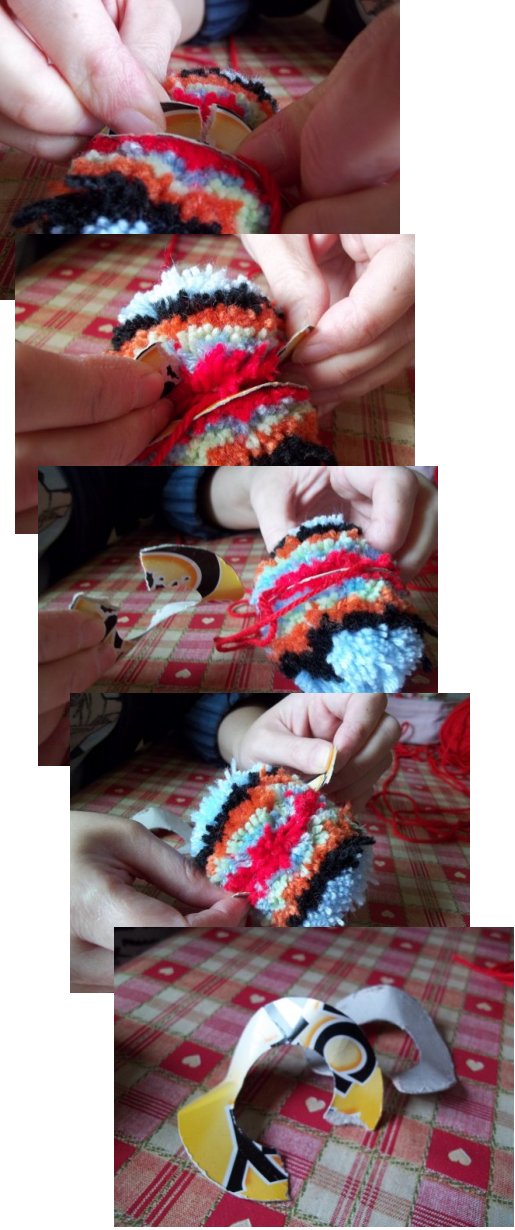
9. Carefully tear the two cardboard rings and ease the pom-pom off them.
10. Fluff out the pom-pom with your hands and trim it to shape if necessary.
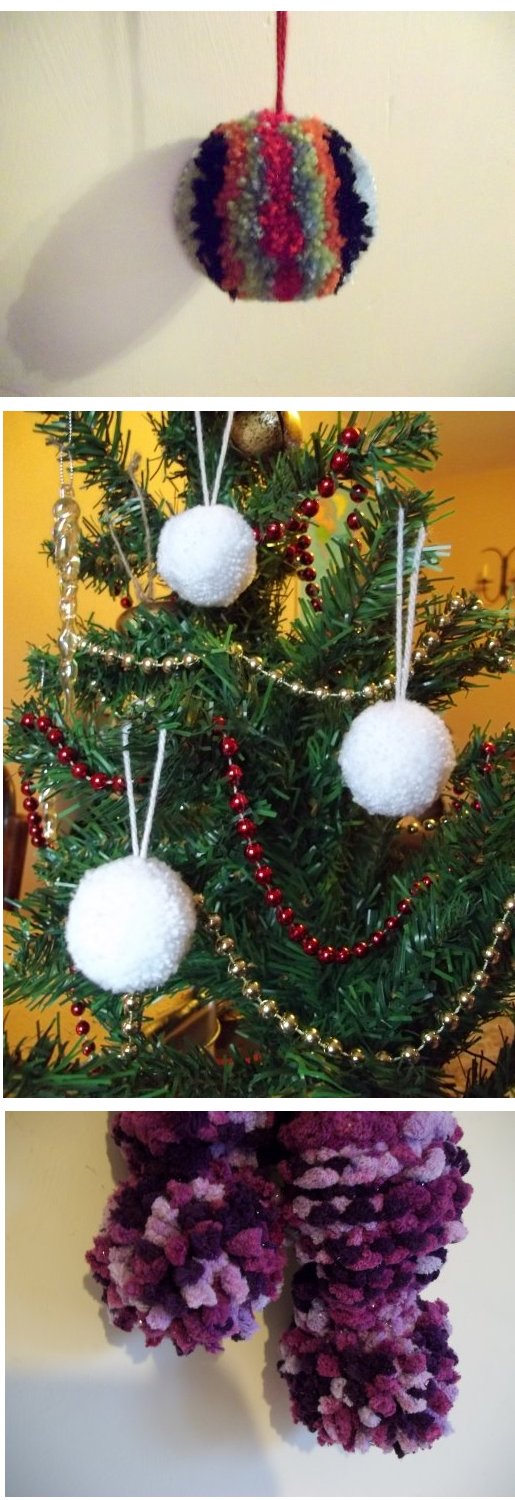
11. Your pom-pom can now be sewn onto a hat, used as a cat toy, made into various animals or insects, sewn together to make a garland, hung on the Christmas tree as a decoration, attached to a safety pin for a broach, the options are endless. Play about with them, and see where your imagination takes you - have fun!
On to How to Make Pom-pom Animals
Back to the Other Stuff projects menu...


