
Magic Wallet
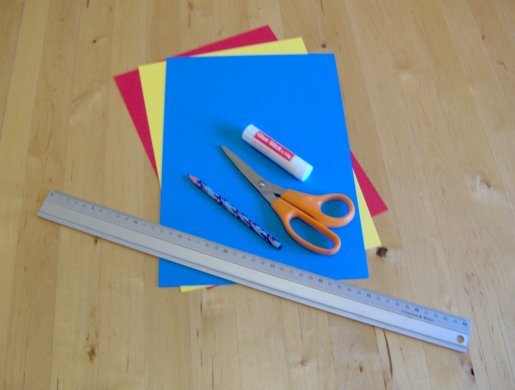
You will need:
Ruler
Pencil
Scissors
Glue
What to do
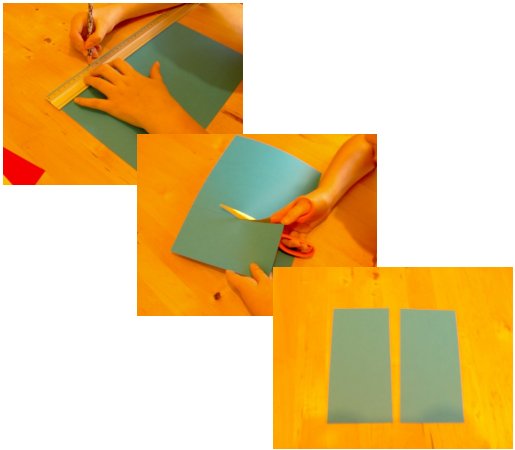
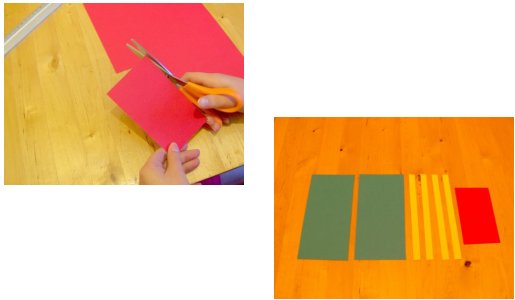
1. For the main body of the wallet, cut two rectangles 18cm x 9cm (7 x 3½ in) from one piece of coloured card.
2. For the hinges, cut four strips from the second coloured piece of card, 14cm (5½ in) x 12mm (½in) in length.
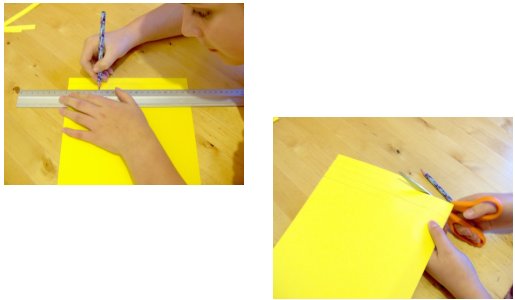
3. Cut a rectangle from the third coloured piece of card aprox 11cm x 7cm to help you see the magic happen.
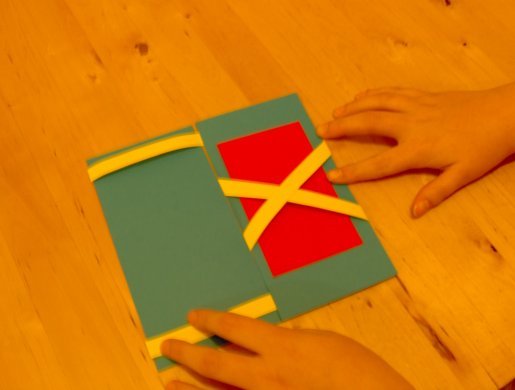
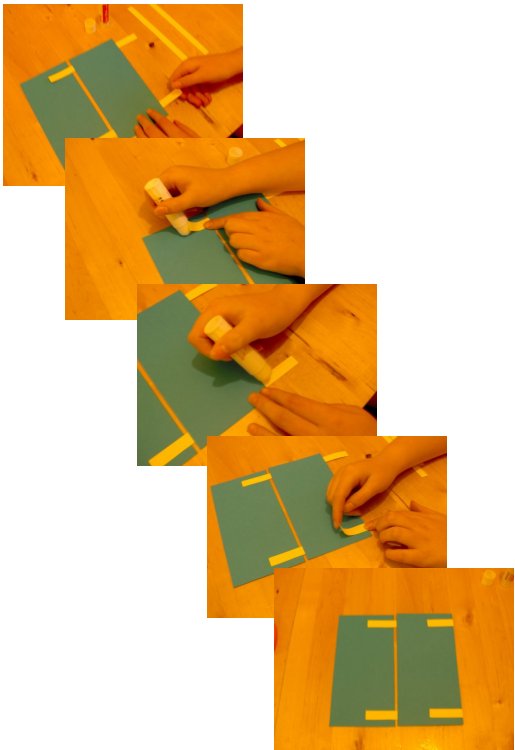
4. Place the two rectangles on the table in front of you. Slide two of the strips under the right hand side rectangle about 1½cm from the top and bottom so that the ends stick out evenly at each end, with the ends on the left hand side going on top of the other rectangle, glue these in position. Fold over the ends on the right hand side and stick down.
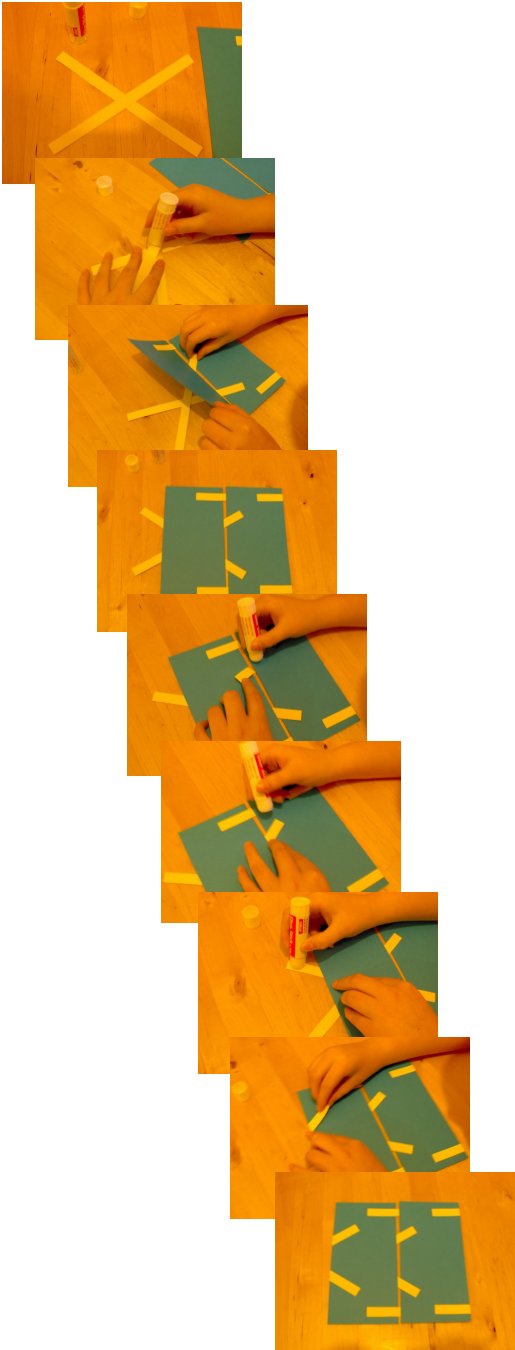
5. Cross over the remaining two strips at a 45° angle and glue together in the centre where they cross. Slide this under the rectangle on the left hand side so that the crossed over section is in the centre of the underside of the card and the ends are sticking out evenly. Glue the right hand side ends to the top of the first rectangle and fold over the ends on the left hand side and glue them down.
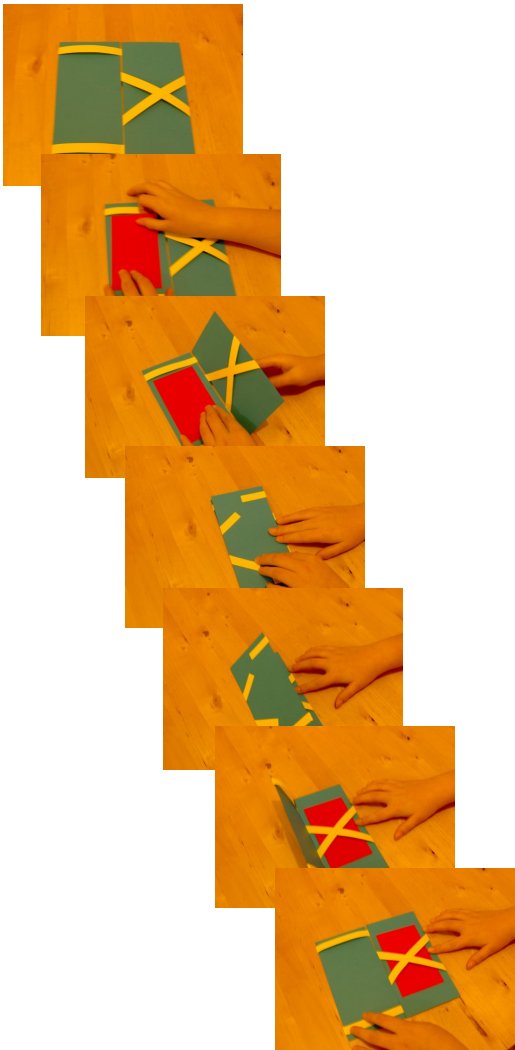
6. Turn the wallet over, with the horizontal strips on the left hand side and the crossed strips on the right hand side. Place the 11cm x 7cm rectangle on the side with the horizontal strips. Close the other side over it and watch the magic when you open it again from the right hand side.
Back to the Science Projects menu...
Back to the Other Stuff projects menu...


