
Vintage Cake Stand
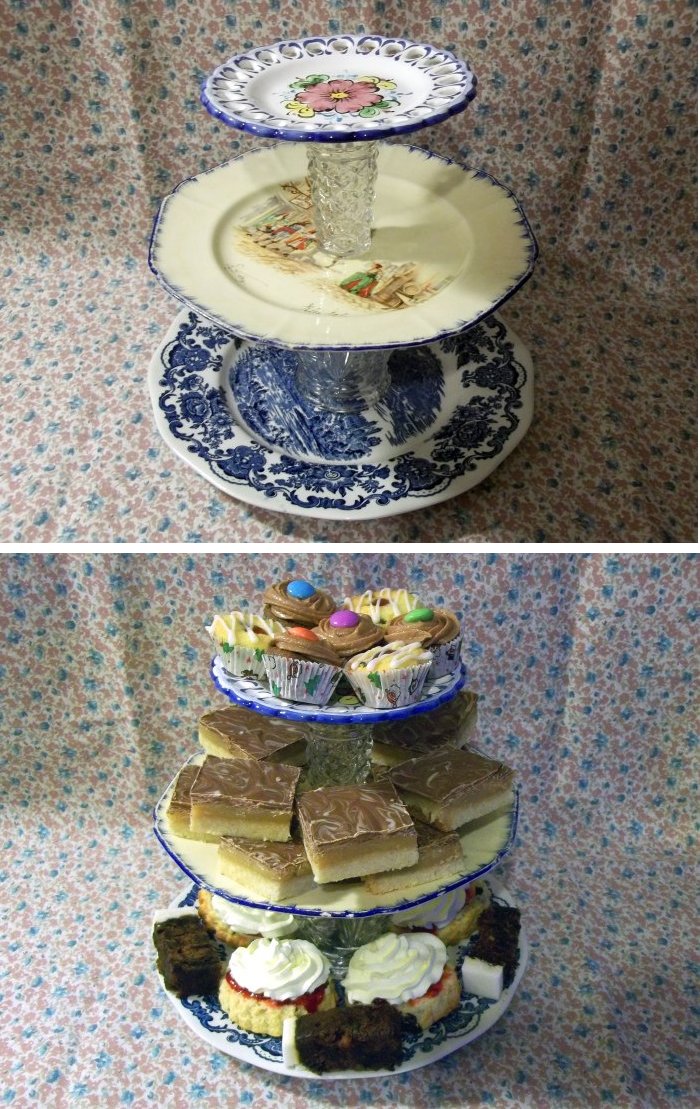
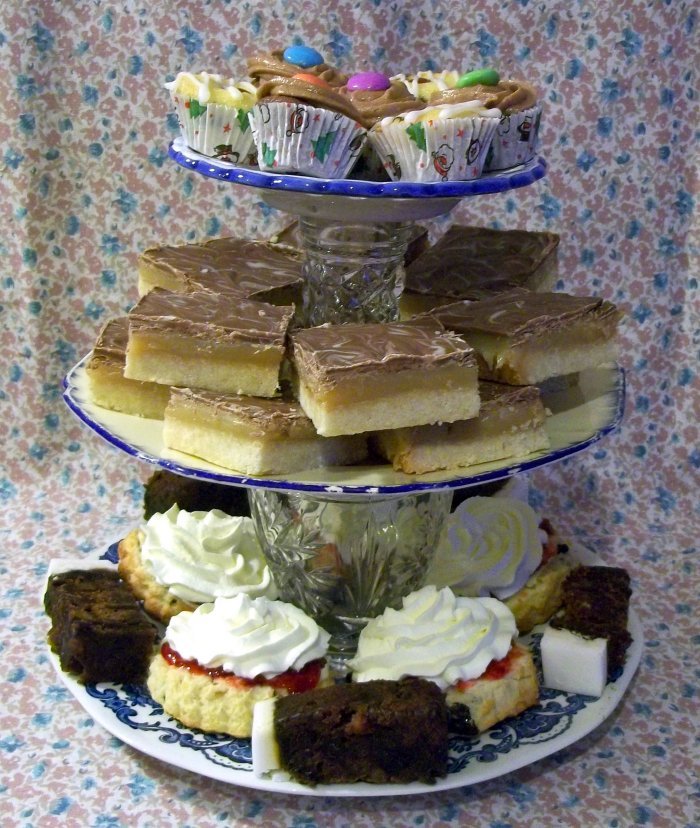
The words vintage & cake combined conjure up to me images of a bygone era, of summer garden parties and bunting blowing in the wind. With this simple project you can re-create a little of that vintage style, and it's a great excuse to bake some cakes too.
Charity shops and car-boot sales are a great source for cheap, beautiful plates and glasses etc if you want the vintage look. Cake stands don't have to be old fashioned though, they can be made from modern-day crockery, tin-wear used for camping or even plastic & melamine picnic plates etc. The choice is entirely yours; just remember to use the correct glue.
You will need:
2 x glasses/vases/sundae bowls etc (stands)
Glue (suitable for whatever your plates & stands are made from)
Kitchen paper (may not be necessary - just in case you use too much glue)
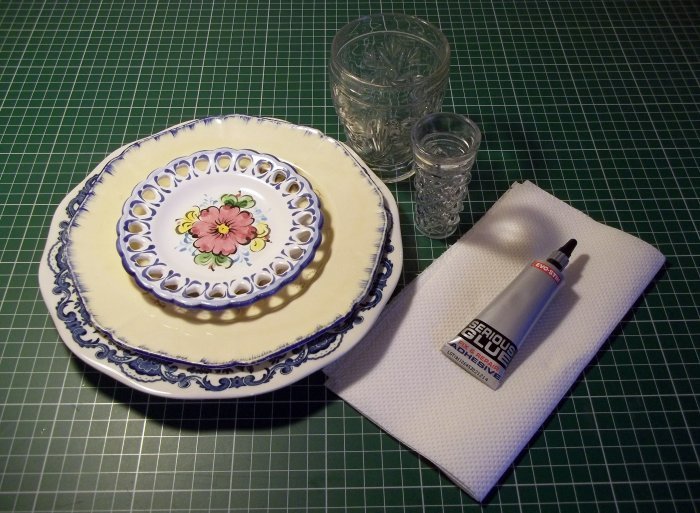
What to do
1. Wash and thoroughly dry the plates and stands.
2. Place the three plates right side up in front of you with the stands sandwiched between the plates. From left to right they should be 'largest plate - stand - middle sized plate - stand - smallest plate'. This will be the order of assembly.
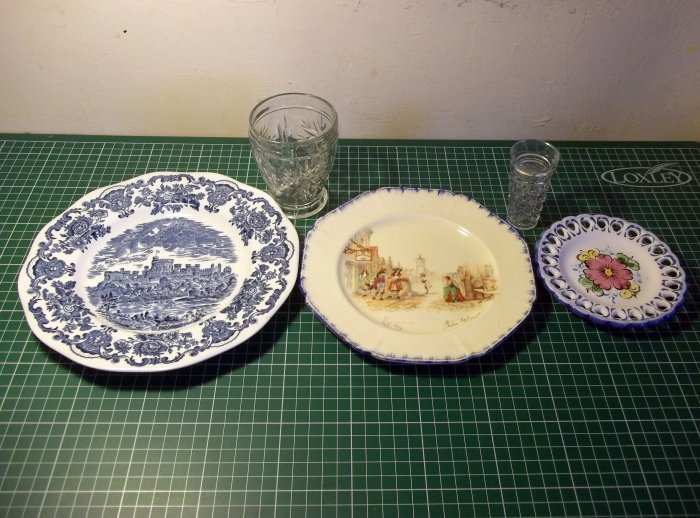
3. Before gluing it is a good idea to stack all the pieces in the right order to make sure they all fit together perfectly and also to see what the finished result will be just in case you're not happy with the look and want to change one of the pieces.
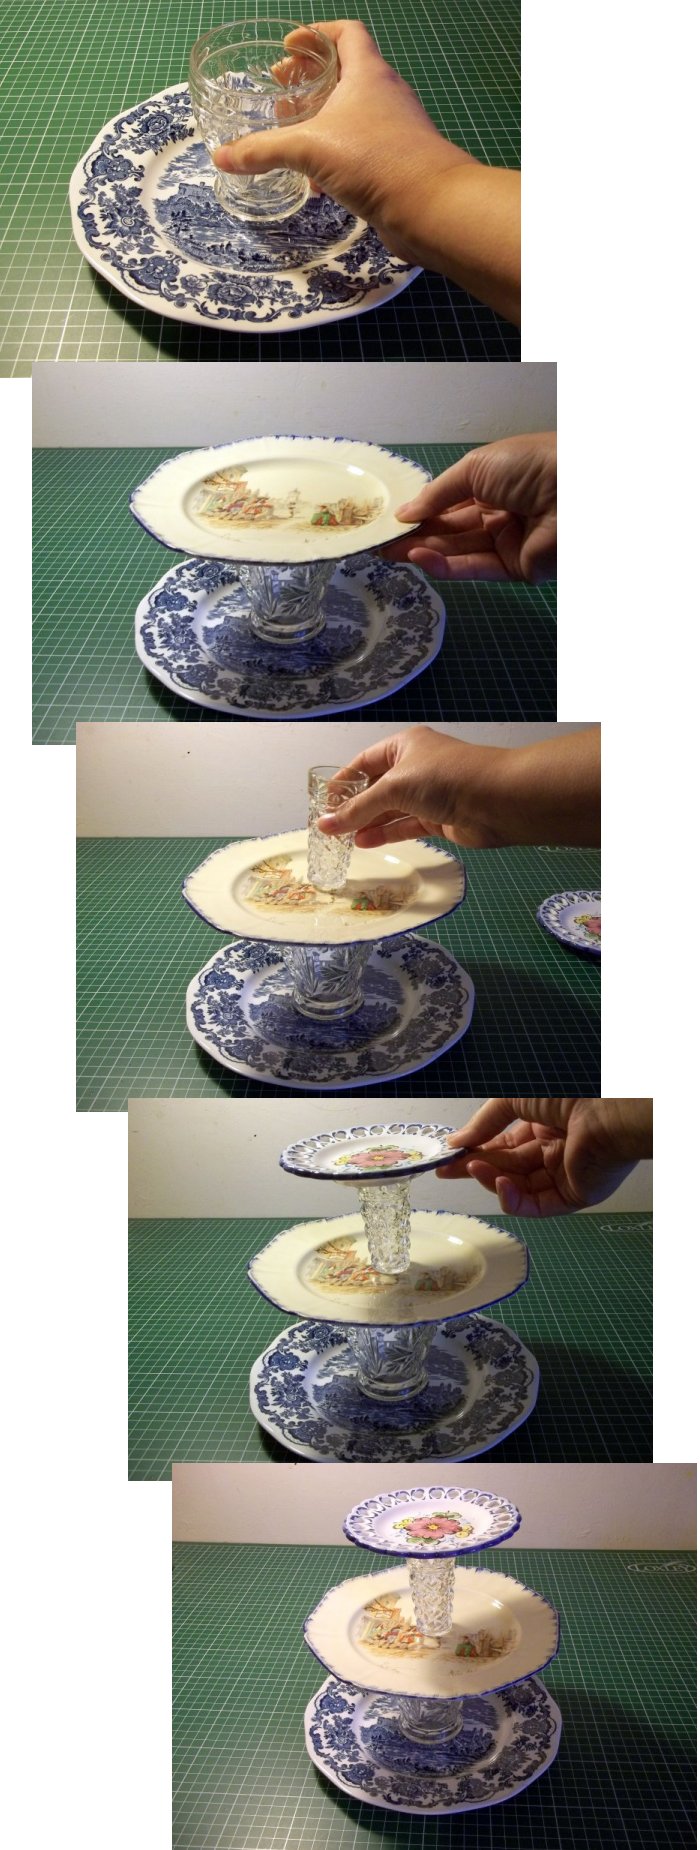
4. If you are happy with how it looks and they all fit together easily then carefully take them all apart, laying the pieces in front of you as before.
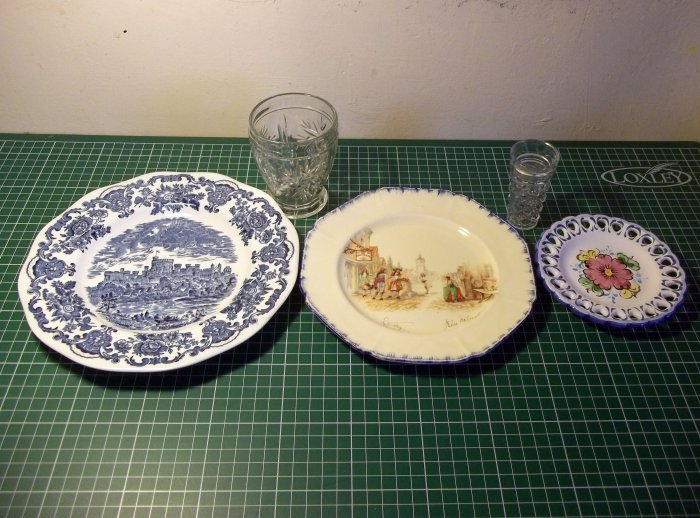
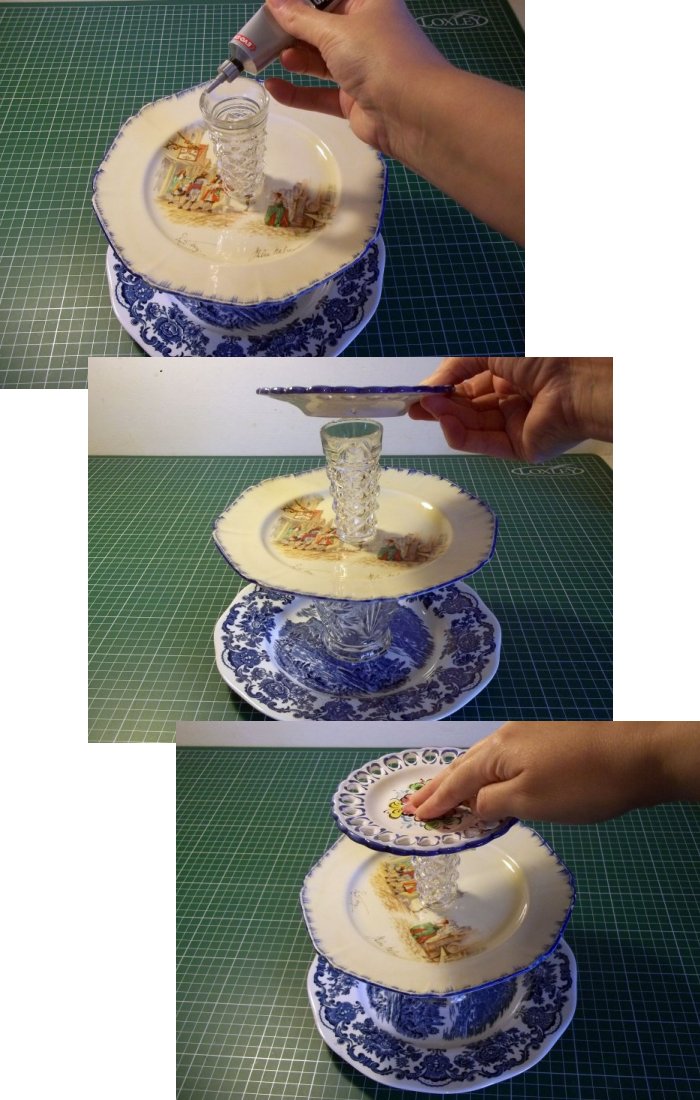
5. Following the instructions for the glue you are using spread some glue on the part of the stand that will be in contact with the largest plate. Carefully place the stand centrally on the plate & gently press into place. If necessary, carefully wipe away any excess glue.
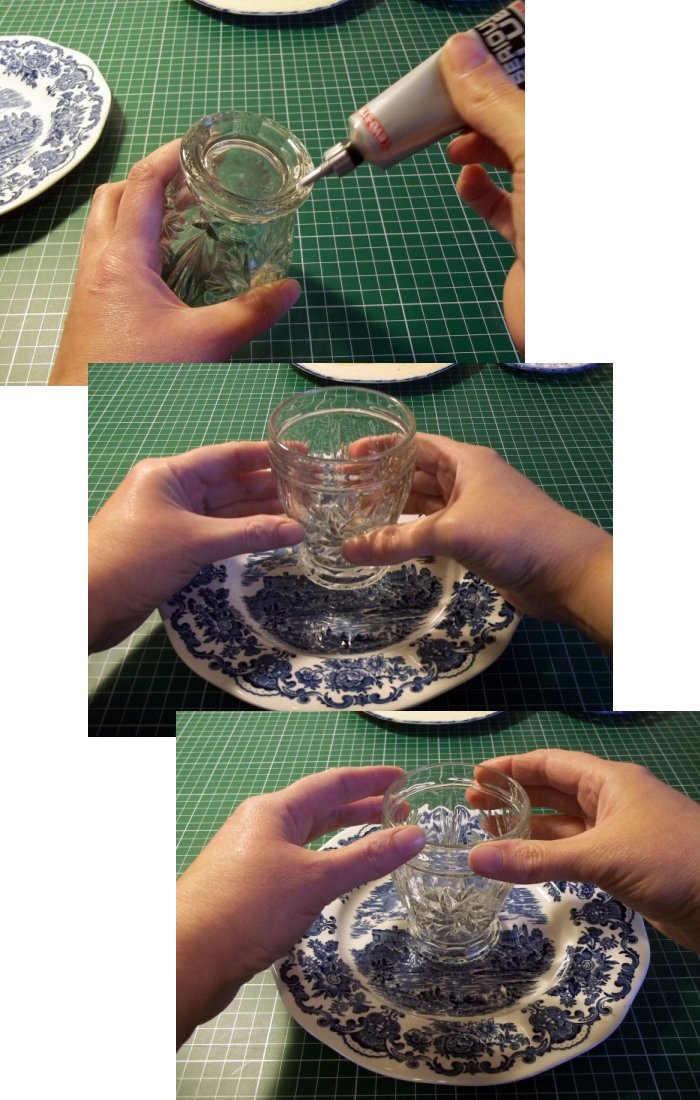
6. Leave to dry.
7. Spread some glue on the top edge of the stand that will be stuck to the underneath of the second plate. Place the second plate centrally on top & press into place. If necessary, carefully wipe away any excess glue.
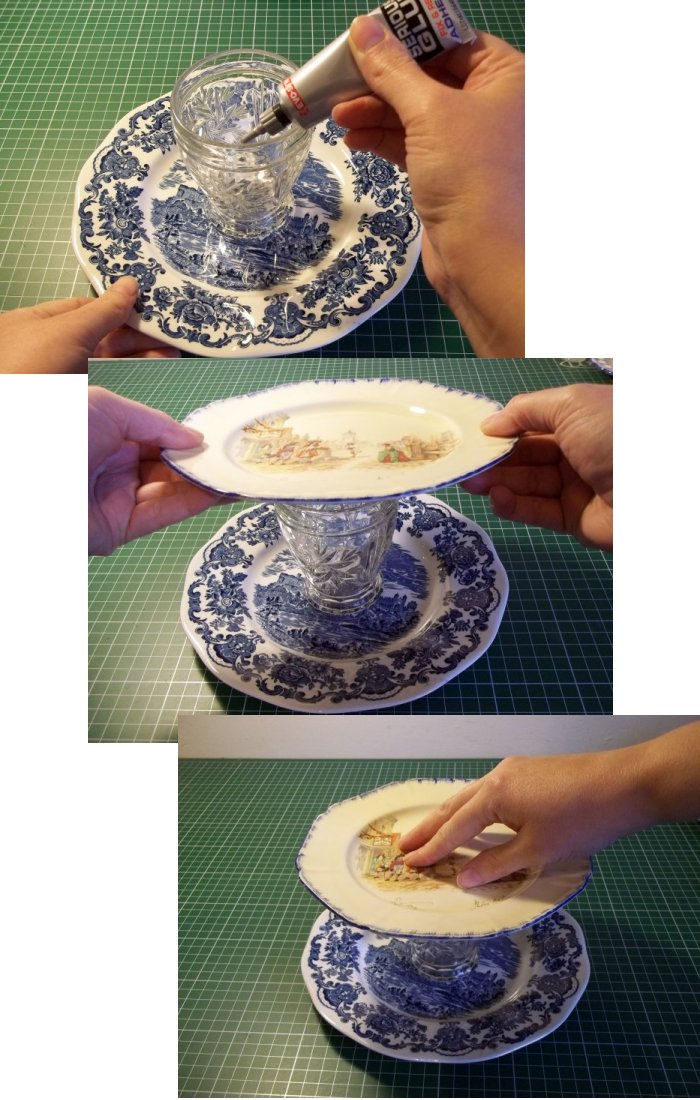
8. Leave to dry.
9. Glue the second stand in the same way as you did with the first one by spreading some glue on the part that will come into contact with the second plate, carefully position it centrally and then press into place. If necessary, carefully wipe away any excess glue.
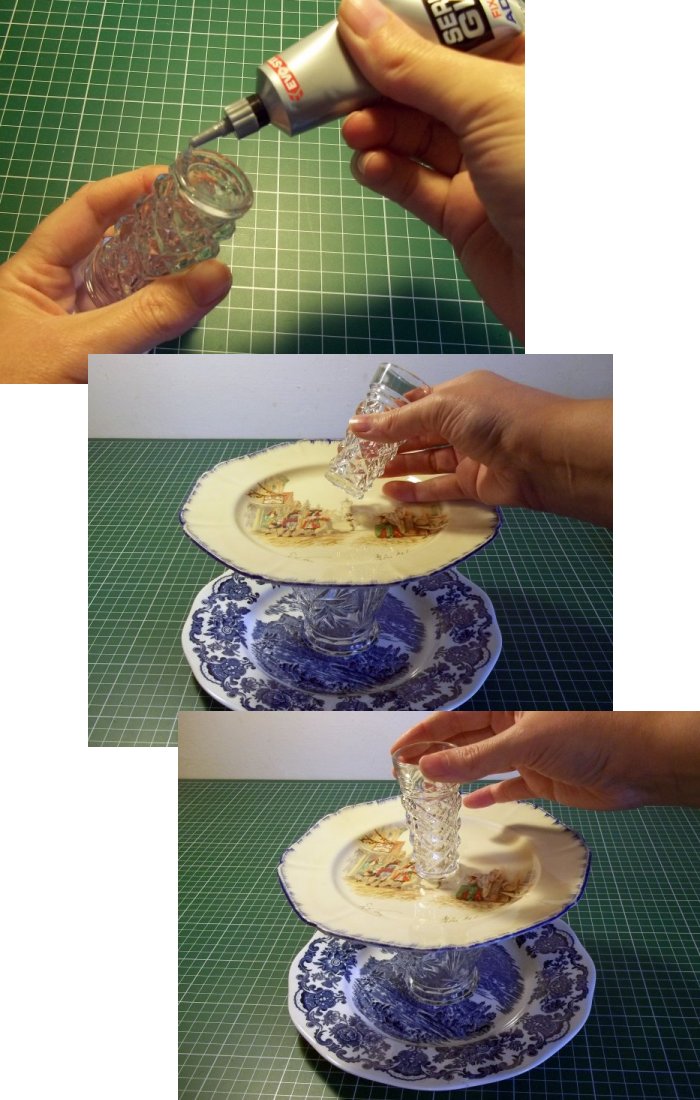
10. Leave to dry.
11. Finally spread some glue on the top edge of the second stand and position the smallest plate centrally on top, pressing into place. If necessary, carefully wipe away any excess glue.
12. Leave to dry.
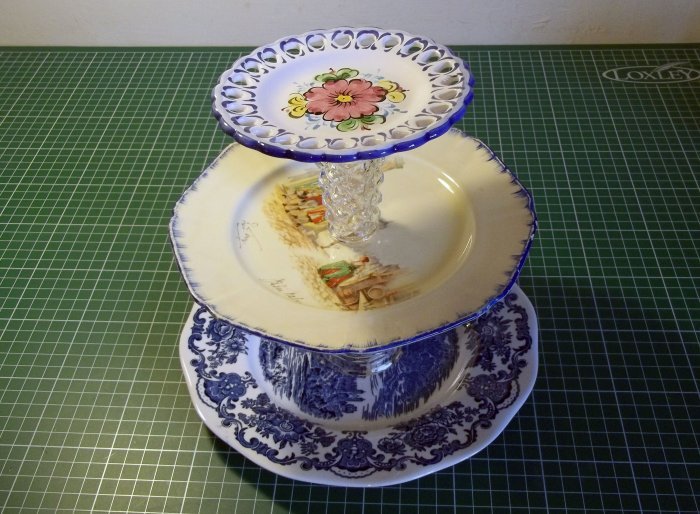
**TOP TIP - To clean your cake stand, just wipe with a damp cloth -TOP TIP**
Back to the Other Stuff projects menu...


