
Washer Necklace
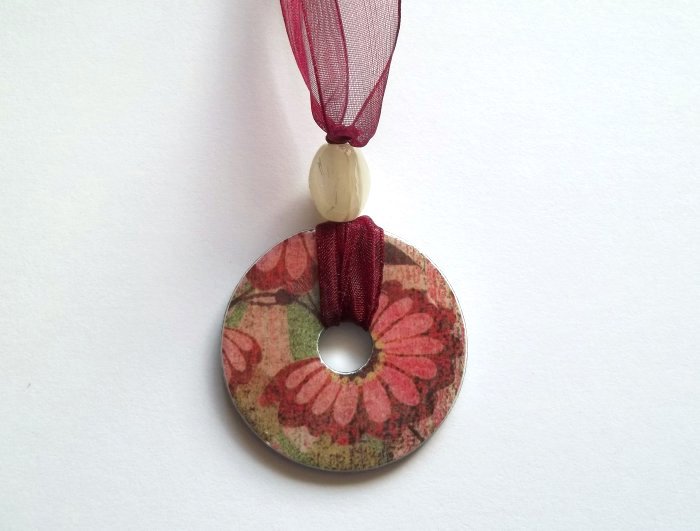
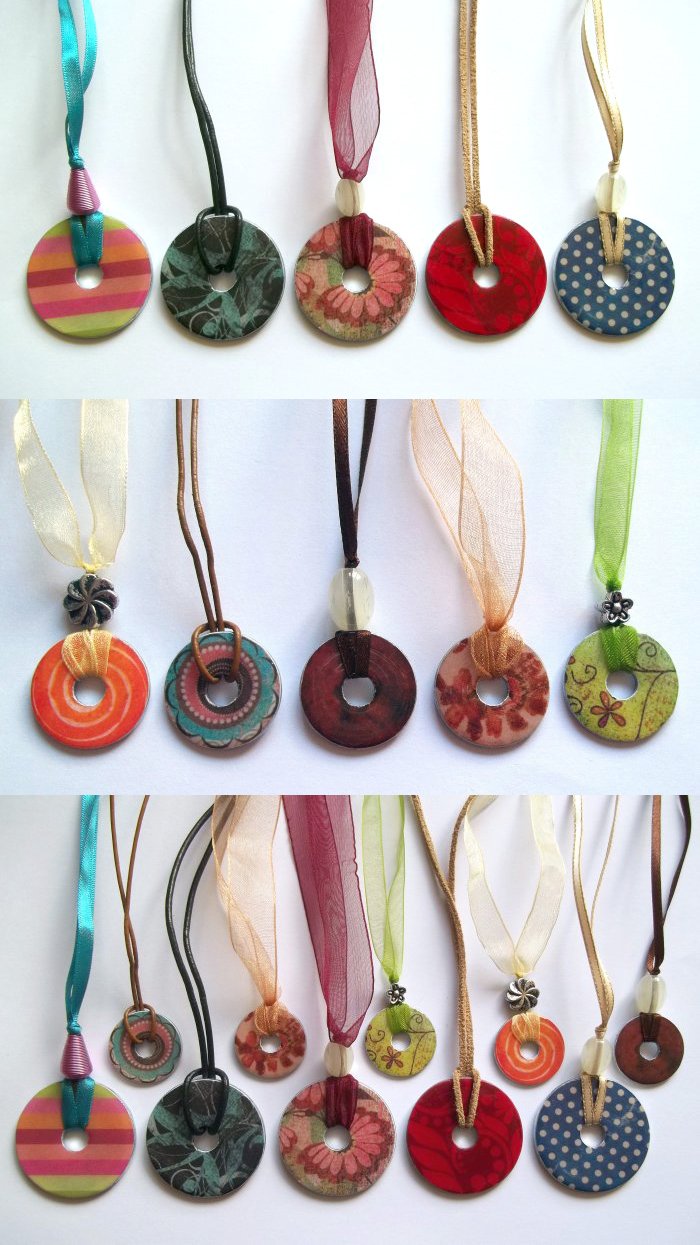
Hardware stores aren't just for DIYers to pick up supplies; they are a great source of materials for crafters too. Washers make great jewellery, this necklace is a simple design and really easy to make (but they do take a couple of days to dry so you'll have to be patient, and as they take so long to dry it is a good idea to make several at the same time). You're going to love this project and once your friends see your new necklace they'll want one too.washer necklaces make great presents, just wrap one in tissue paper and place in a gift box and you'll have an inexpensive but impressive gift.
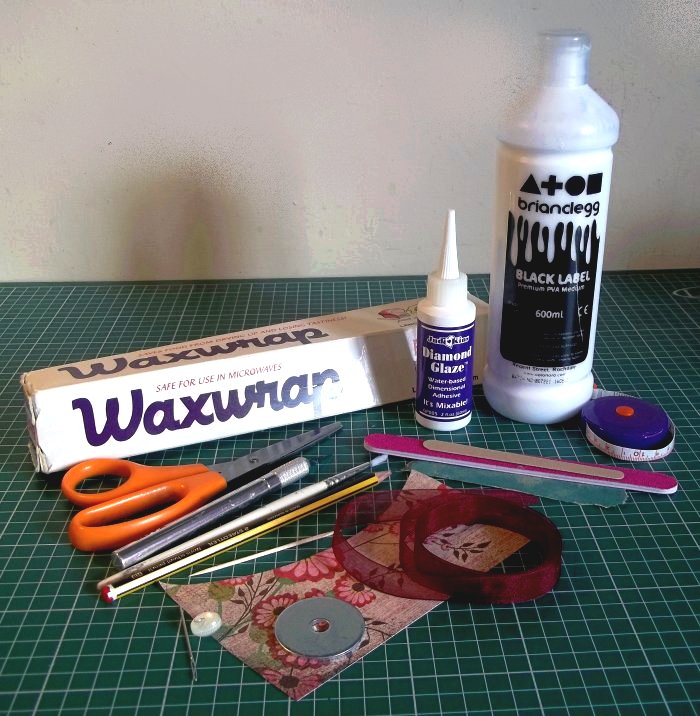
You will need:
centre work best, they are often called fender washers)
Patterned paper
Pencil
Craft knife (optional)
Scissors
PVA glue & brush
Emery board & fine sandpaper
Waxed or greaseproof paper
Diamond glaze
Cocktail stick
1 metre Ribbon, cord etc (it's a little
longer than you will need)
Tape measure
Large bead & needle (optional)
Fray check (not in photo - only remembered
I needed it when I was tying the ribbon ends)
What to do
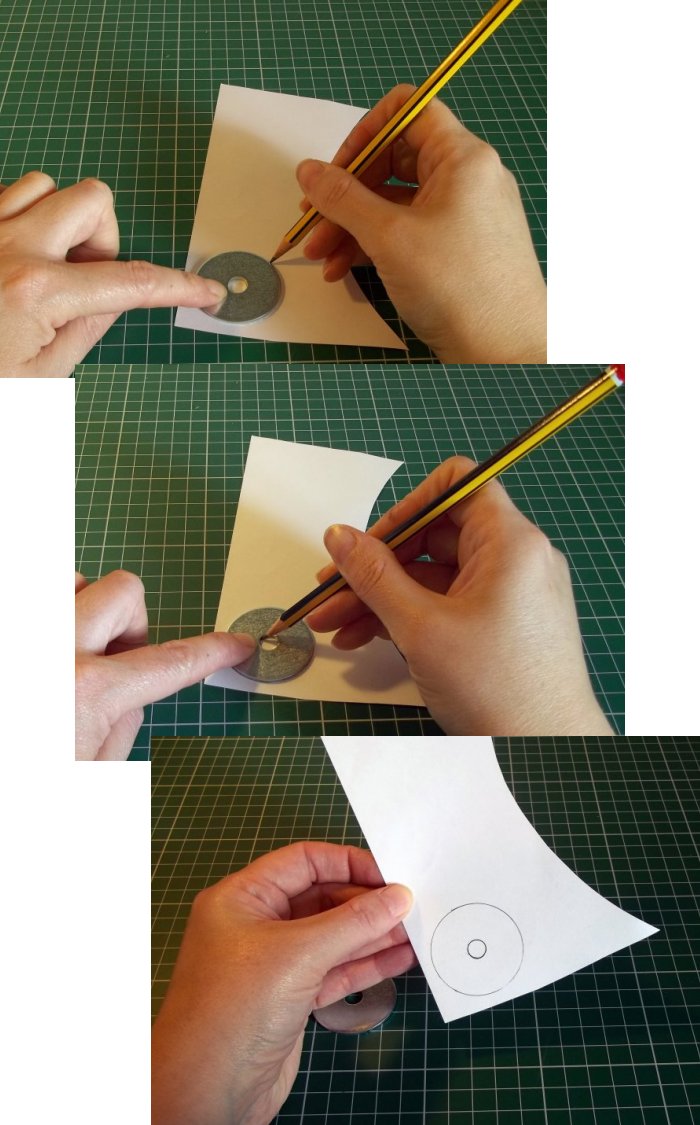
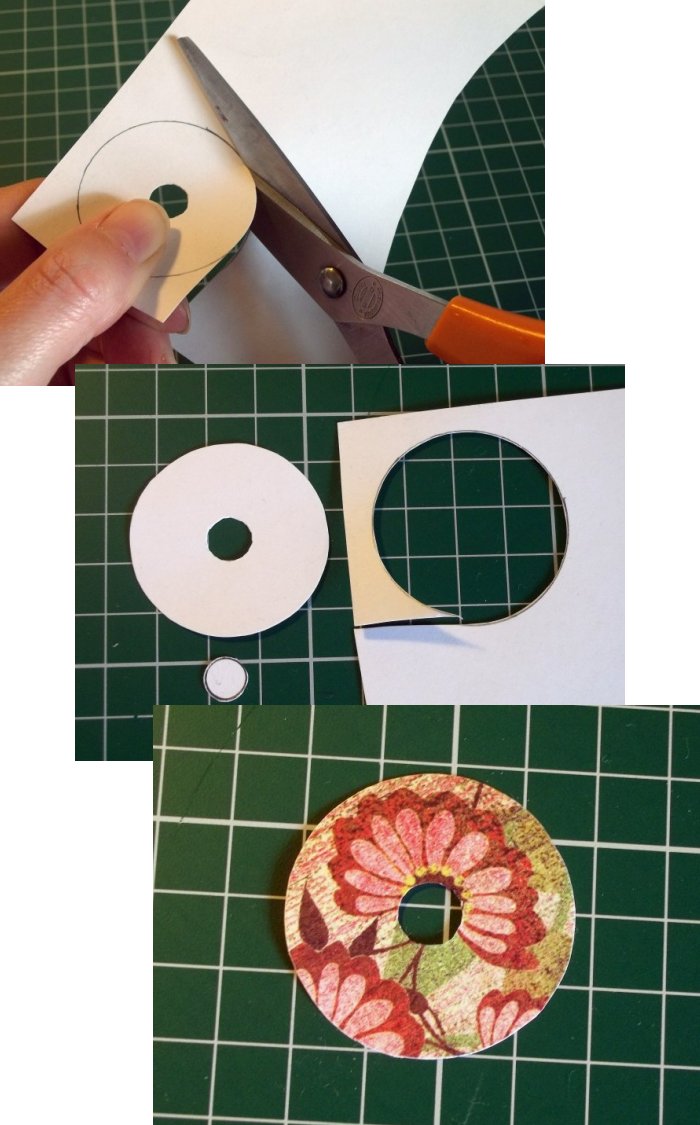
1. Place the washer on the patterned paper and draw around the outside and the inside hole (it doesn't matter if you draw on the front or back of the paper as the pencil lines will be cut off).
2. Cut out the centre hole with a craft knife - cut on the outside of the pencil line (you can use scissors but it's easier with a craft knife).
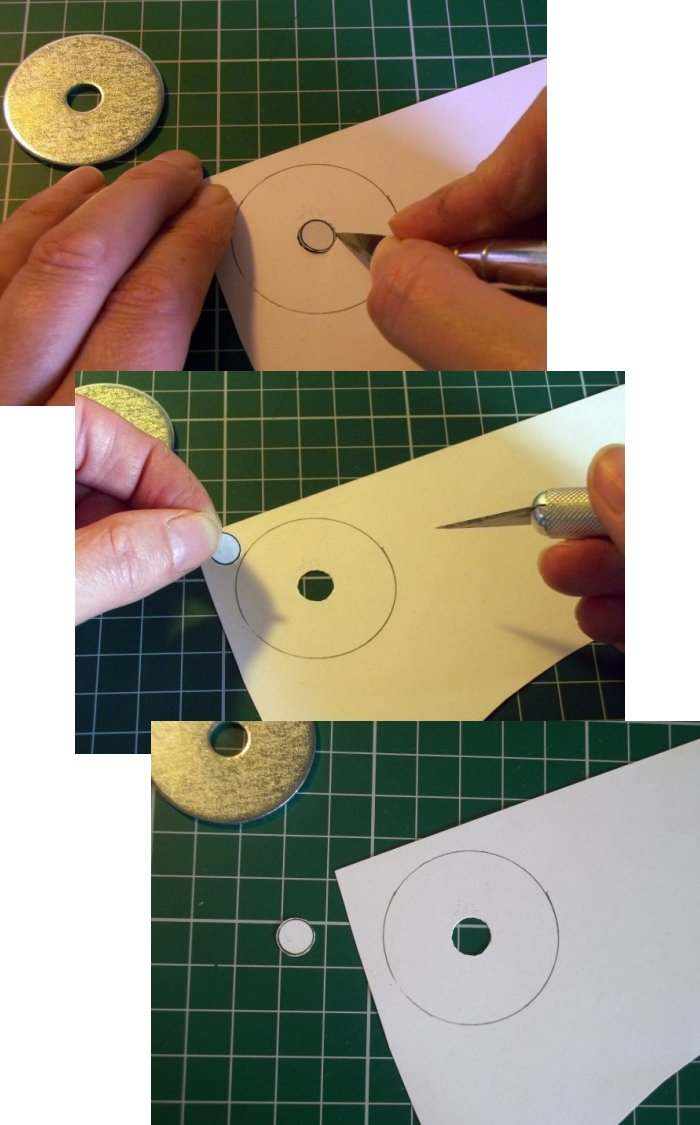
3. Cut out the paper washer with scissors - cut on the inside of the pencil line.
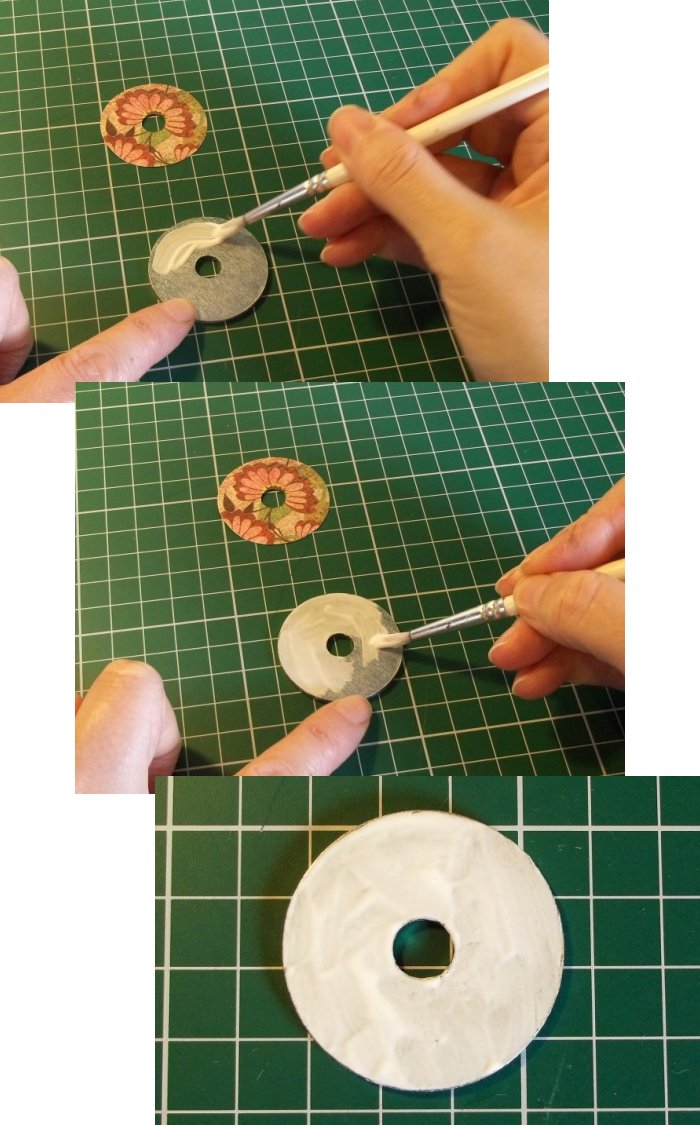
4. Spread some PVA glue on the rough (flat) side of the washer (this is so that the rounded smooth side will be next to your skin when it's worn as a necklace).
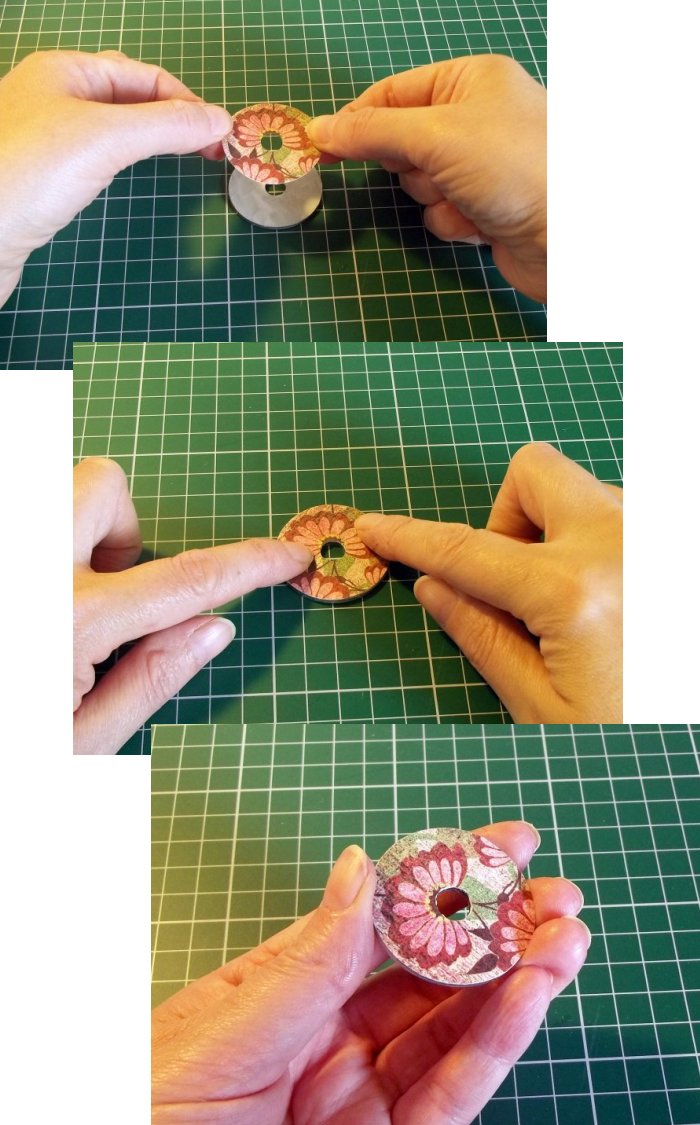
5. Carefully place the paper washer right-side up onto the glued area and press in place (don't worry if the paper goes a little over the sides of the washer, we will remove this when the glue is dry).
6. Leave to dry.
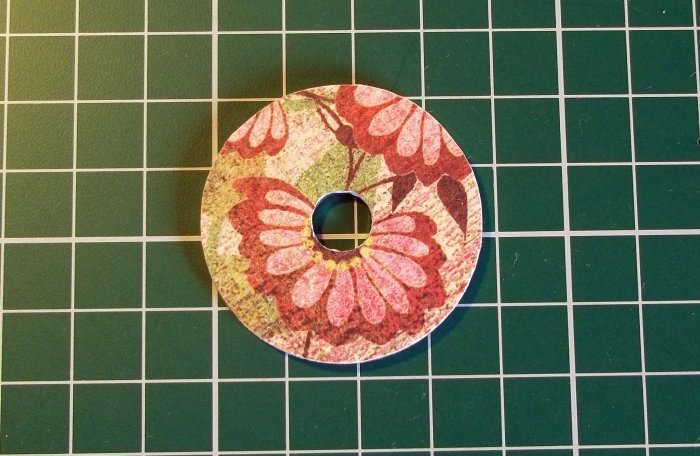
7. When it is dry gently smooth the paper edges with an emery board or a small piece of sandpaper, do this by stroking the emery board/sandpaper in one direction from front to back - this is a great way of ensuring that the paper edges are smooth and blend with the washer (you may need to cut off a very small length of emery board or sandpaper in order to smooth the paper around the washer hole).

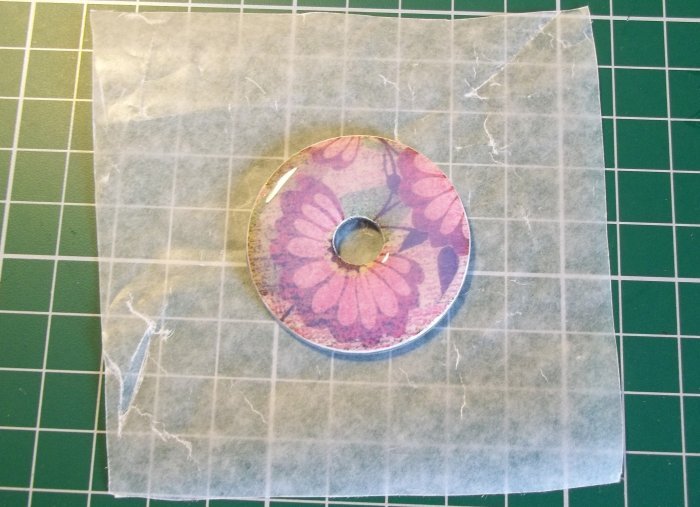
8. Wipe the washer with a piece of tissue to make sure it is dust free and place it paper side up on some waxed/greaseproof paper. Squeeze a thick line of Diamond Glaze around the paper washer and gently spread it to the outer & inner edges with a cocktail stick, making sure that all of the paper is covered, adding a little more Diamond Glaze if needs be - gently pop any air bubbles that appear with the cocktail stick or a pin.

9. Leave to dry for 48 hours (2 days).
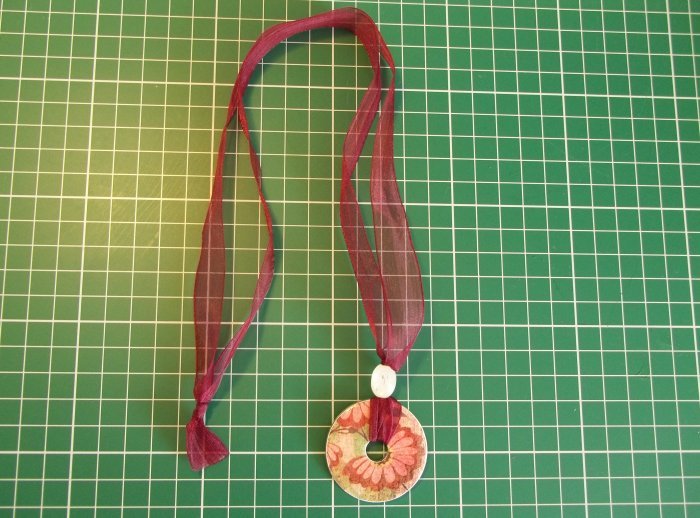
10. Fold the ribbon/cord in half and thread the looped end through the washer hole from the back to the front.
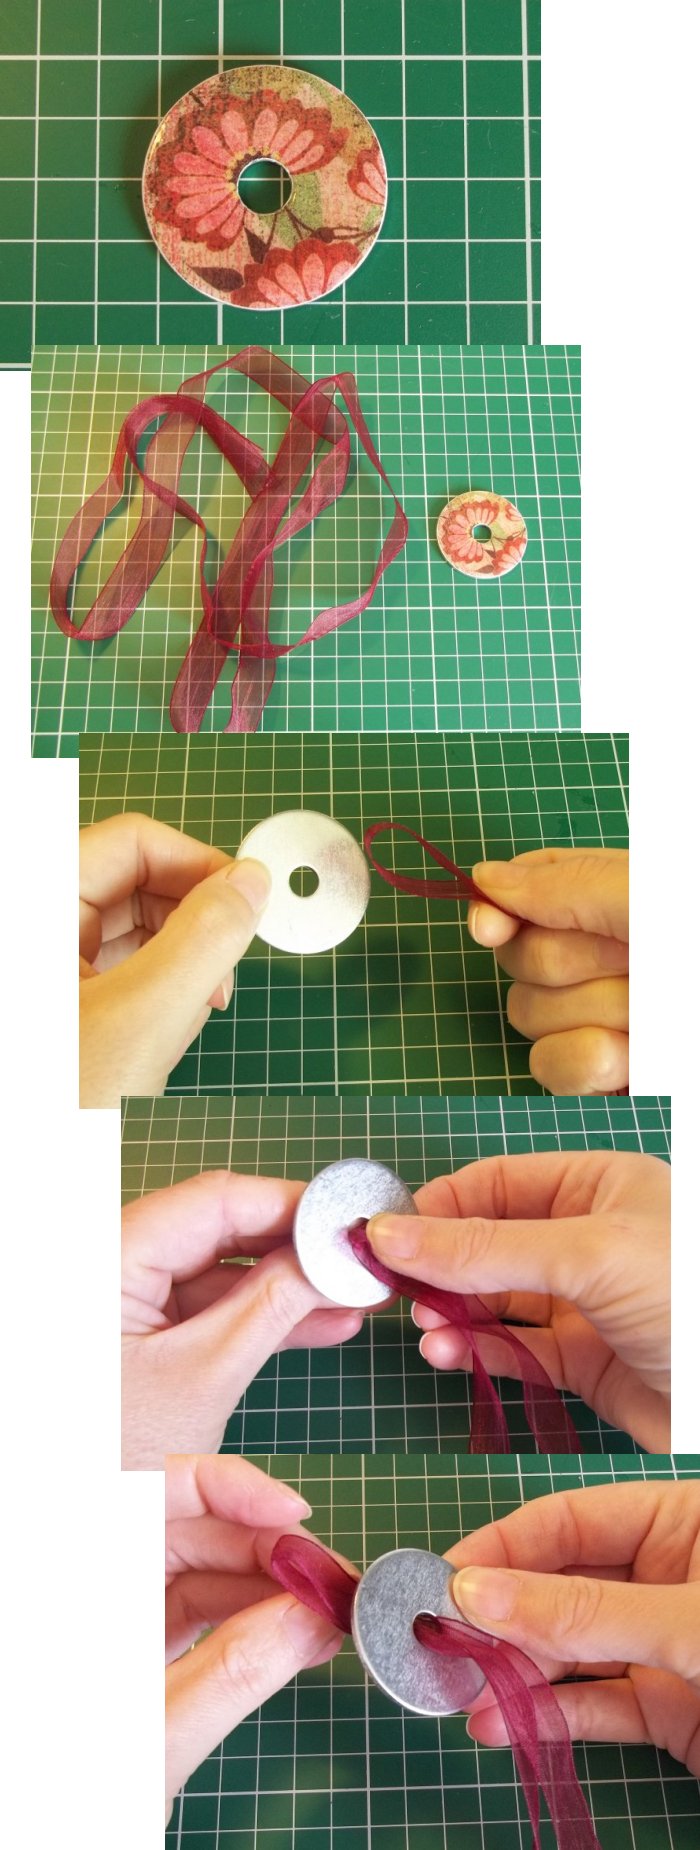
11. Thread the ribbon/cord ends through the loop and pull to secure.

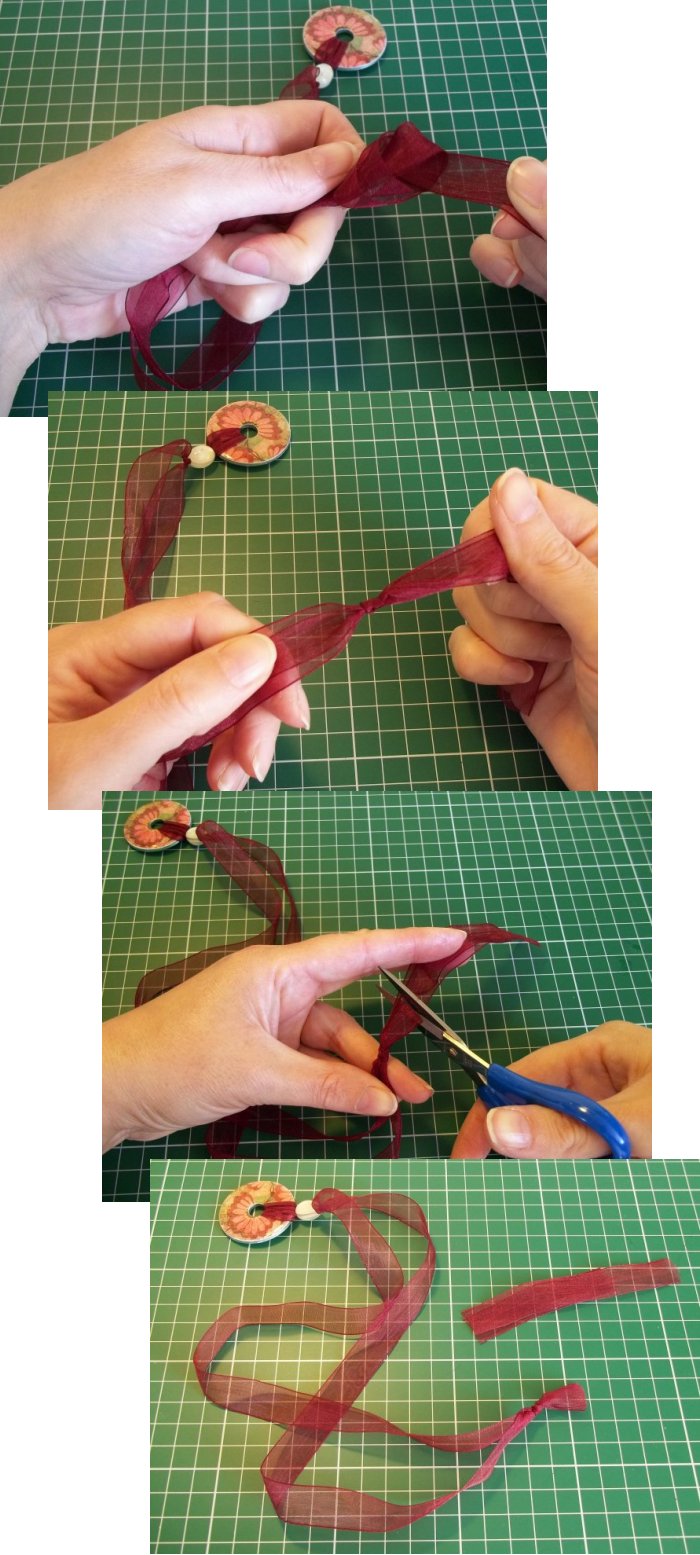
12. Optional - Thread a bead onto the ribbon/cord ends and push it down the length so that it fits snug against the washer. Tie a knot in the ribbon/cord next to the bead to hold it firmly in place.

13. Check the length of the necklace (it is a fixed length when finished so it needs to be able to slip over your head easily). Tie a knot at the correct length and trim the ends.
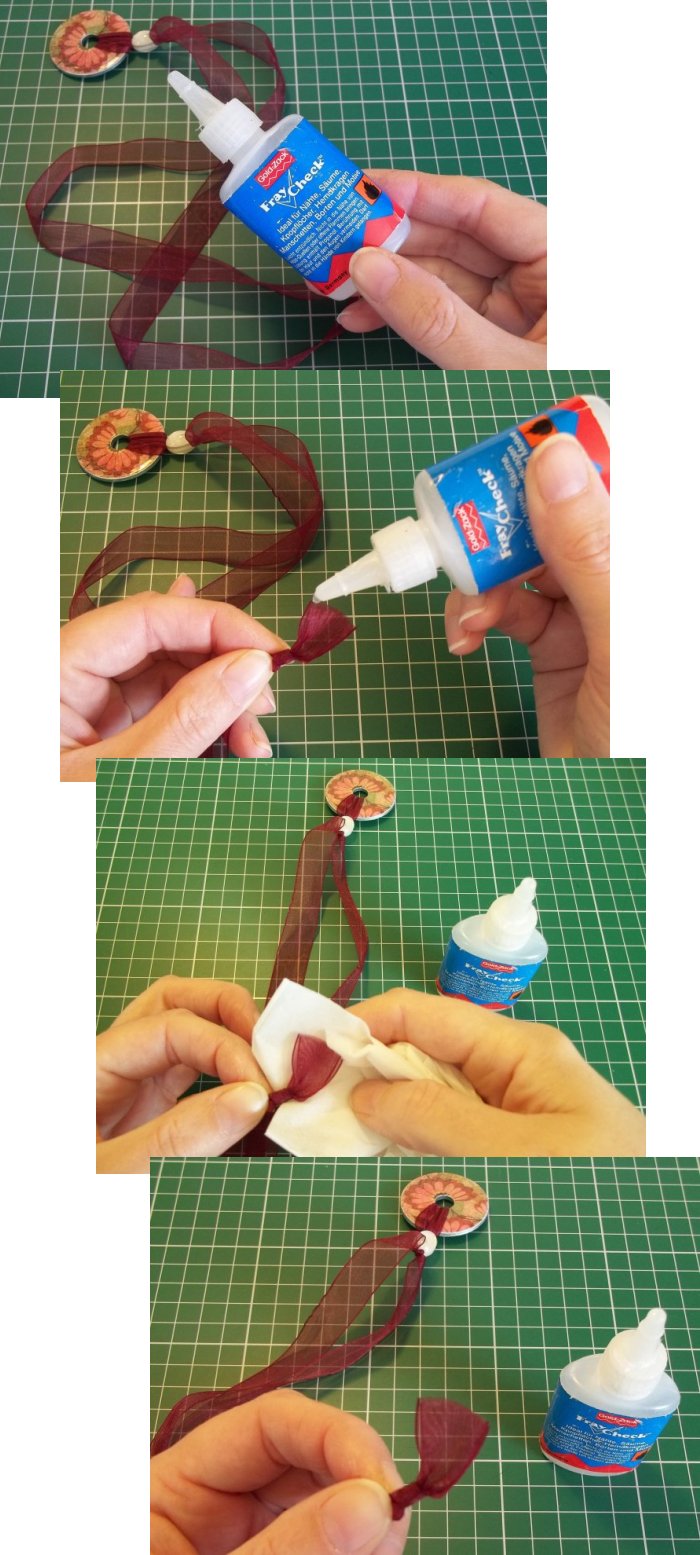
**TOP TIP - If you are using ribbon then it is a good idea to add some 'fray check' to the ends of the ribbon as this will protect them and prevent them from fraying - TOP TIP**
Back to the Other Stuff projects menu...


