
Marbling with Shaving Foam
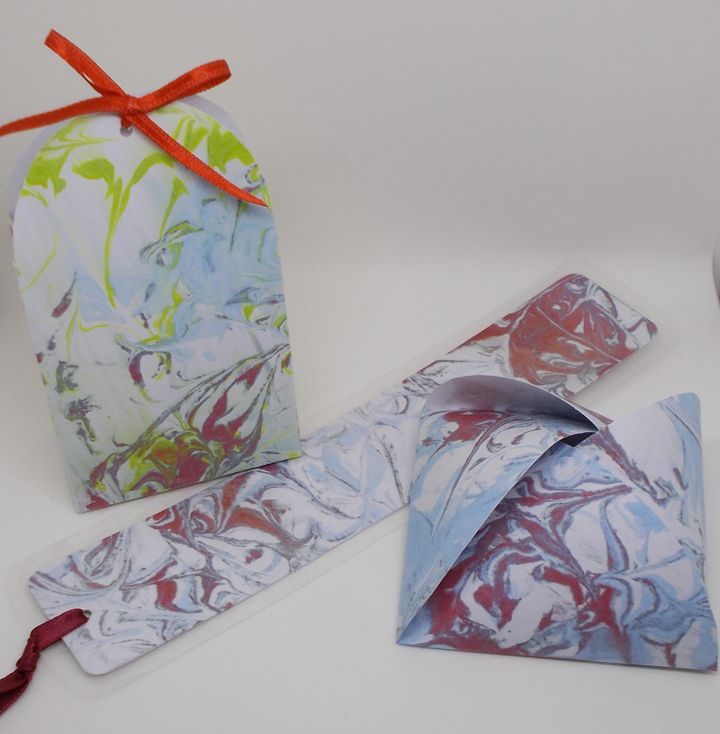
This is a great alternative project to traditional marbling that uses everyday items that you have in the home (shaving foam, food colouring, paper/card etc). It is a very quick & easy project and a lovely way for children (with adult supervision) to experiment with colours and patterns.
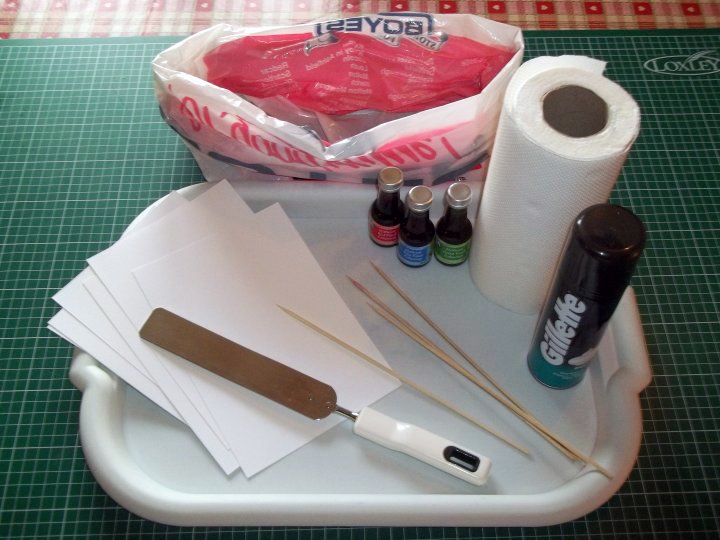
You will need:
Shaving foam
Palette Knife
Liquid food colourings
Skewers
Paper/card
Kitchen paper
Rubbish bag
What to do
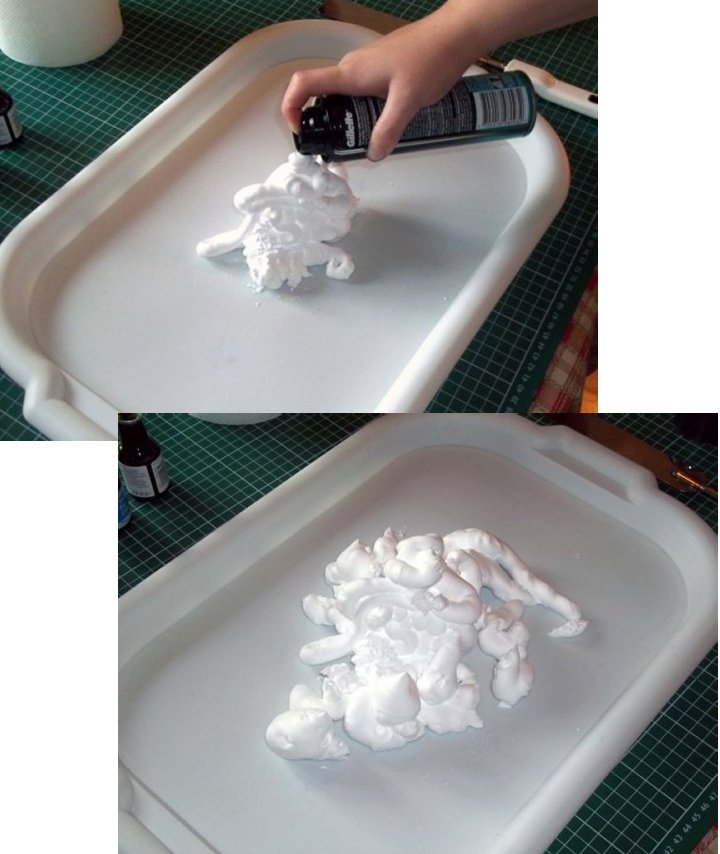
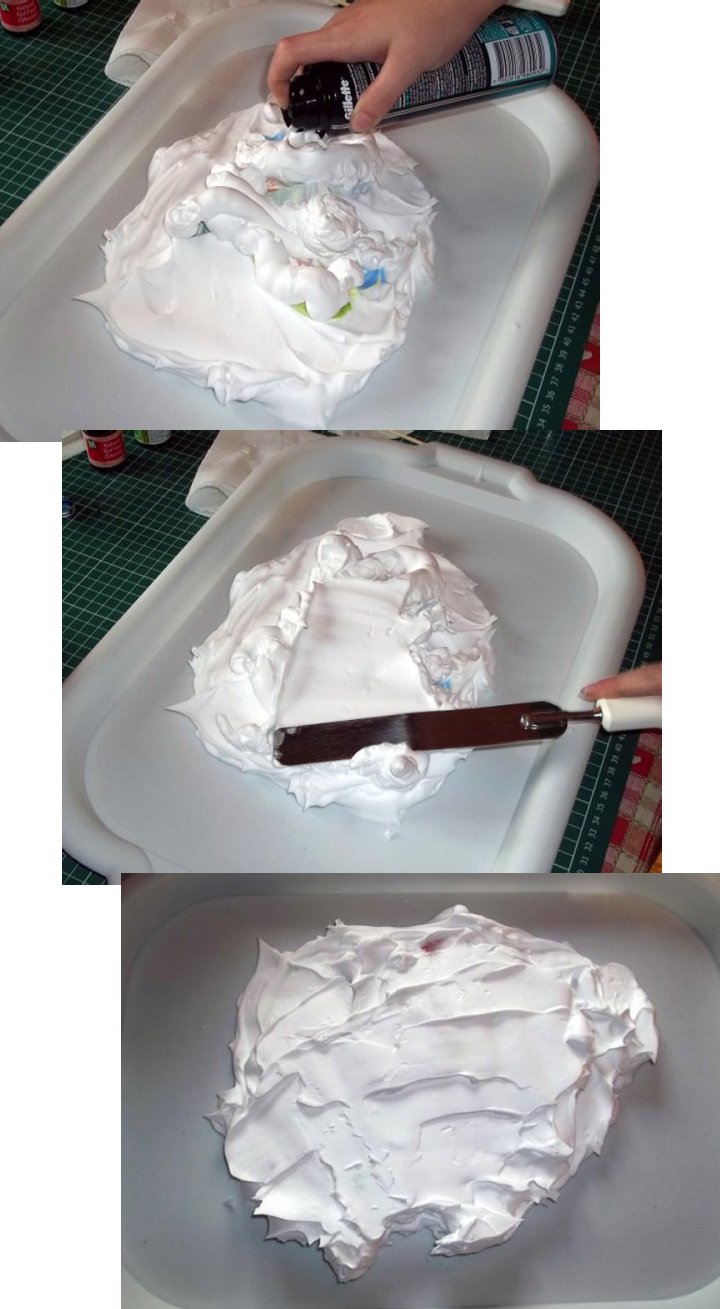
1. Give the can of shaving foam a good shake and then squirt a big dollop of it in the middle of your tray.
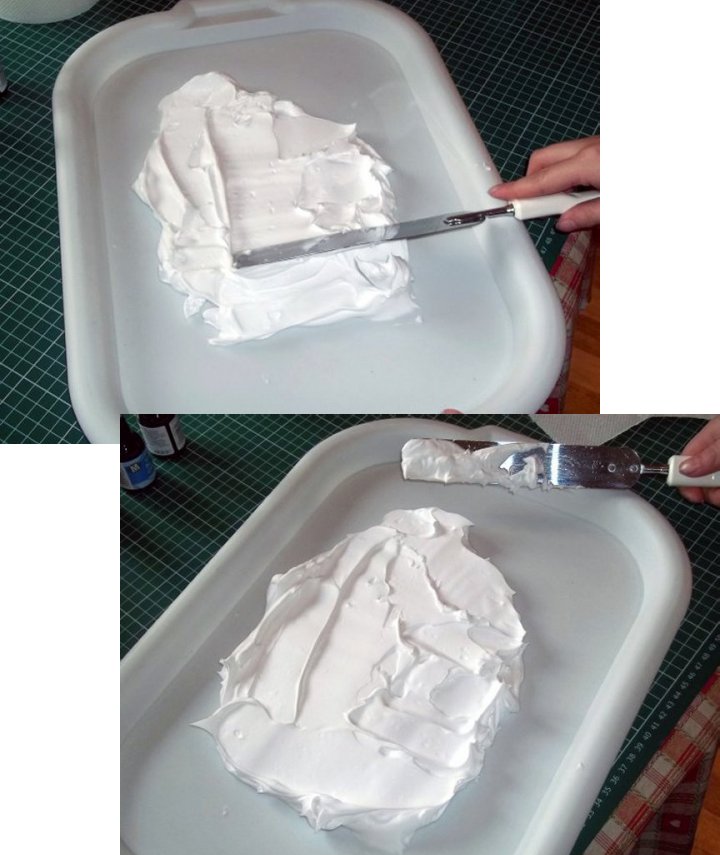
2. Using the palette knife spread out the shaving foam so you have an even layer.
3. Place drops of food colouring over the foam.
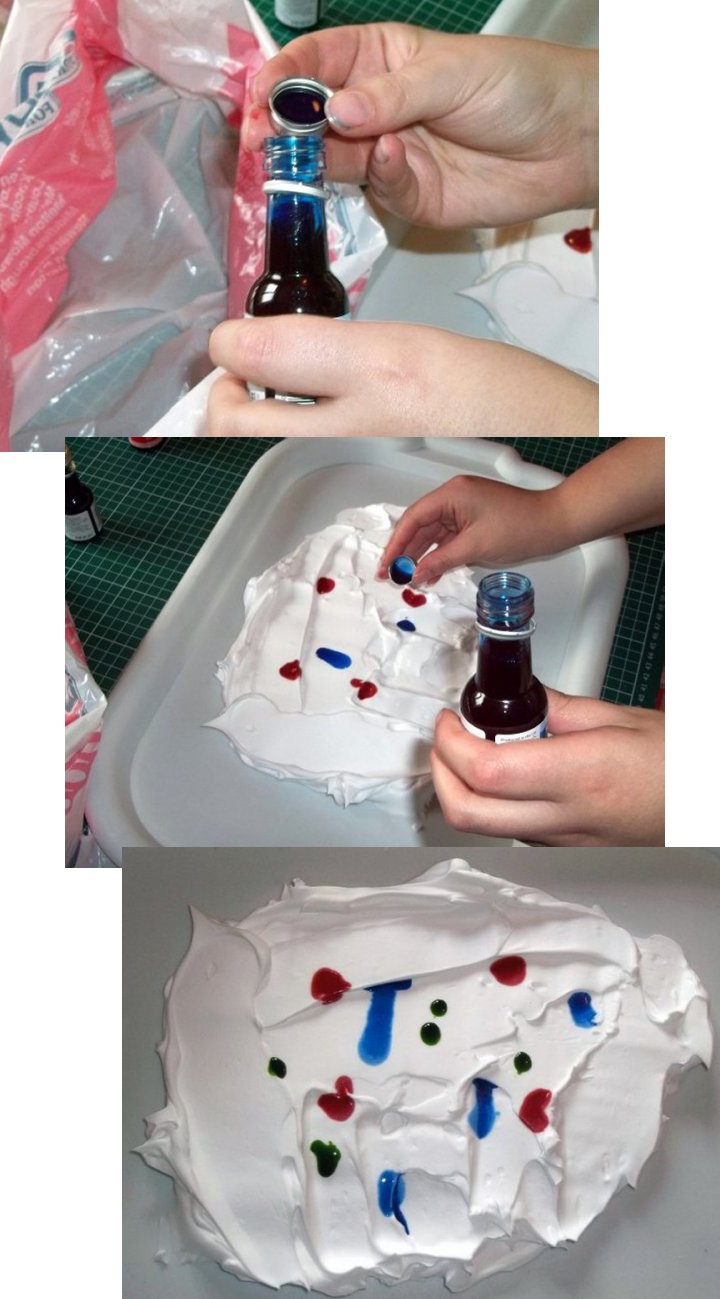
4. Using a skewer drag it through the colours to make a pattern (you can add more food colouring if you like).
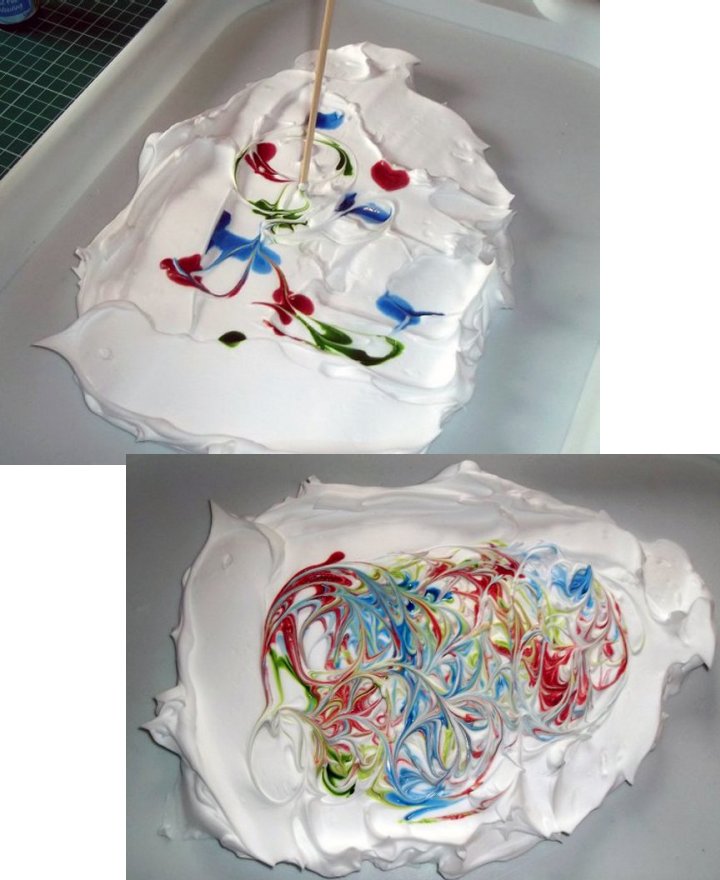
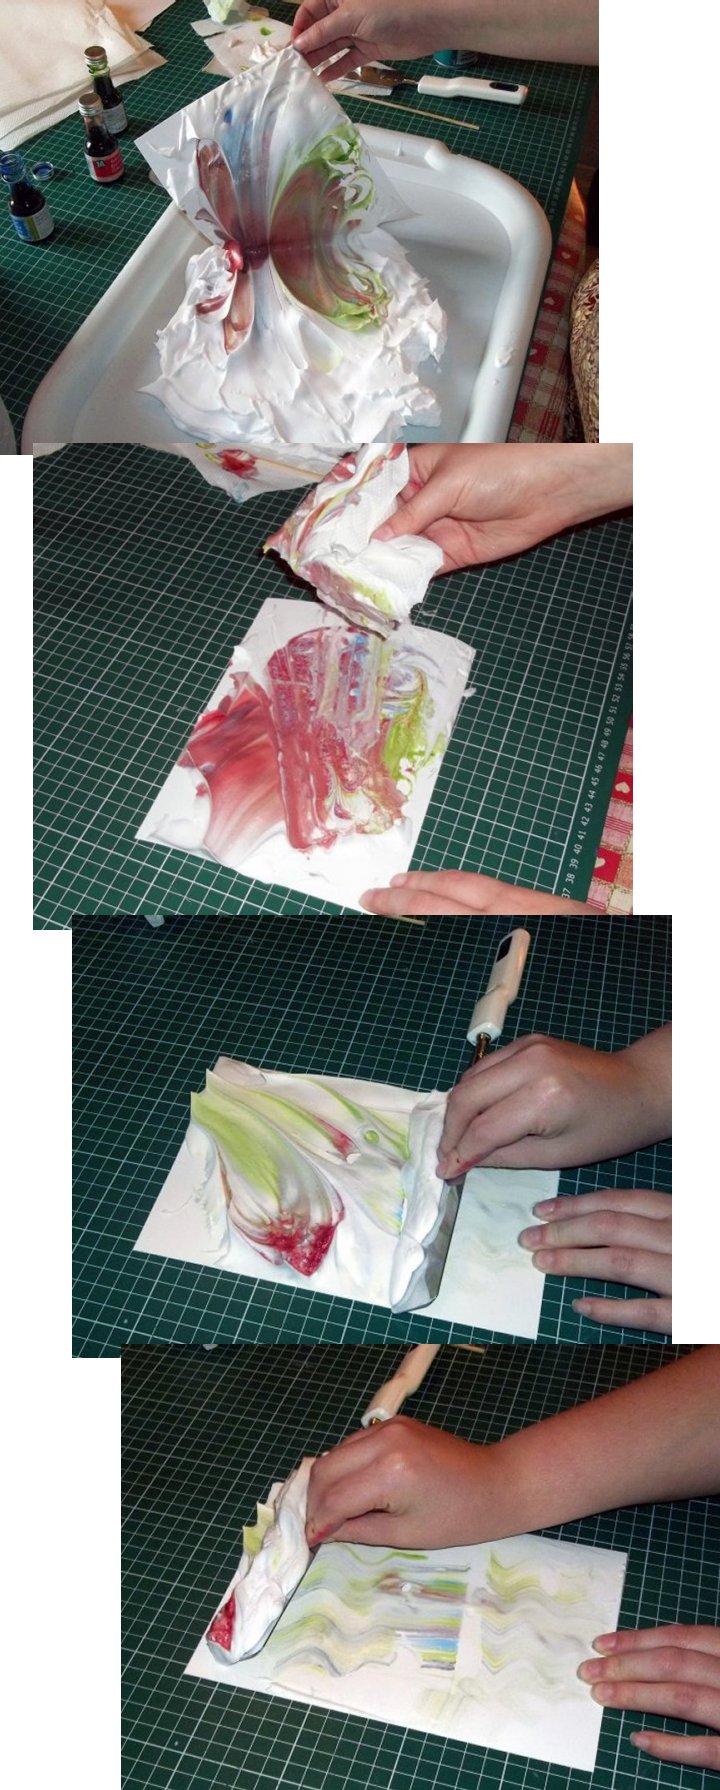
5. When you are happy with the pattern you have made carefully place a piece of paper/card on top of the coloured foam and gently press down to transfer the design.
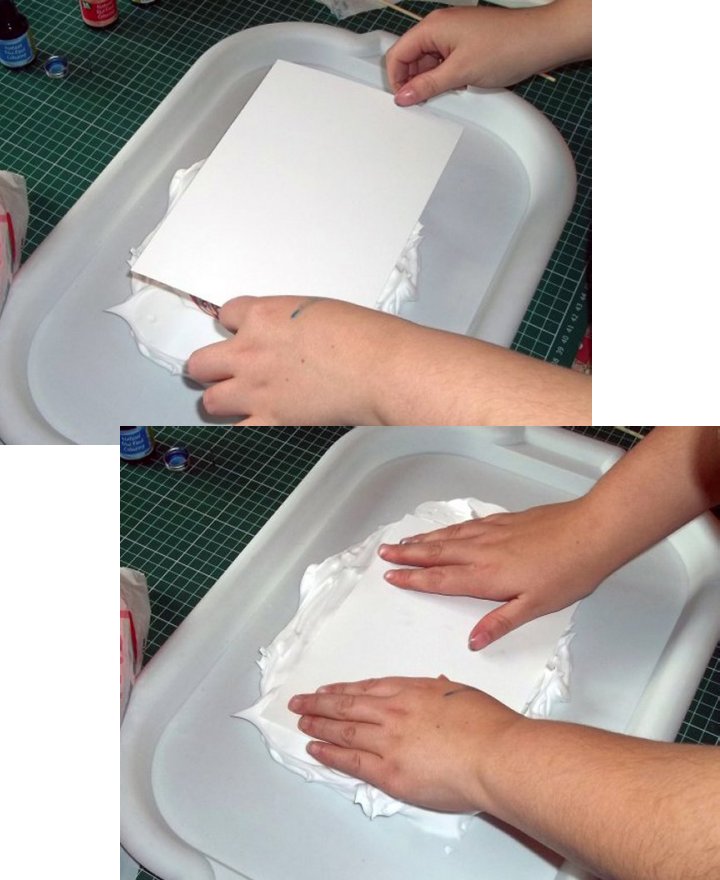
6. Peel the paper/card away from the foam.
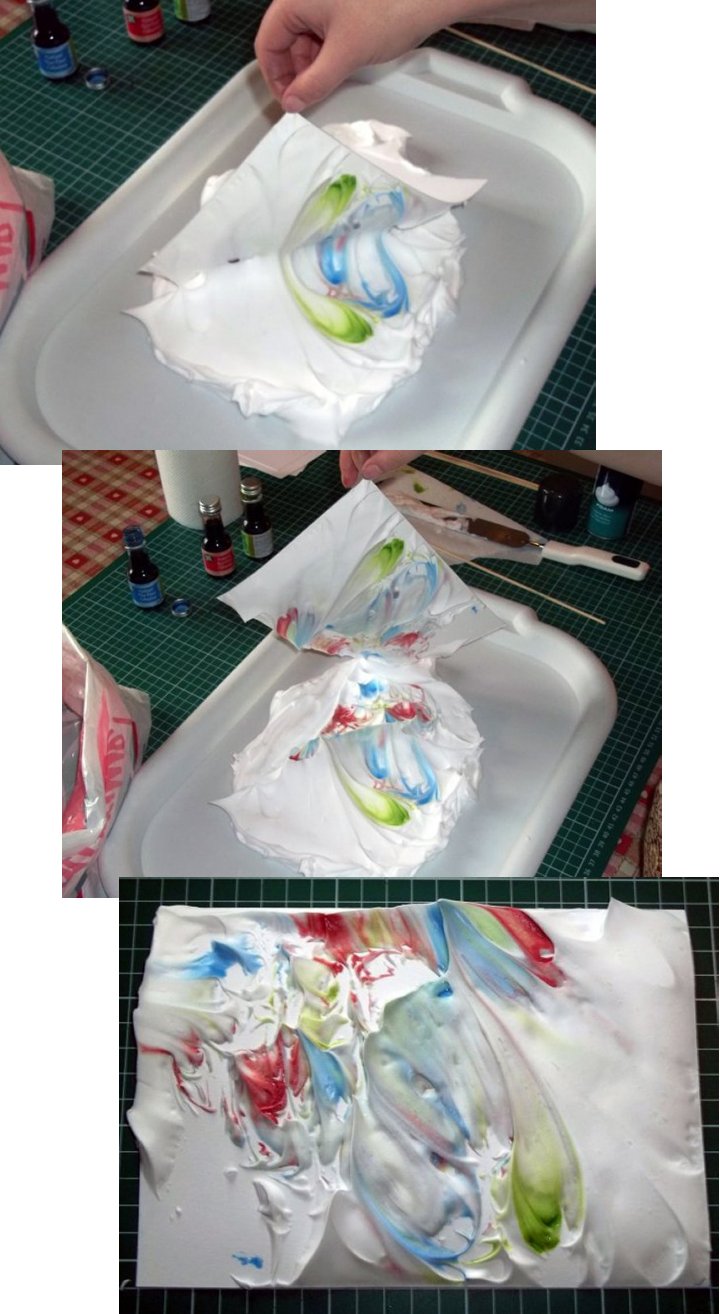
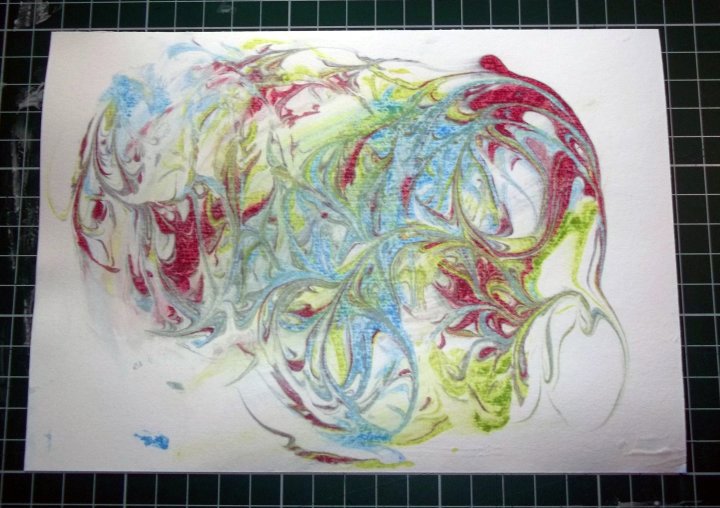
7. Gently wipe away the foam using kitchen paper revealing your marbled design (this is where your rubbish bag comes in handy for getting rid of all the kitchen paper and excess foam).
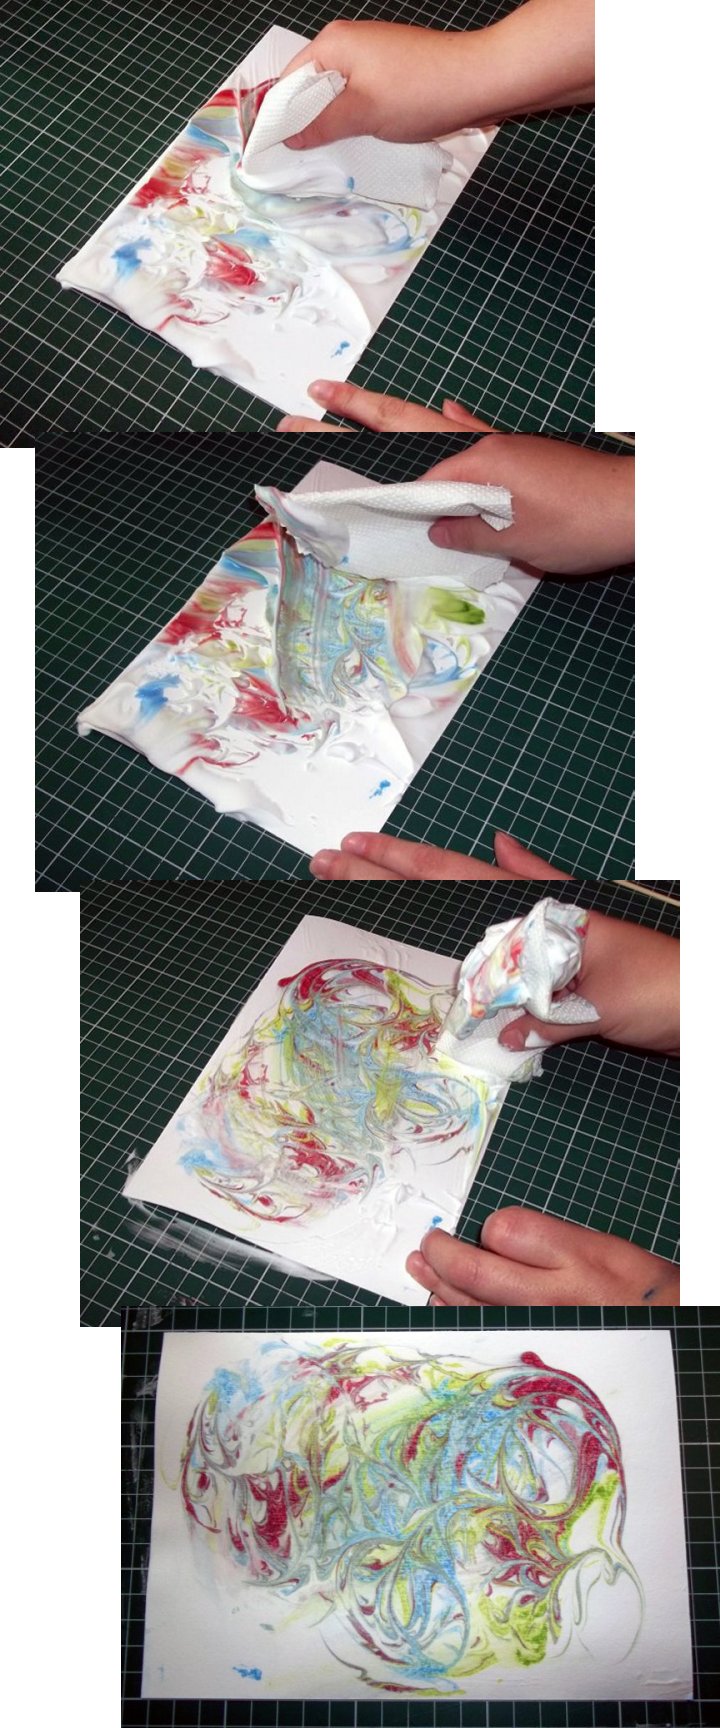
8. Leave to dry.
9. Squirt some fresh foam over the foam already on the tray and spread out as before. You are now ready to make another piece of art.
10. Add some food colourings as you did before, experiment with different colours and quantities.
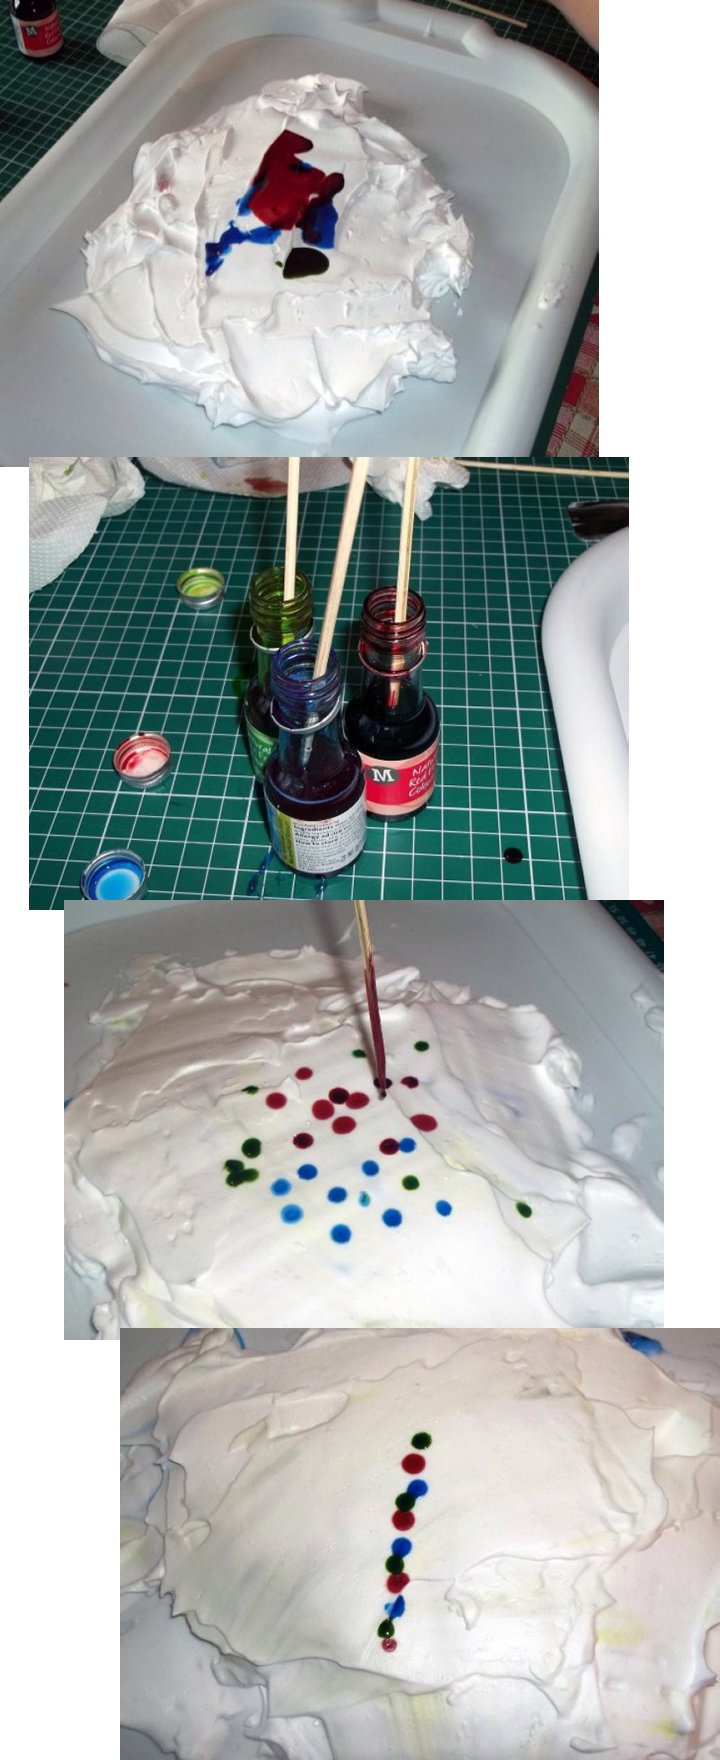
11. Play around with mixing the colours together with skewers, combs etc and when you are happy with the design gently press some paper/card into the coloured foam like you did before.
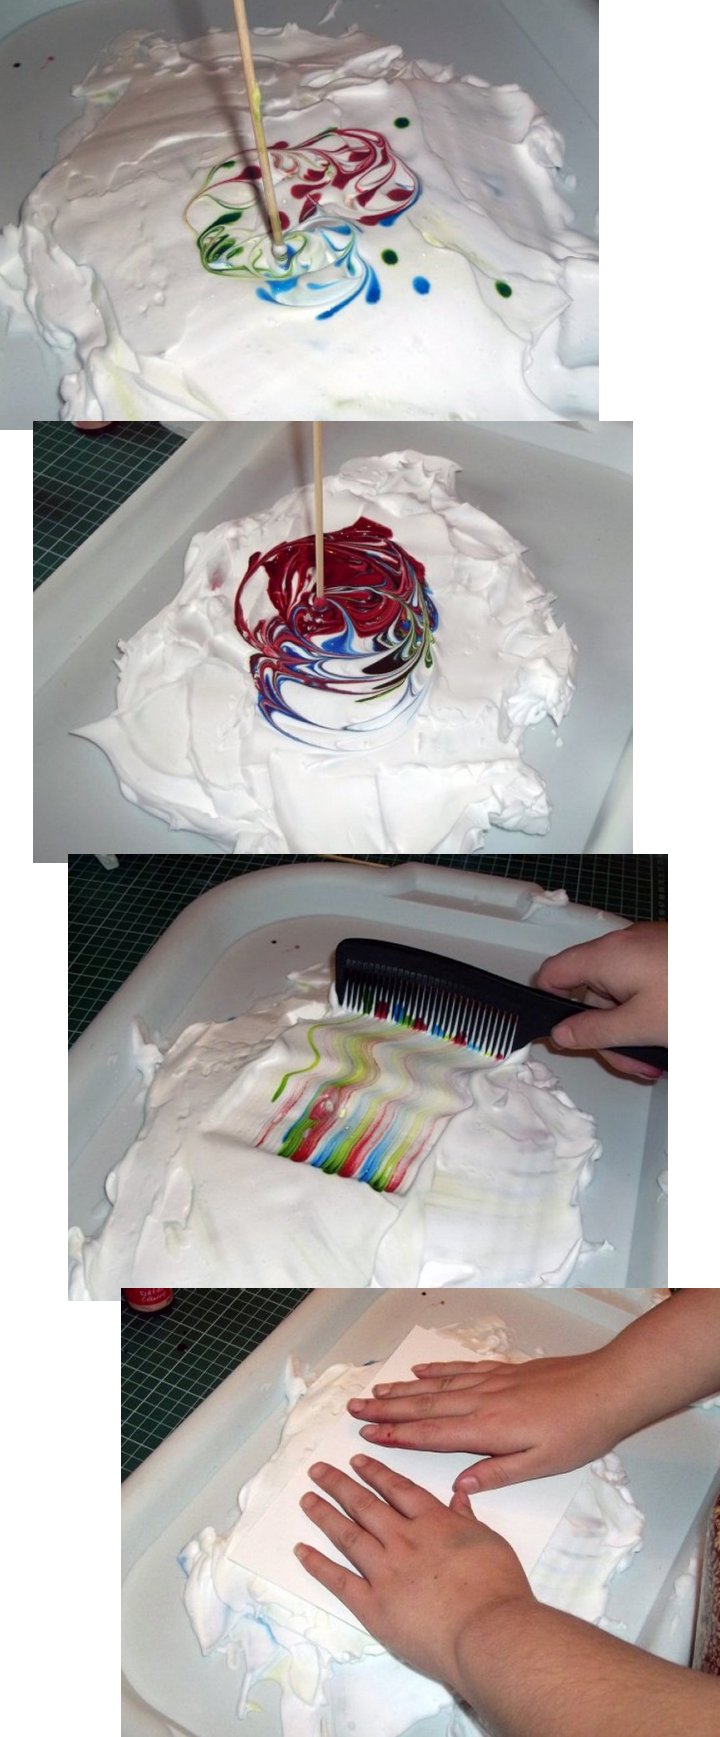
12. Peel the paper/card away from the foam and remove the excess foam/colour with kitchen paper or try scraping it off with the palette knife.
**TOP TIP - If your foam becomes too coloured, just scrape it off the tray and start again. - TOP TIP**
13. Leave to dry.
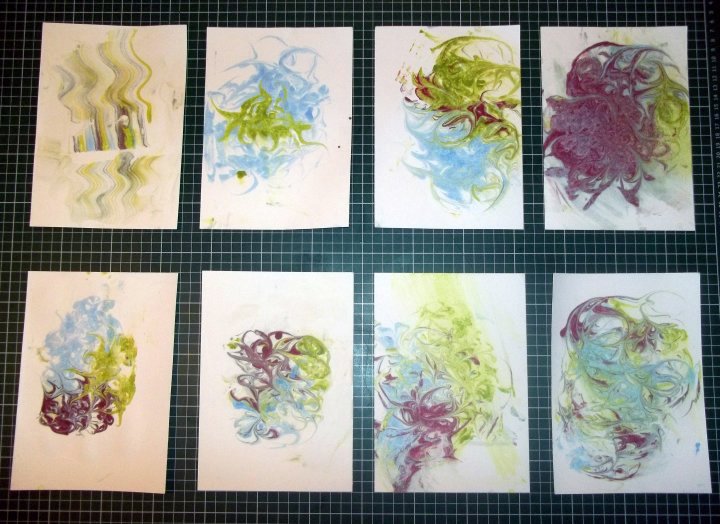
14. Once dry, your pieces of art can be used in any paper/card project.
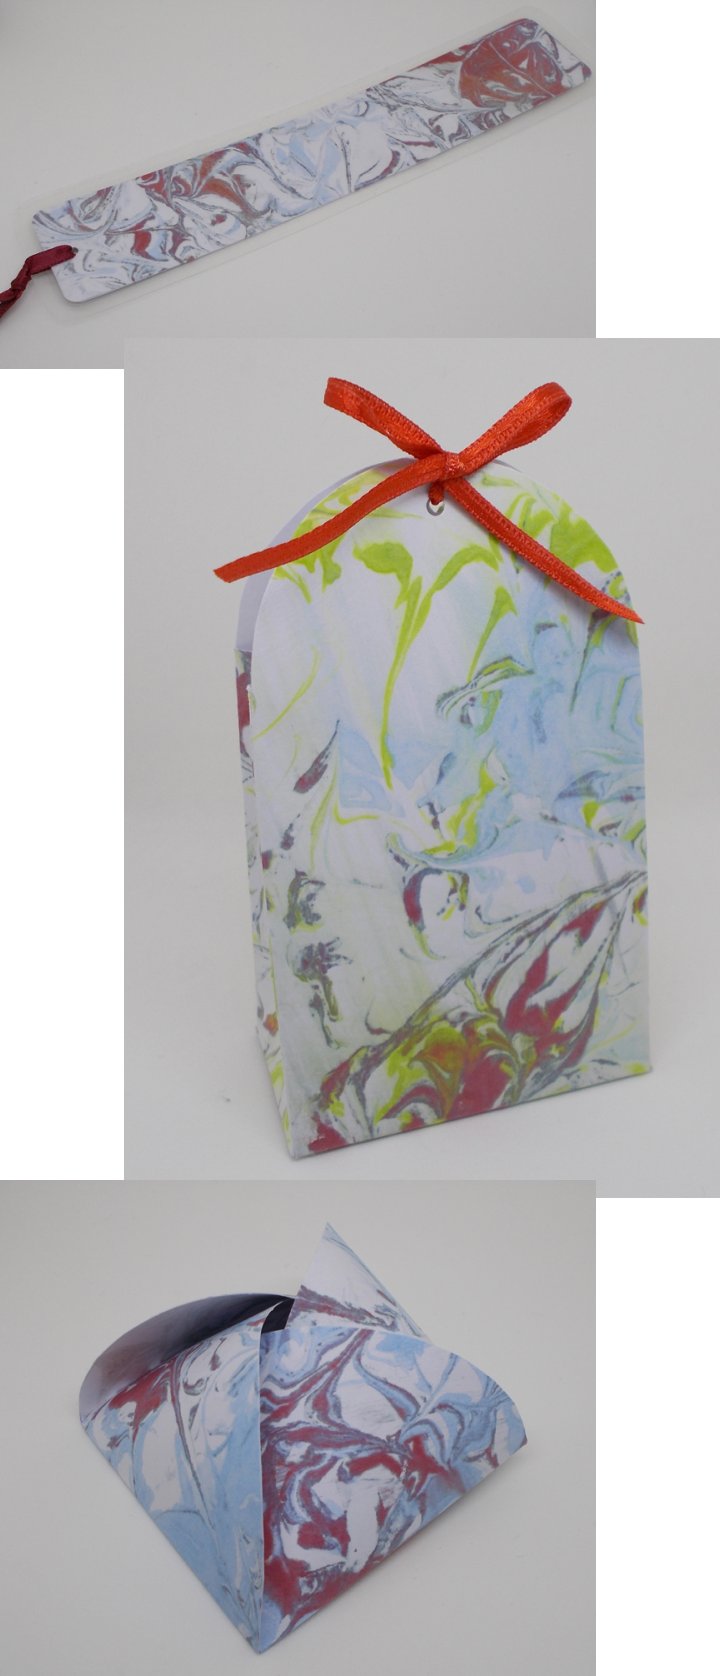
Here are links to the bookmark, small gift bag and a curved gift box projects that we have made using the marbled card:
Back to the Painting and Pictures menu...


