
Easy to make books
You will need:
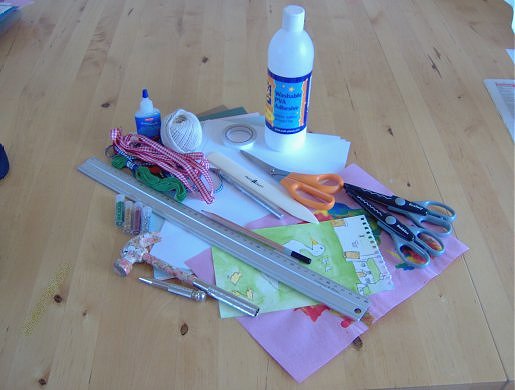
10 x A4 Paper (I use printer paper which works great for the inside pages)
Scissors or craft knife
Bone folder or the back of a knife
Ruler
Pencil
Hole-punch
String, ribbon or embroidery thread to tie the pages together
Fray check, superglue or clear nail varnish (to stop the ends of ribbon from fraying)
Extra paper, card, pictures, photos etc to decorate the front cover
PVA glue or double-sided sticky tape
What to do
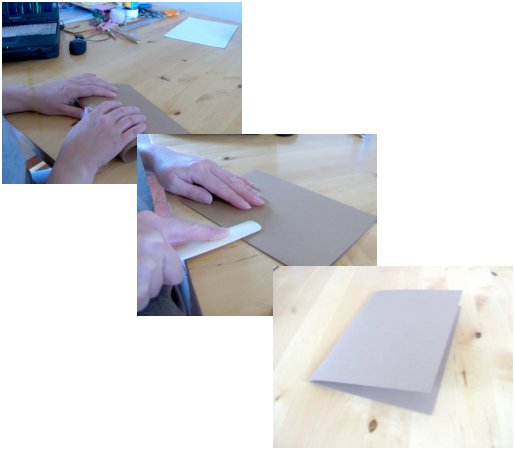
1. Fold the piece of card in half, this will make an A5 size book shape.
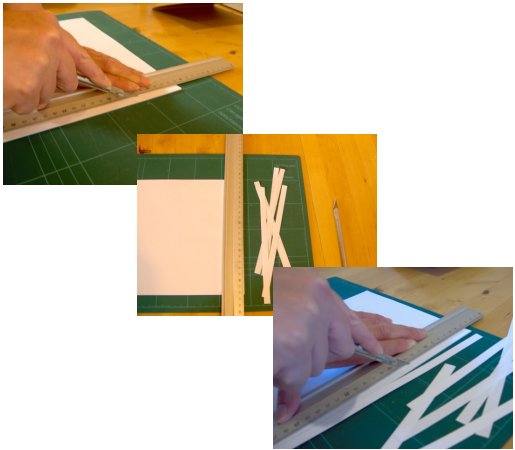
2. Using the ruler and craft knife, or pencil, ruler and scissors cut off about 1cm from two sides of all the pieces of paper (one short side, one long side). This will mean the paper will fit inside the card and not stick out.
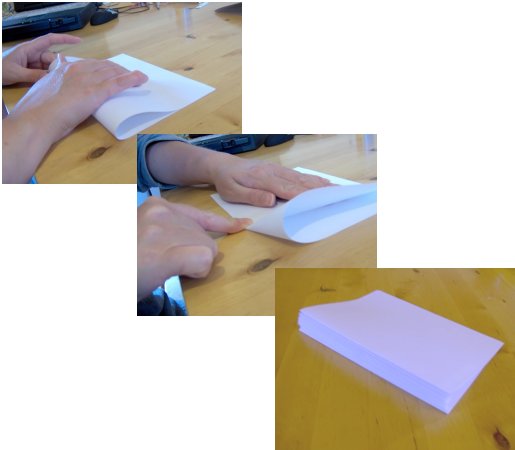
3. Fold all the pieces in half like you did with the card.
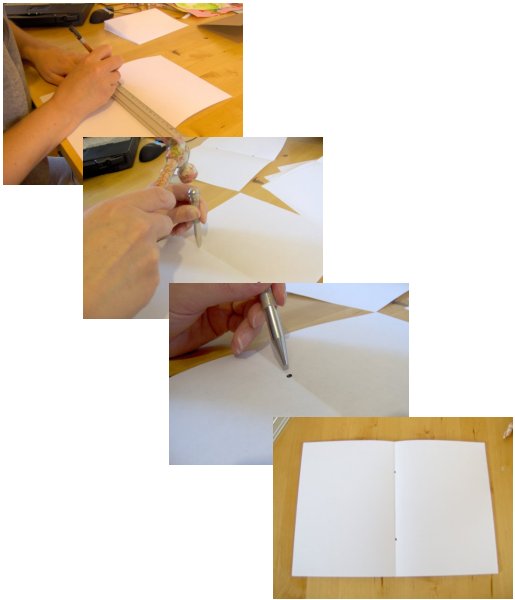
4. Open out the sheets of paper and measure 5cm in from the top and bottom of the fold and mark with a pencil.
5. Punch a hole where the pencil marks are so that you have two holes on each piece of paper.
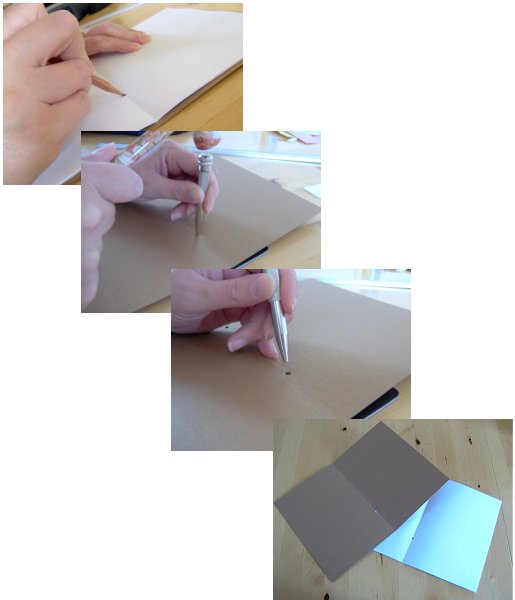
6. Gather all the papers together and lay them centrally on the card. Mark with a pencil through the holes so that you have two pencil marks on the fold in the card. Punch these out like you did for the papers.
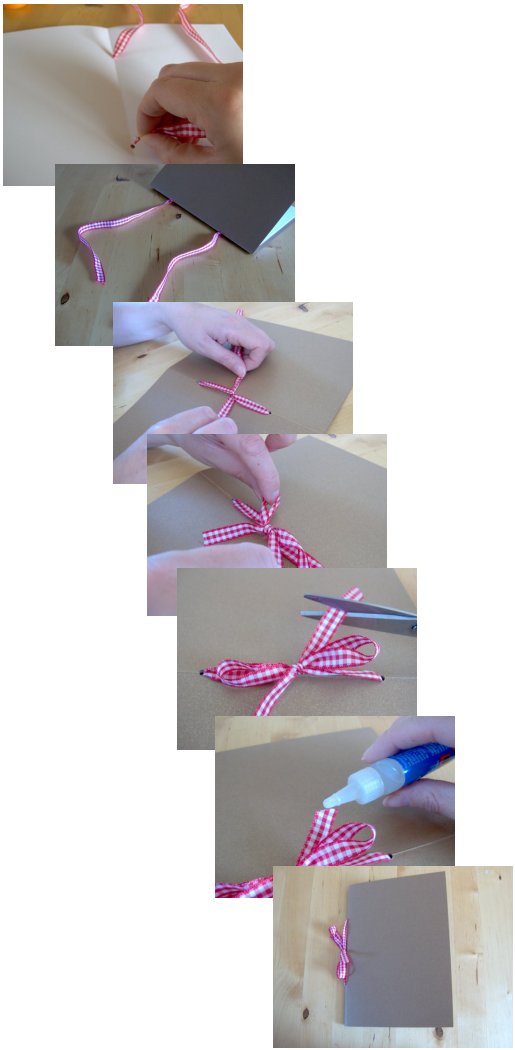
7. Place all the punched pages onto the inside of the card so that all the holes match. Thread a piece of ribbon, string or embroidery floss through the holes of the paper then through the card. Tie a knot in the ribbon, string or embroidery floss and then tie a bow. Trim the ends and add a small blob of fray check, superglue or clear nail varnish to stop them from fraying.
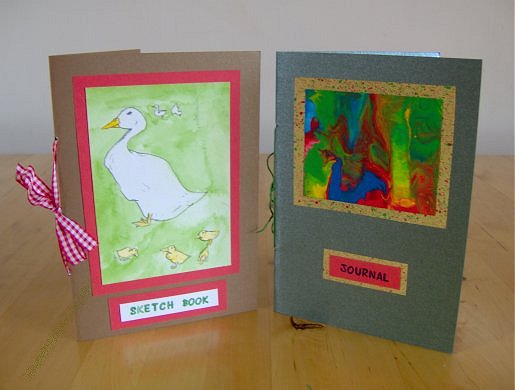
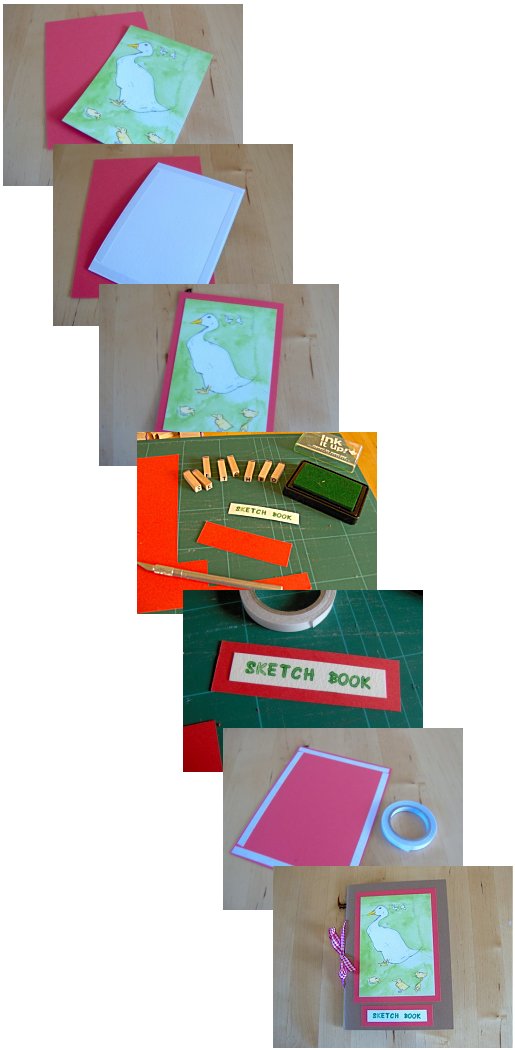
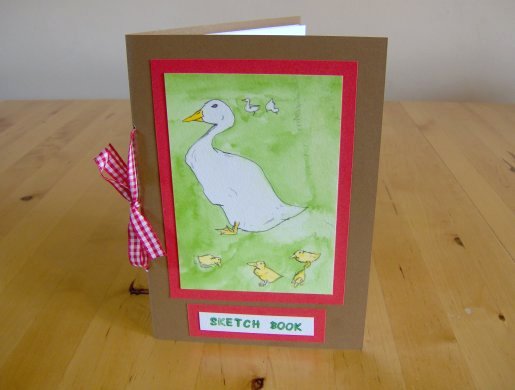
8. Now decorate the front of your book. I used a watercolour painting that my daughter had made and trimmed it to the size I wanted, I then stuck it to a piece of card slightly bigger than the painting and then to the book with double-sided sticky tape. I then stamped the words ‘sketch book’ to the back of a piece of the cut off paper from the watercolour painting, again stuck it to a piece of card and then to the book with double-sided sticky tape. The ‘sketch book’ is now complete.
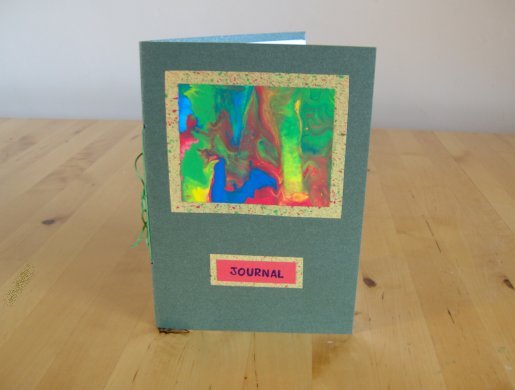
9. The second book I made in exactly the same way but to decorate the front cover I used some paper that had previously been decorated by splatter painting and blow painting, I cut the blow painting a little smaller than the splatter painting and stuck one on top of the other and then to the book with double-sided sticky tape, I then took a small rectangle of splatter painting and cut a slightly smaller piece of red card stamping ‘journal’ onto the red card, I stuck them together and then to the book with the double-sided sticky tape like before. The ‘journal’ is now finished.
Back to the Books projects menu...
Back to the Paper and Card projects menu...


