
Piano-hinge Book
I love making my own books, it is very satisfying writing, drawing or scrapbooking in a book you have constructed yourself, they make fantastic personal gifts too. There are so many different styles of books to choose from, this piano-hinge book has a beautiful spine and making it from coloured scrapbook paper really adds to the effect.
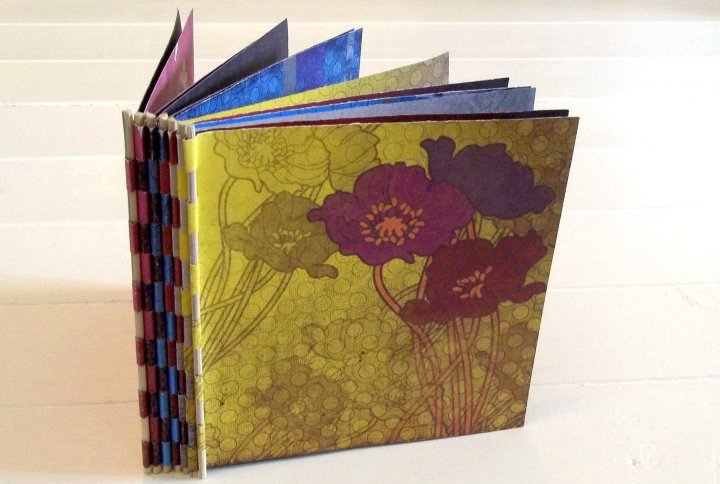
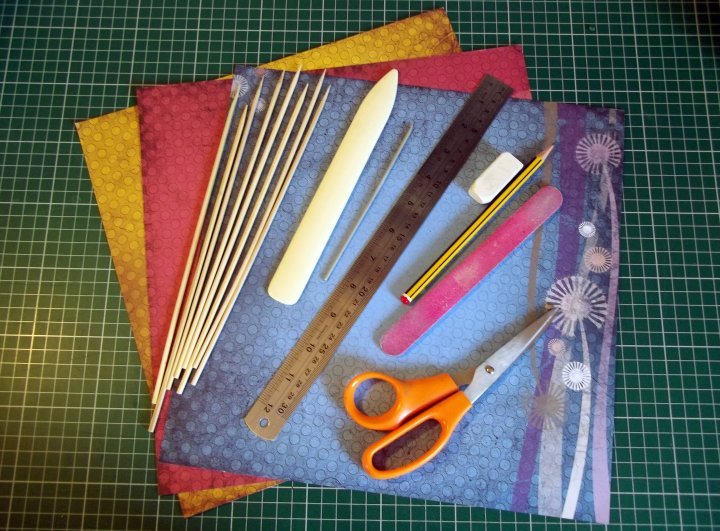
You will need:
ruler
pencil
scissors
eraser
bone folder
thin crochet hook or knitting needle etc (to score lines with)
8 bamboo skewers
sandpaper or emery board
What to do
1. Cut each sheet of paper in half (lightly mark down the centre line of each sheet of scrapbook paper, cut along the line, and then erase any pencil lines). You now have 6 sheets.
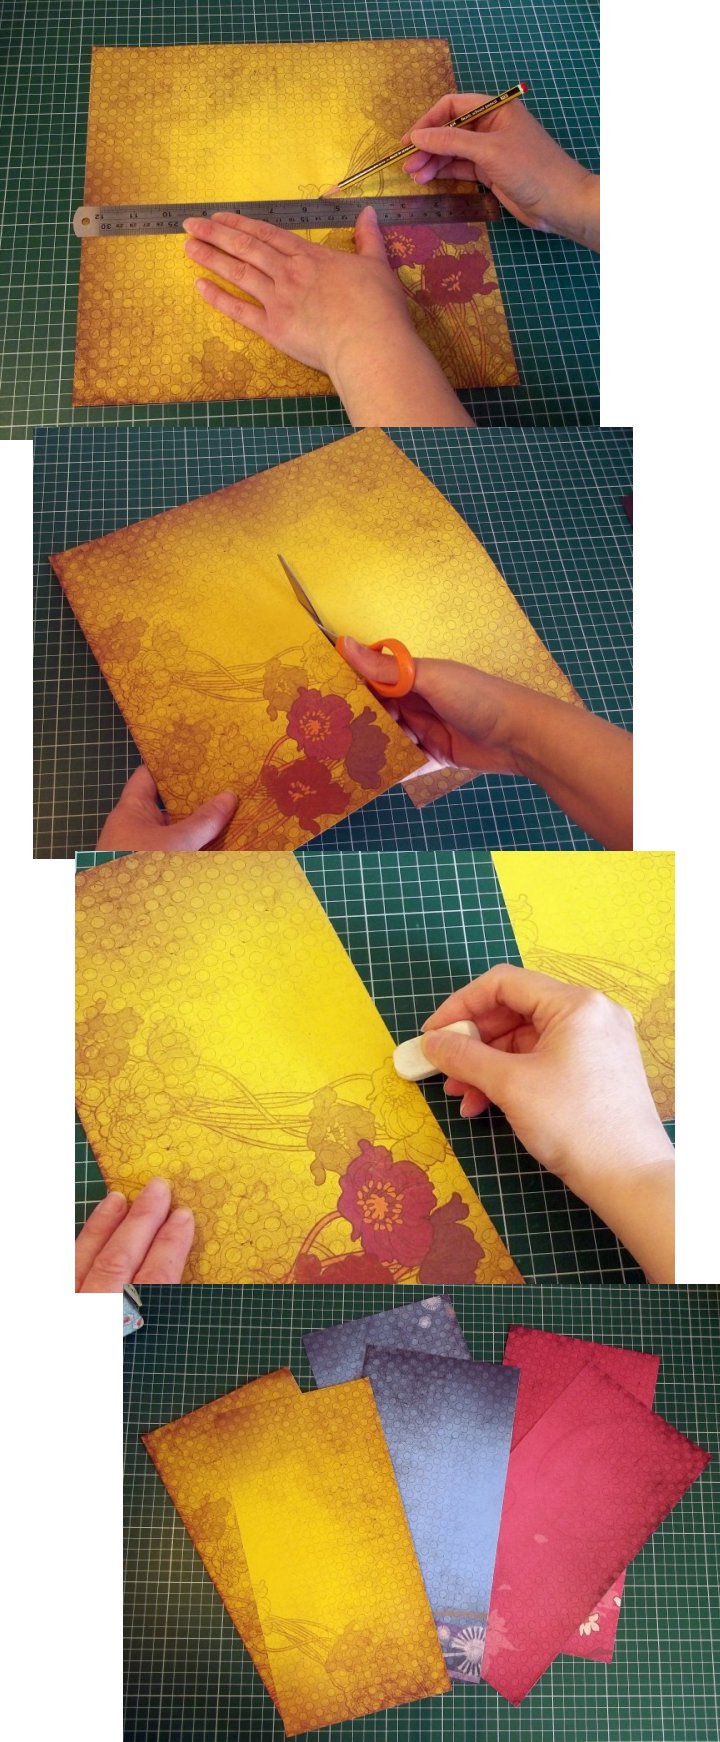
2. **TOP TIP - If you are using double-sided papers then you can decide which patterns/colours are on the outside & inside when you fold them. - TOP TIP**
Fold each sheet in half and press the fold.

3. Open out the sheets, lightly mark top & bottom of the sheet ¼" each side of the folded centre line. Using a thin crochet hook/knitting needle score either side of the centre fold joining up the pencil marks. You now have three scored lines.

4. Erase the pencil marks and re-fold the sheets.
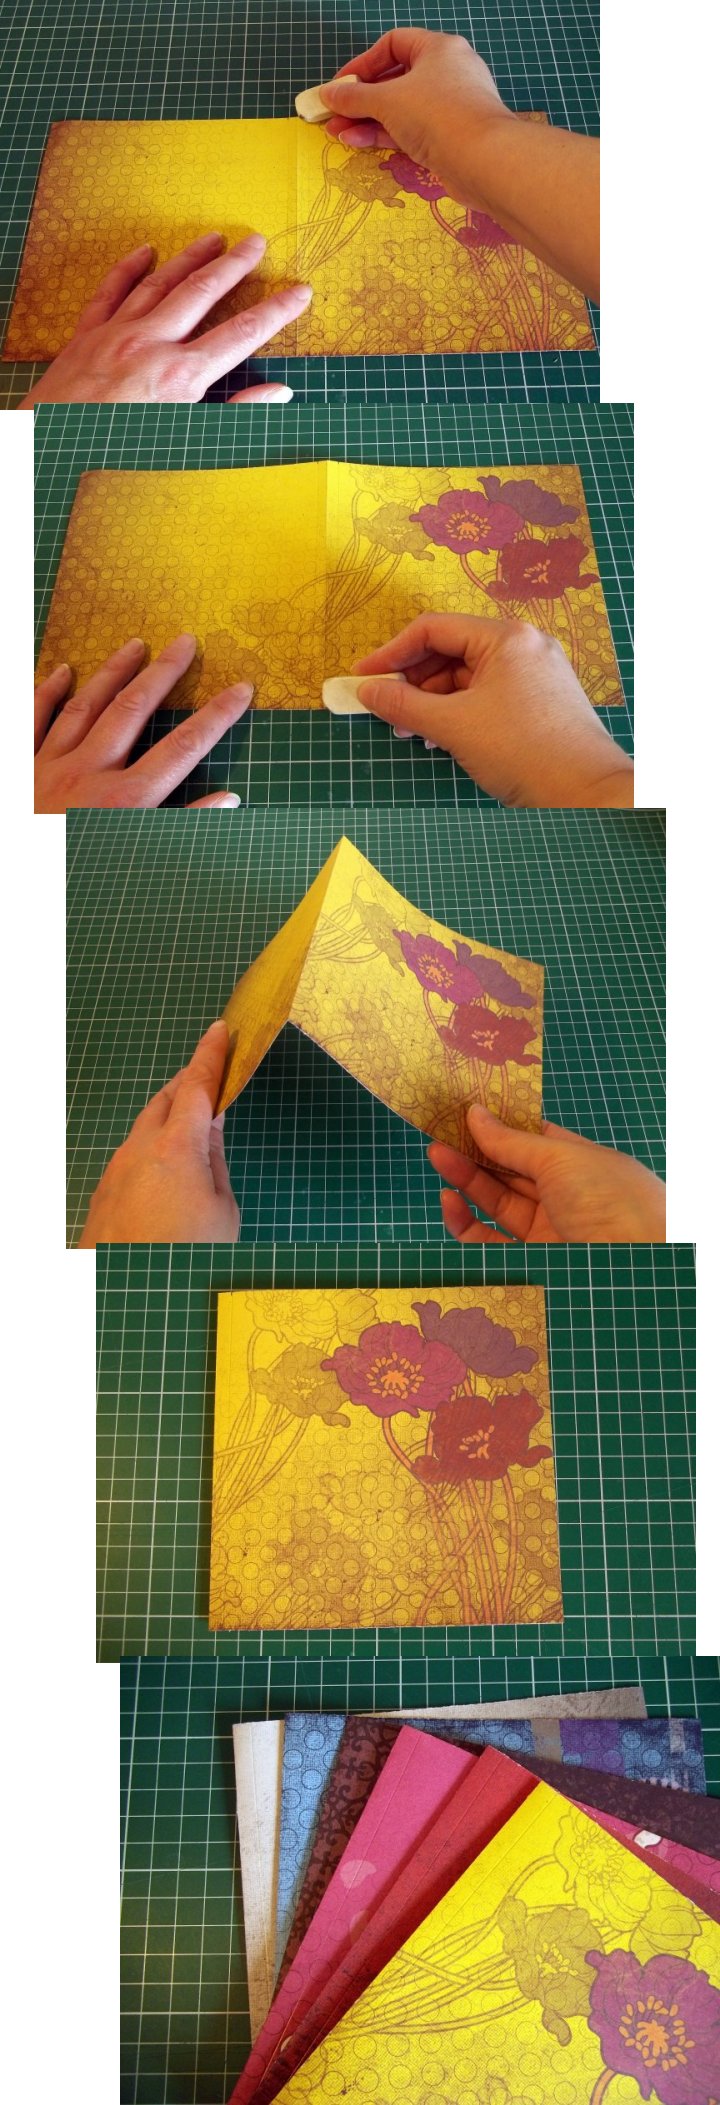
5. Lightly mark every ½" along the folded side and cut up to the scored lines at these points. Carefully erase any pencil marks.
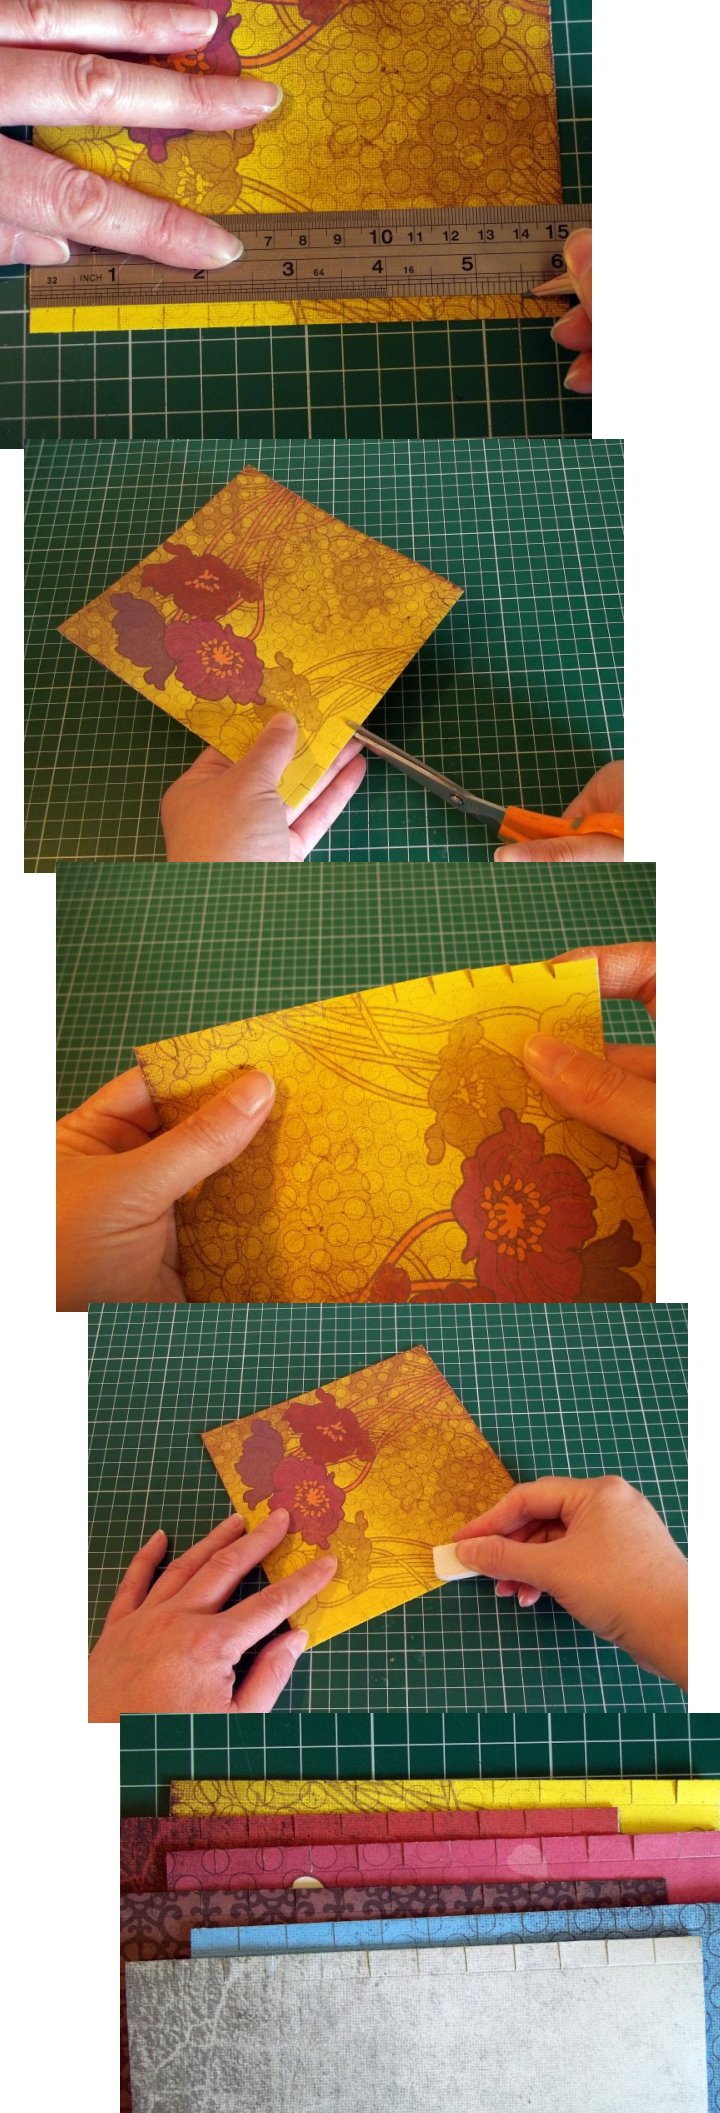
6. On each sheet, starting at the top, fold every other tab forward to separate the tabs.
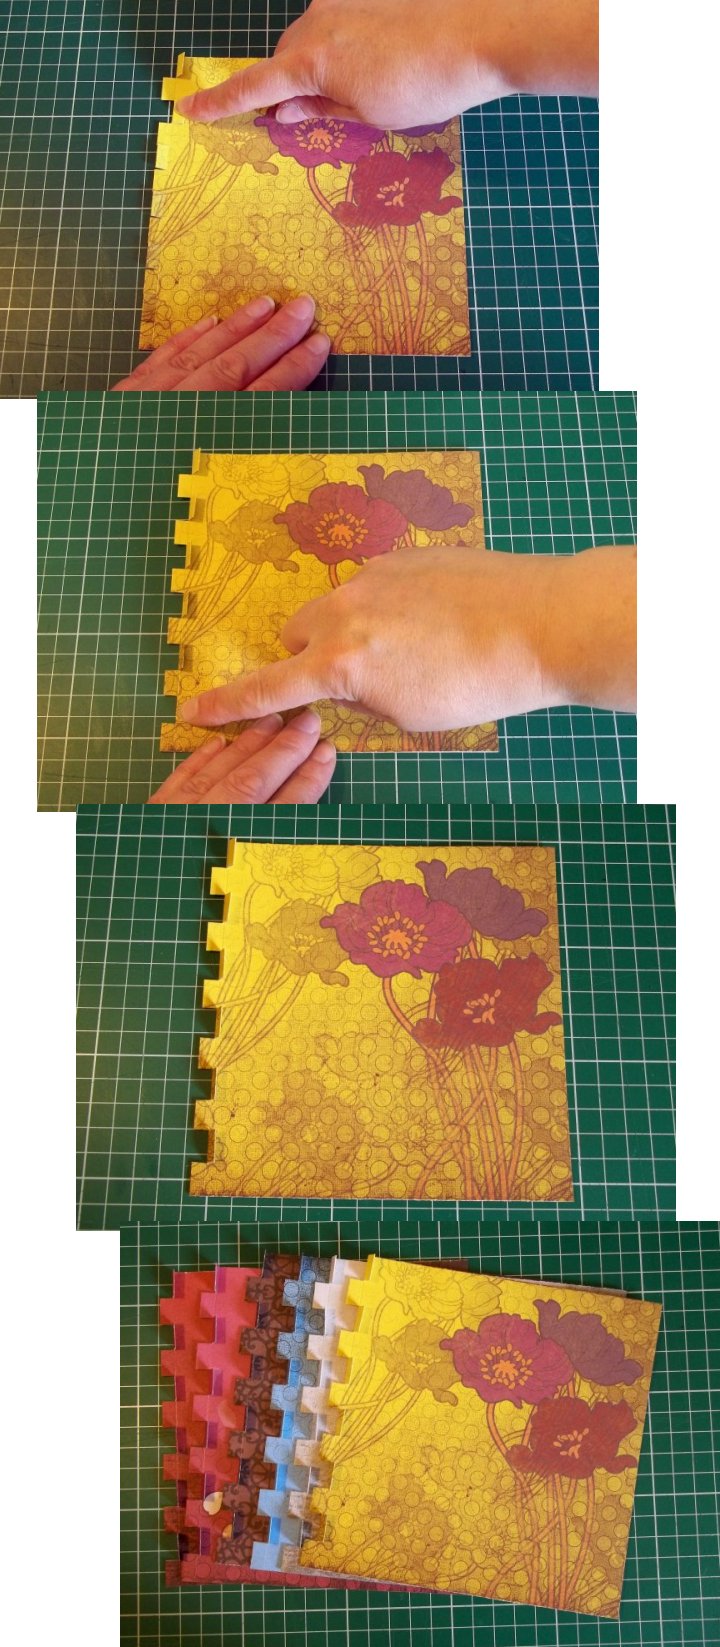
7. Place the folded sheets in front of you in the order you want them to be in your book.
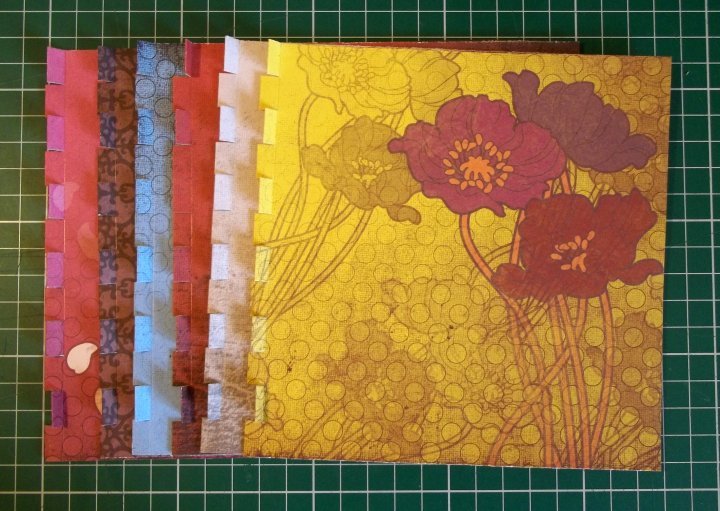
8. **TOP TIP - The book is constructed starting from the back page and working forwards, with the points of the skewers at the bottom of the page once they're in position as part of the spine. So, it is important to have your pages the right way up and in the right order when you put them all together.
I found it easiest to hold the pages with the folded end facing up and threading the skewers from right to left. - TOP TIP**
Place two folded sheets on top of each other. Slip one of the skewers (point first) through the first tab in the first page (bottom sheet) and through the second tab in the second page (top sheet). Then through the third tab in the first page (bottom sheet) and the fourth tab in the second page (top sheet), keep threading through alternate tabs on each sheet until you reach the end of the papers (this is creating the spine of the book).
**TOP TIP - You may find it easier to place a spare skewer in your other hand to help open out the tabs as you thread the skewer through, it's a little fiddly but you'll soon get the hang of it. - TOP TIP**

9. Place the third sheet on top of skewered sheets 1 & 2 and start a new skewer going through the first tab on the second page and the second tab on the third page. Continue threading the skewer through every other tab on sheets 2 & 3 in the same way as you did for sheets 1 & 2 until the skewer reaches the bottom.

10. Continue adding each page in the same way threading them together with the skewers.

11. There will be empty tabs at the front and back of the book, thread a skewer through each of these.
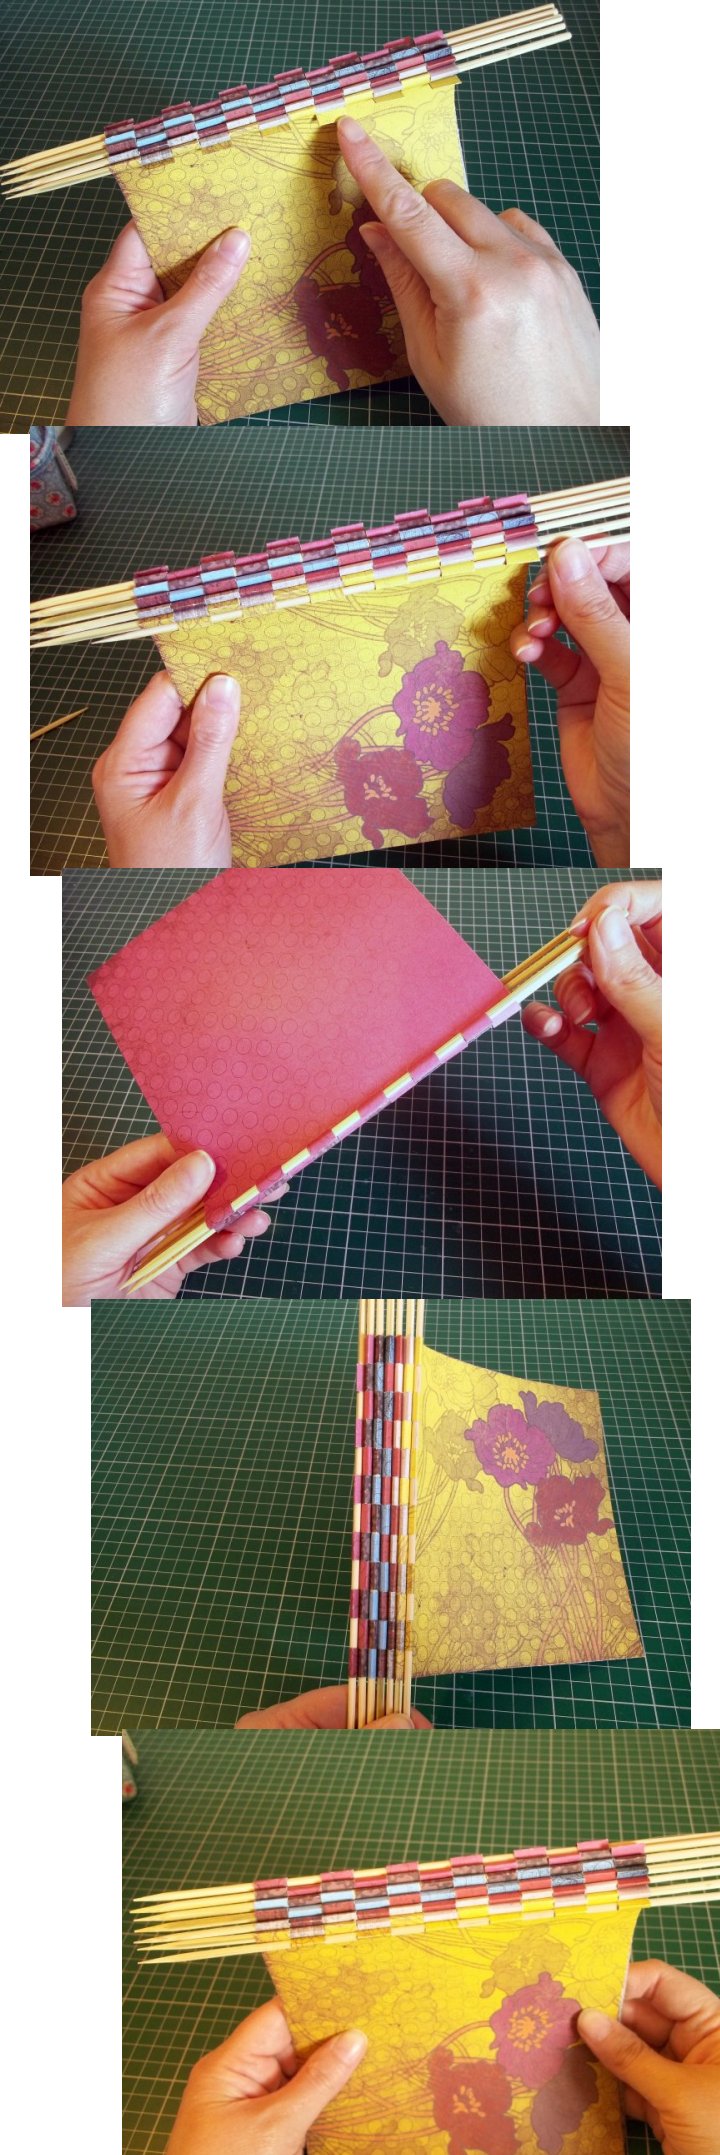
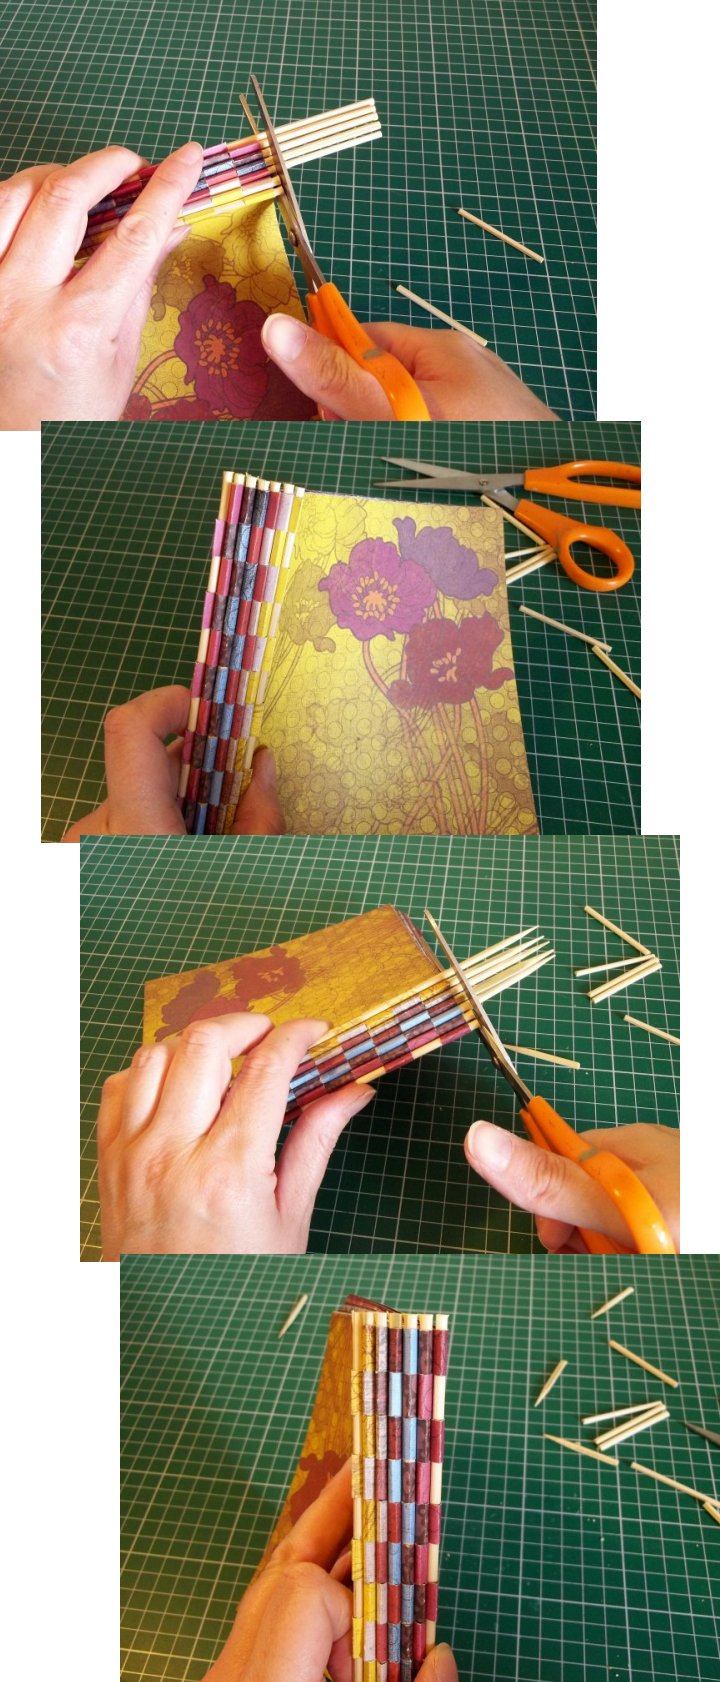
12. Lining up the skewers and holding firmly, carefully cut them closer to the papers edge.
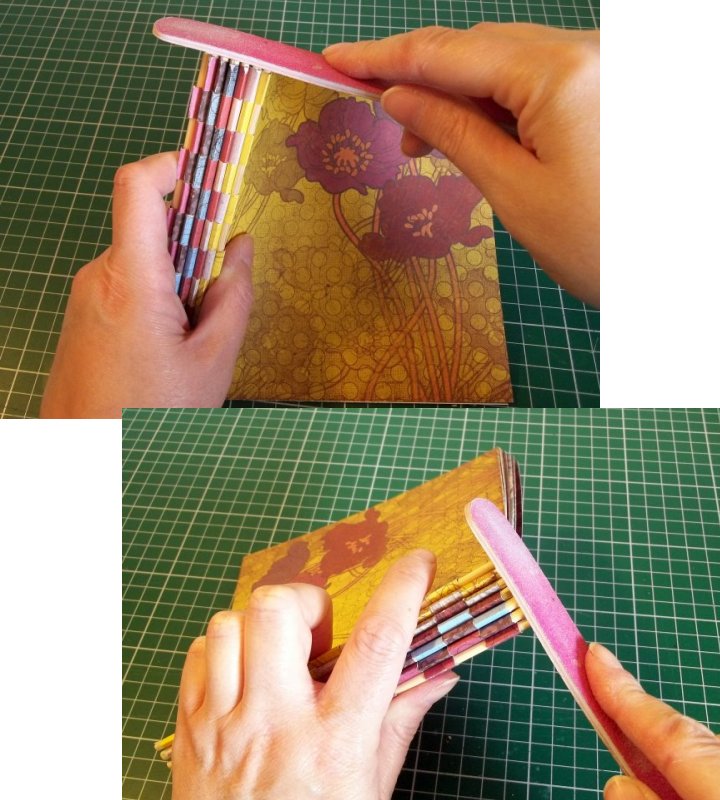
13. Carefully smooth the skewer ends with some sandpaper/emery board so that there are no splinters or sharp edges.
**TOP TIP - Be careful when sanding the skewer ends not to sand the paper too...ooops! -TOP TIP**
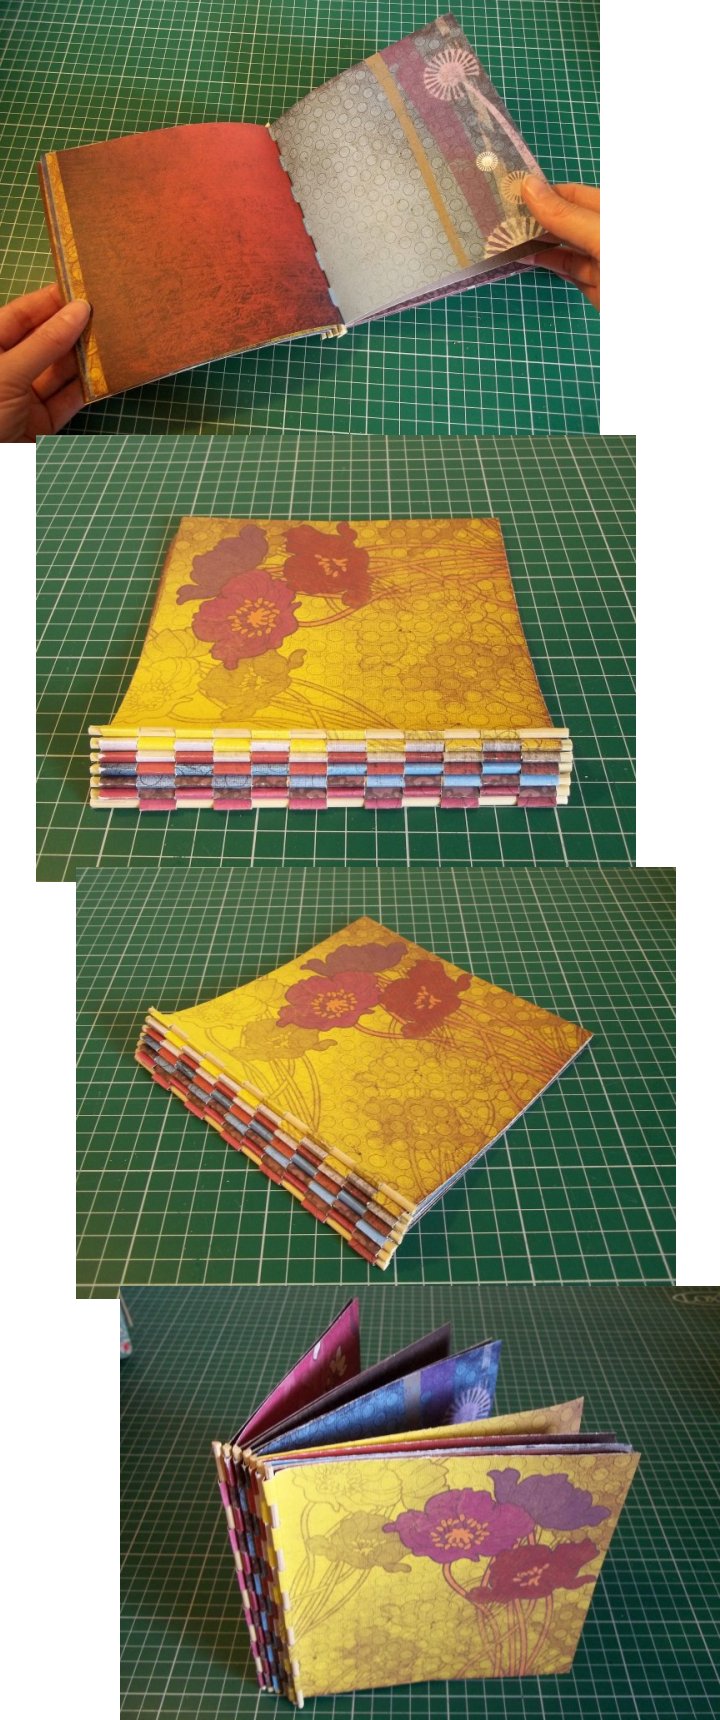
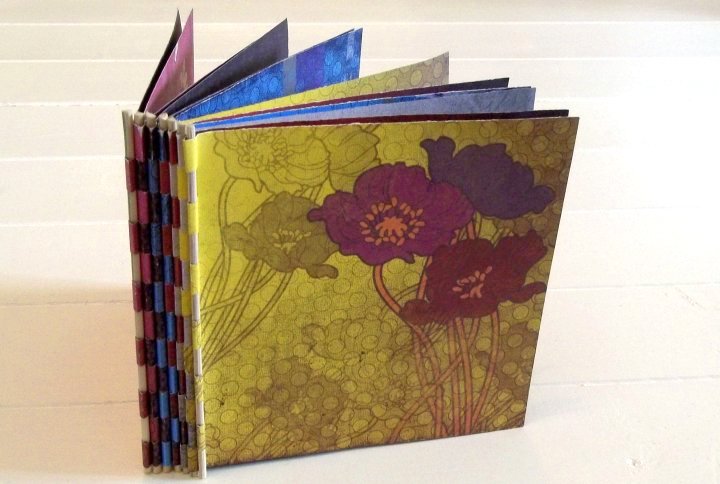
14. Your book is now ready to use.
Back to the Books projects menu...
Back to the Paper and Card projects menu...


