
Bottle-top Magnets
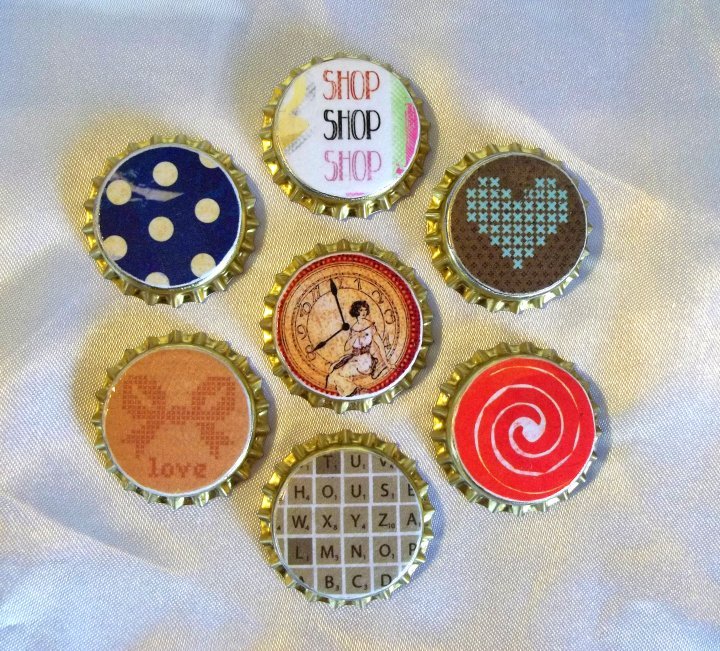
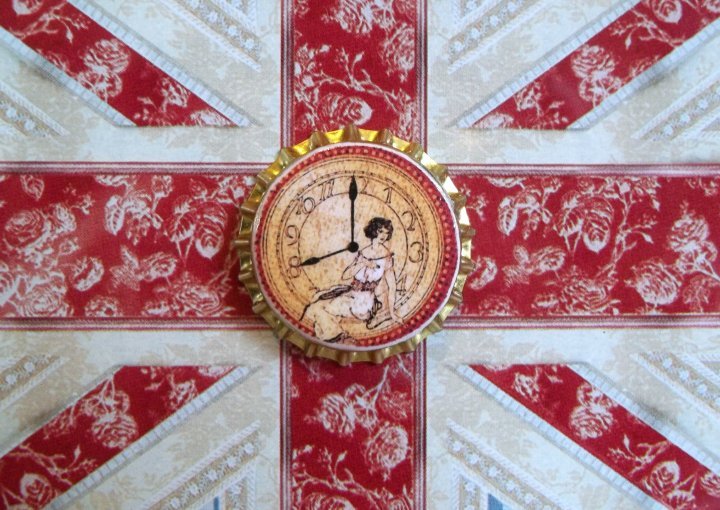
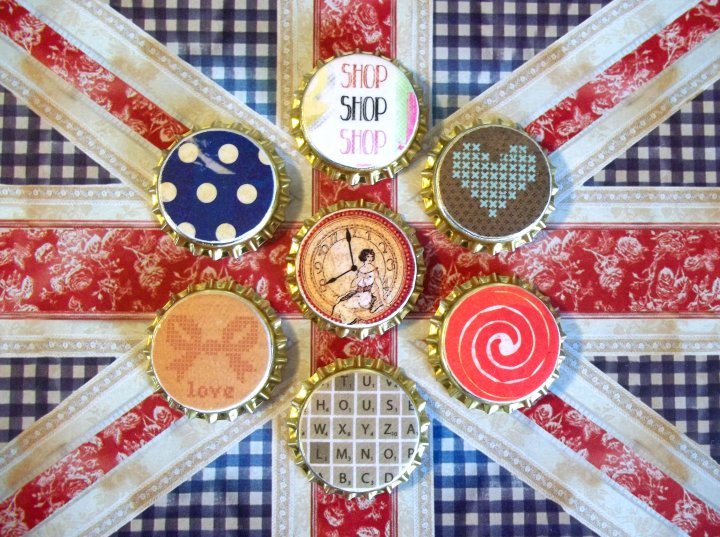
Magnets make great small gifts. This project uses bottle tops as the starting point making them a little more unusual. There is such a variety of craft paper available that you can easily make a totally unique gift for yourself or someone special.
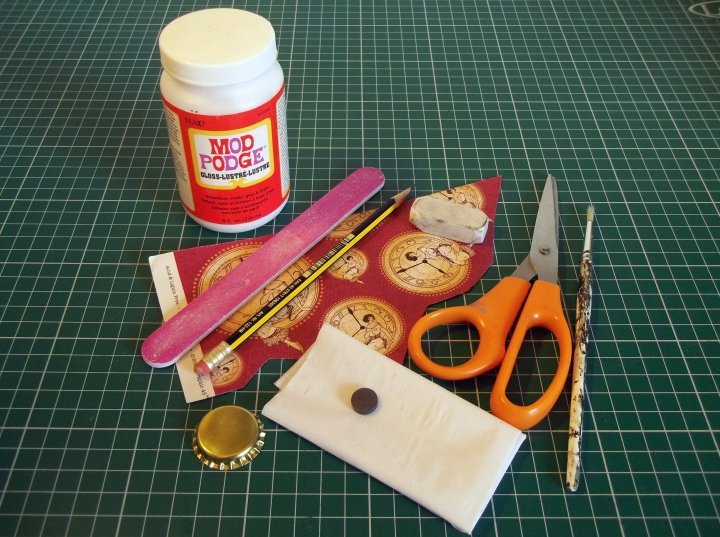
You will need:
Patterned paper
Pencil & eraser
Scissors
Mod Podge & small paintbrush
Emery board or fine sandpaper
Tissue
Magnet
What to do
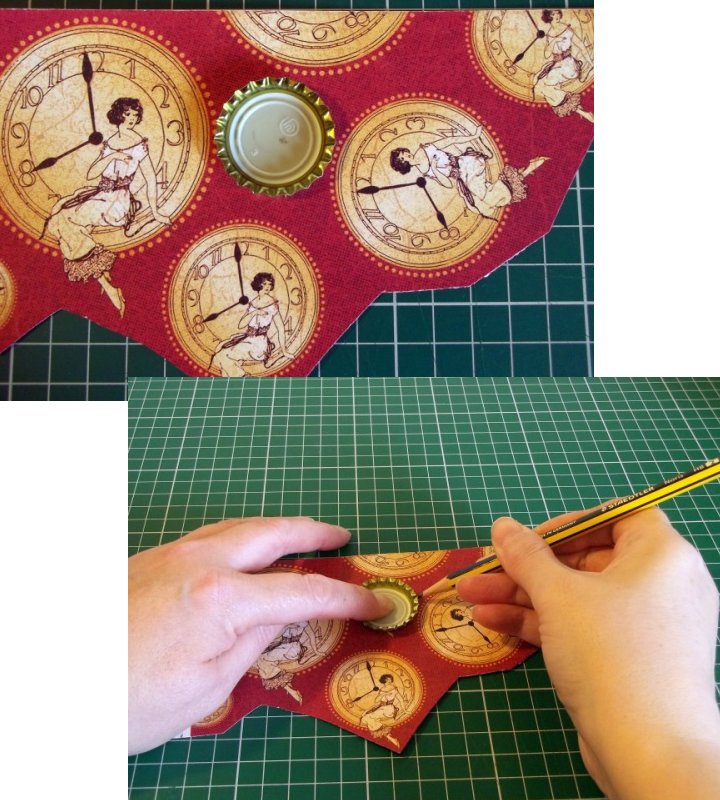
1. Place a bottle-top upside down on the front of some patterned paper, hold in place and lightly draw around it (placing the bottle top on the front of the paper will help you position it so that you can cut out a specific section, like a flower or a letter etc).
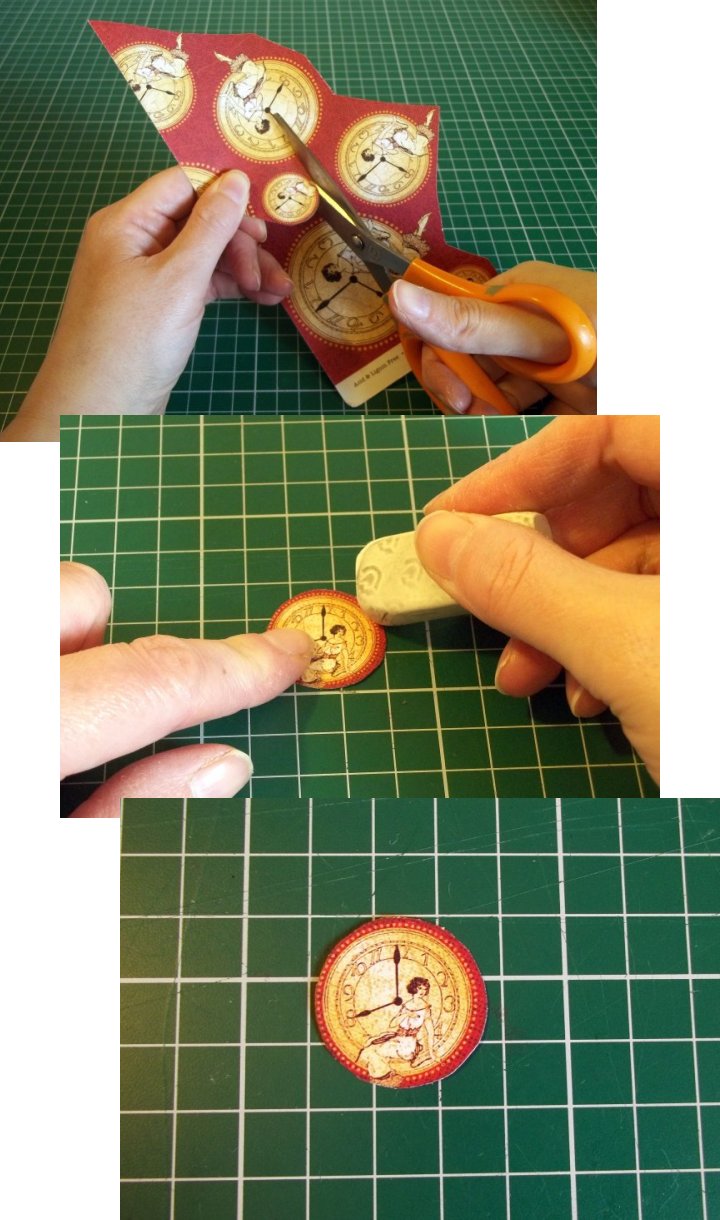
2. Cut out the drawn circle & gently remove the pencil marks with an eraser.
3. Turn the bottle top right way up and spread some Mod Podge on the flat surface.
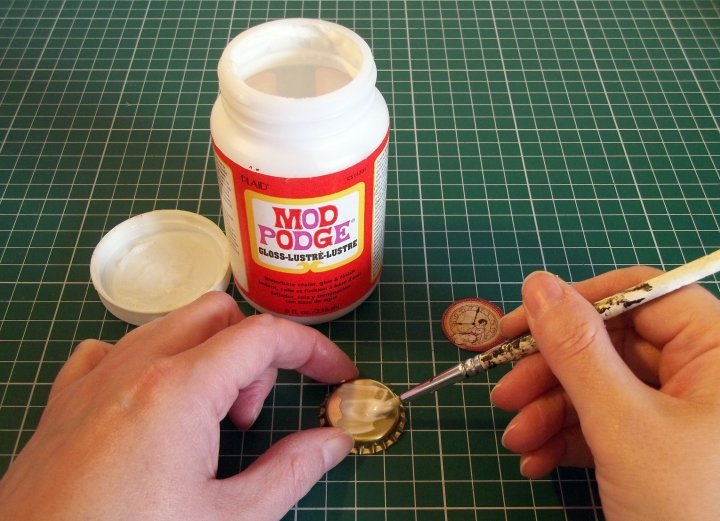
4. Place the paper circle onto the Mod Podge & smooth into place with your finger. Wipe away any excess Mod Podge with a tissue.
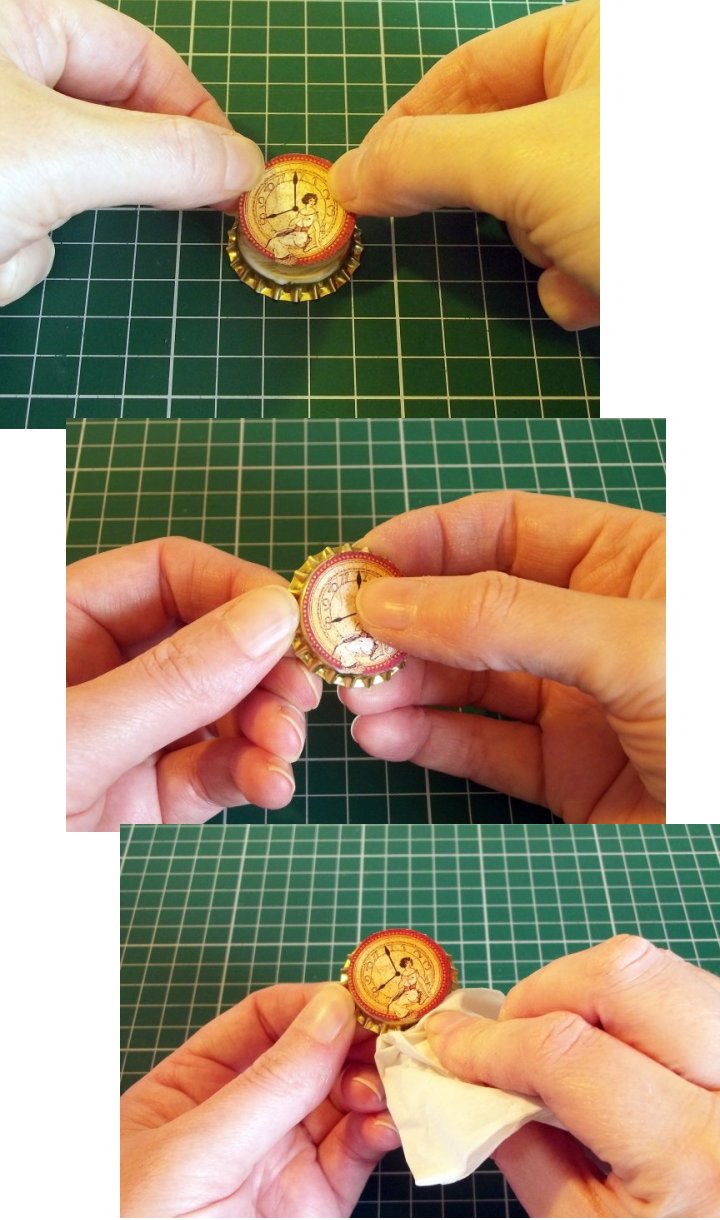
5. Leave to dry for a couple of minutes.
6. When it is dry gently smooth the paper edges with an emery board or fine sandpaper, do this by stroking the emery board/sandpaper in one direction from front to back - this is a great way of ensuring that the paper edges are smooth and blend with the bottle top.
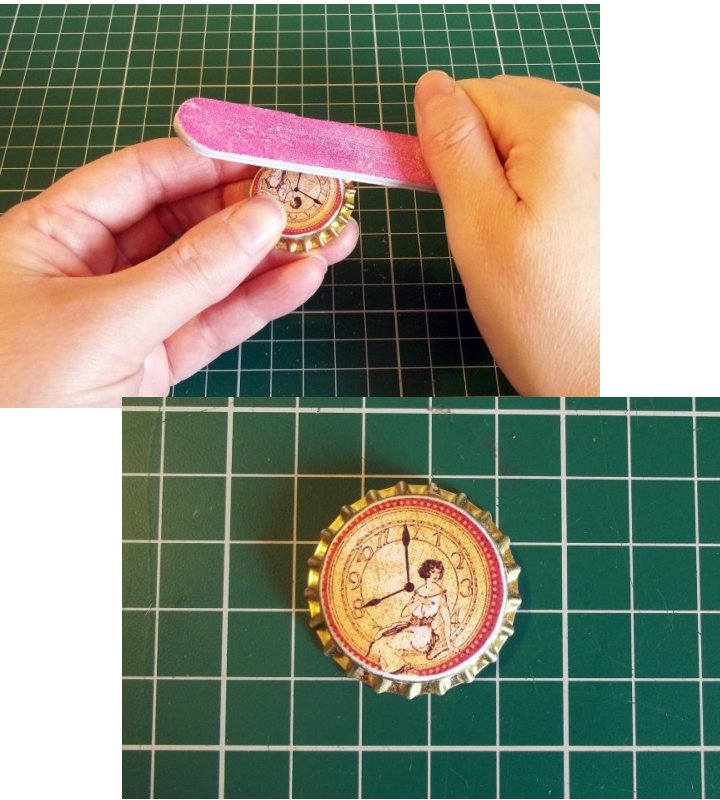
7. Completely cover the paper part with Mod Podge, and carefully wipe away any excess with tissue. Leave the paper to dry for a few minutes then give it a second coat as before & leave to dry.

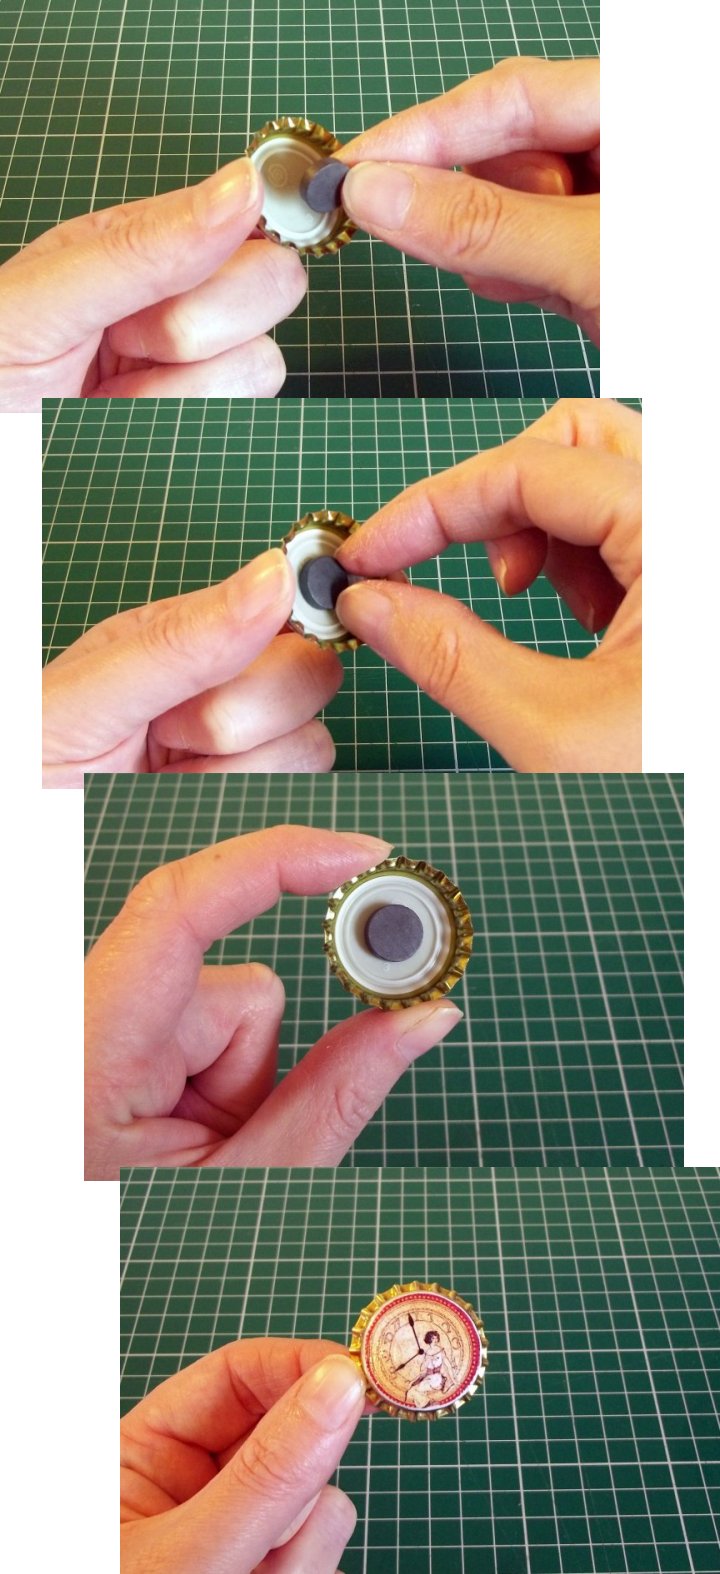
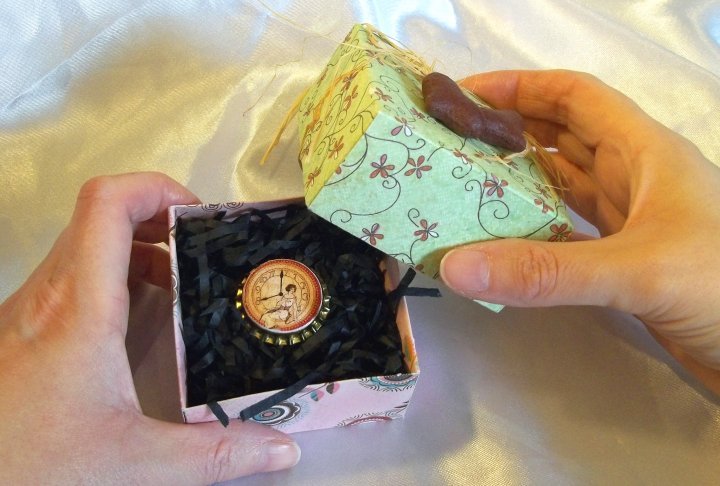
8. Place the magnet centrally on the inside of the cap and your bottle-top magnet is finished. You can stick it on something metal (like the fridge or a storage tin etc) or wrap it up as a lovely little gift (why not check out our various box projects to make the gift totally handmade (see links below), pictured is the 'folded gift box'.
**TOP TIP - When I made this project the magnets stuck themselves to the inside of the bottle top easily without any additional help, but if yours doesn't or you want the magnet to be attached permanently then just stick them together with a dab of strong glue. - TOP TIP**
Go to the Folded Gift Box project...
Back to the Paper and Card projects menu...


