
Cake slice box
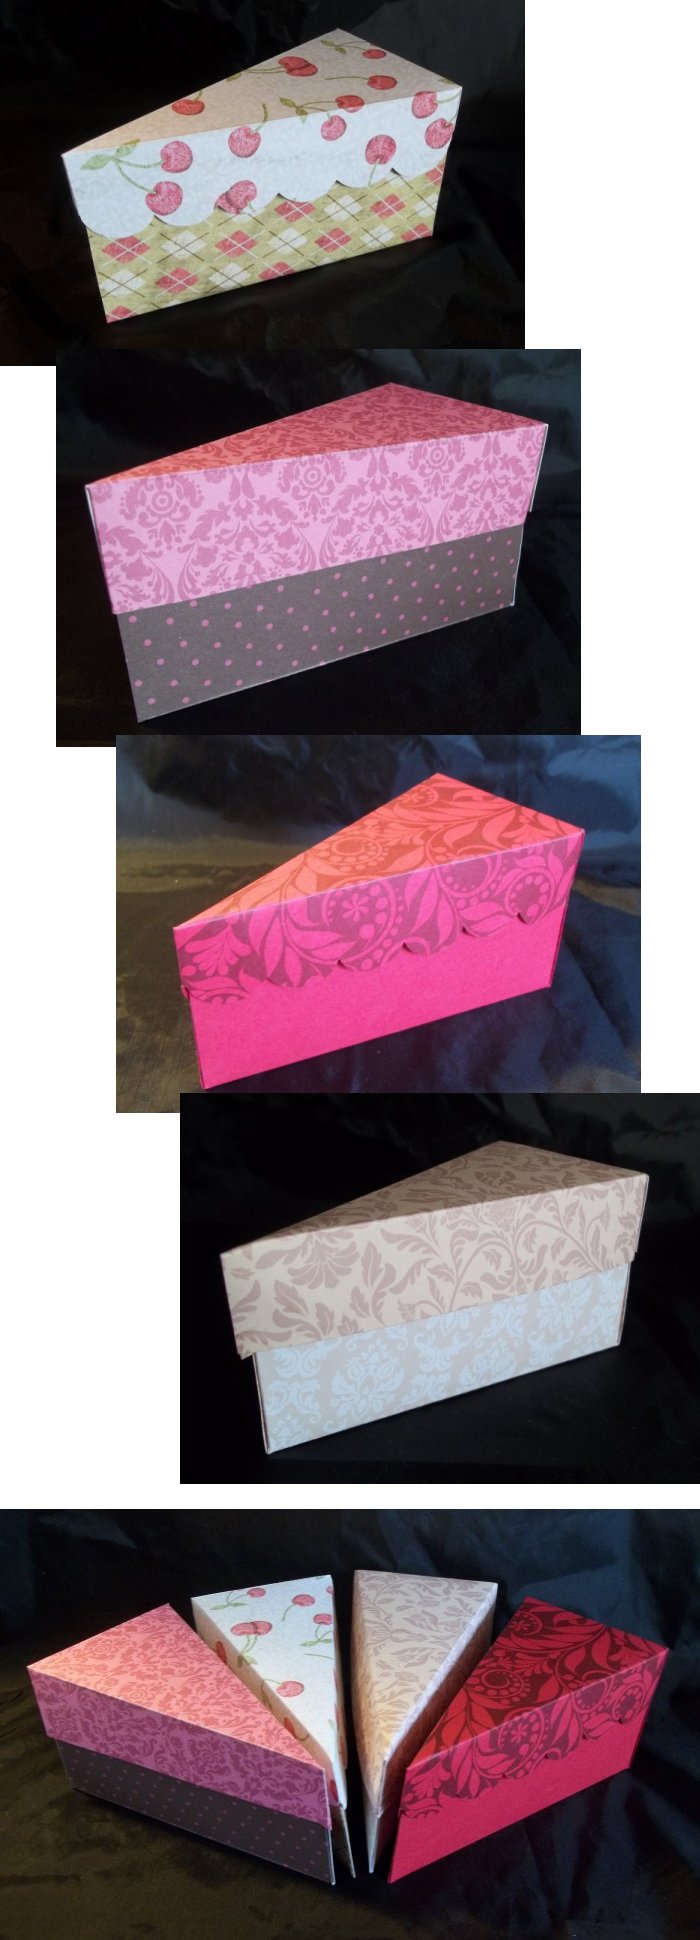
These cake boxes are a great way of giving your guests a slice of party cake to take home with them, or for those who couldn't make it to the party but you still want to give them a slice of cake. The boxes can be colour co-ordinated to your party's theme and the cake can be sliced and boxed-up ready to give each guest as they leave. Remember to wrap the cake in greaseproof paper before putting in the box to make it easy to lift out.
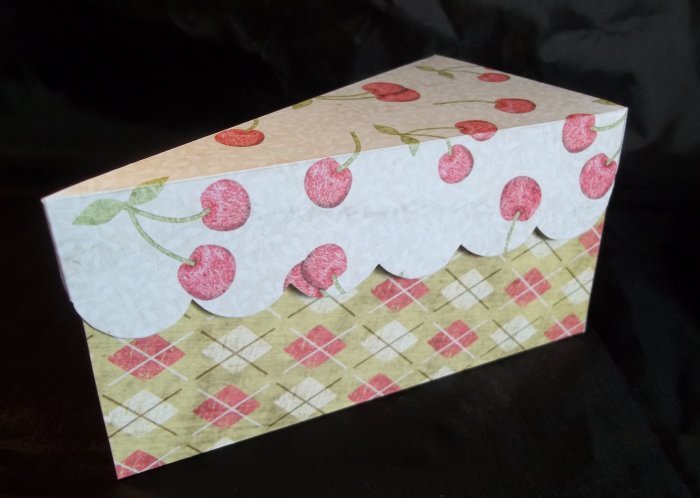
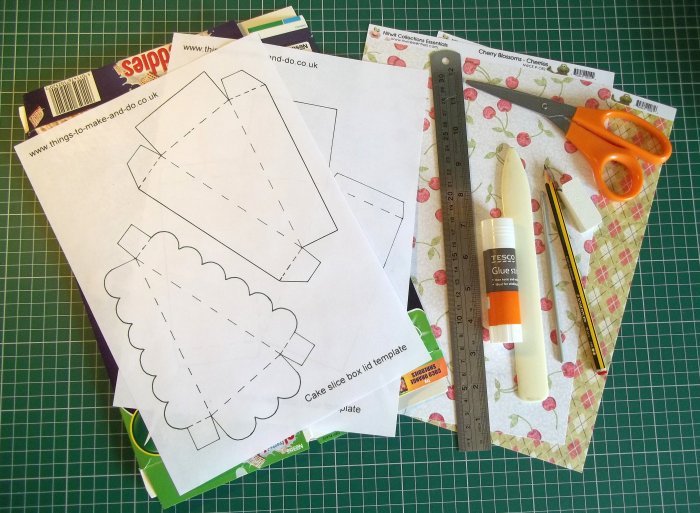
You will need:
Card/cereal box to make stronger template (2 x A4 sheets)
Card for each box (2 x A4 sheets)
Scissors
Pencil, ruler & eraser
Scorer (I use the back of a crochet hook)
Bone folder or back of a blunt knife
Glue stick, PVA glue or double-sided sticky tape
What to do
1. Print out the templates, there is one for the box base & two choices for the lid (a simple straight edge and a fancy scalloped edge).
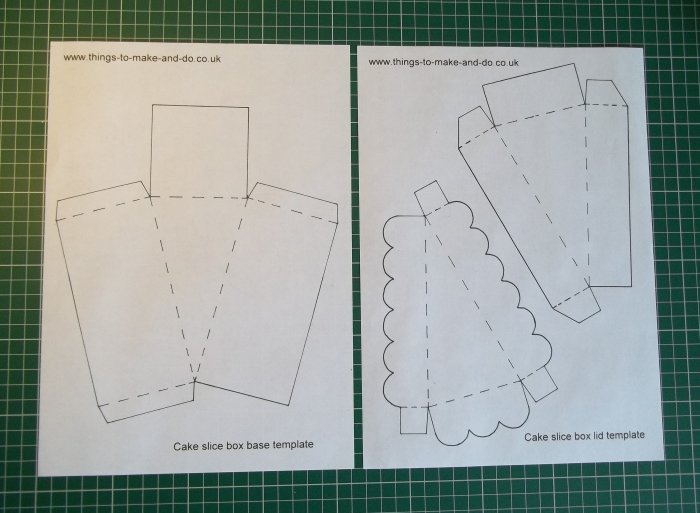
**TOP TIP - Personally I prefer the scalloped edge lid but it is fiddlier to cut out and so takes longer to make. An alternative idea if you want a fancier edge than the straight one but are short on time is to use the straight edge template but cut it out using fancy edging scissors - TOP TIP**
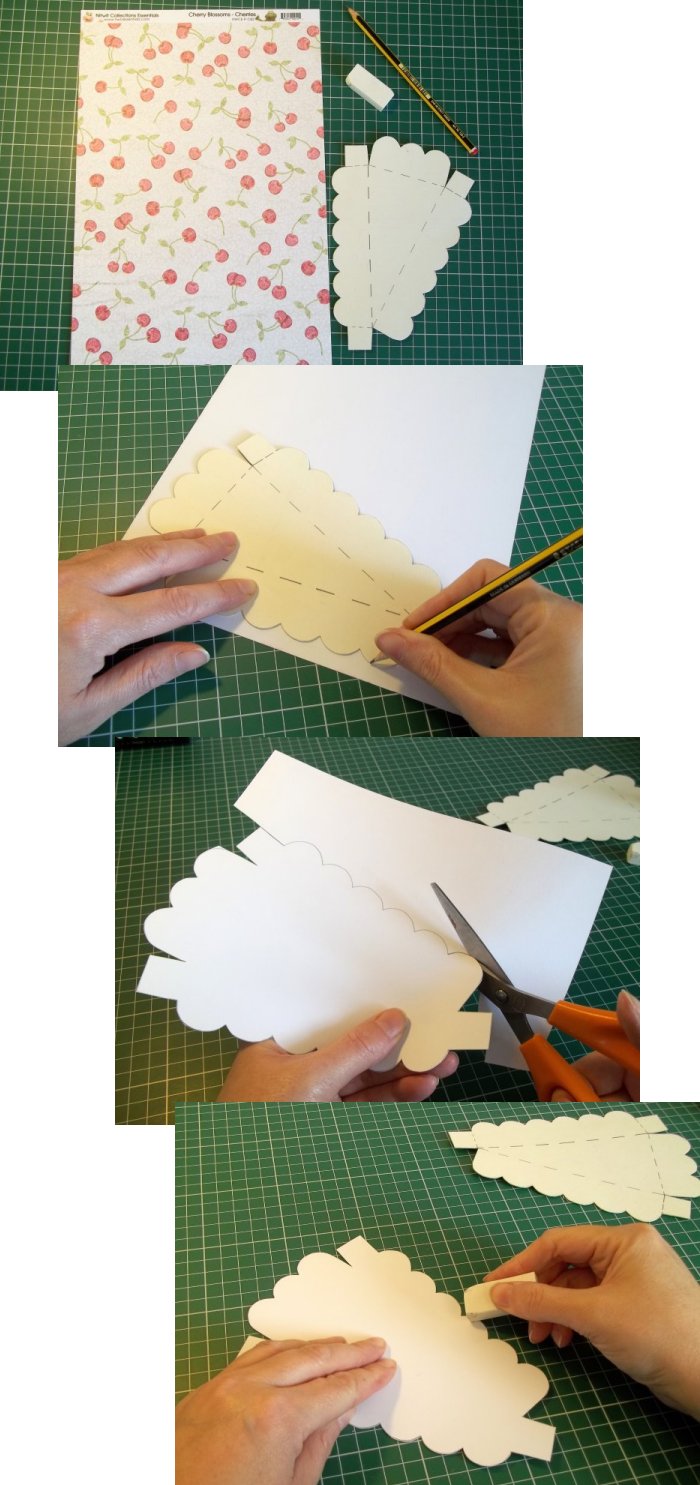
2. Carefully cut out the paper templates.
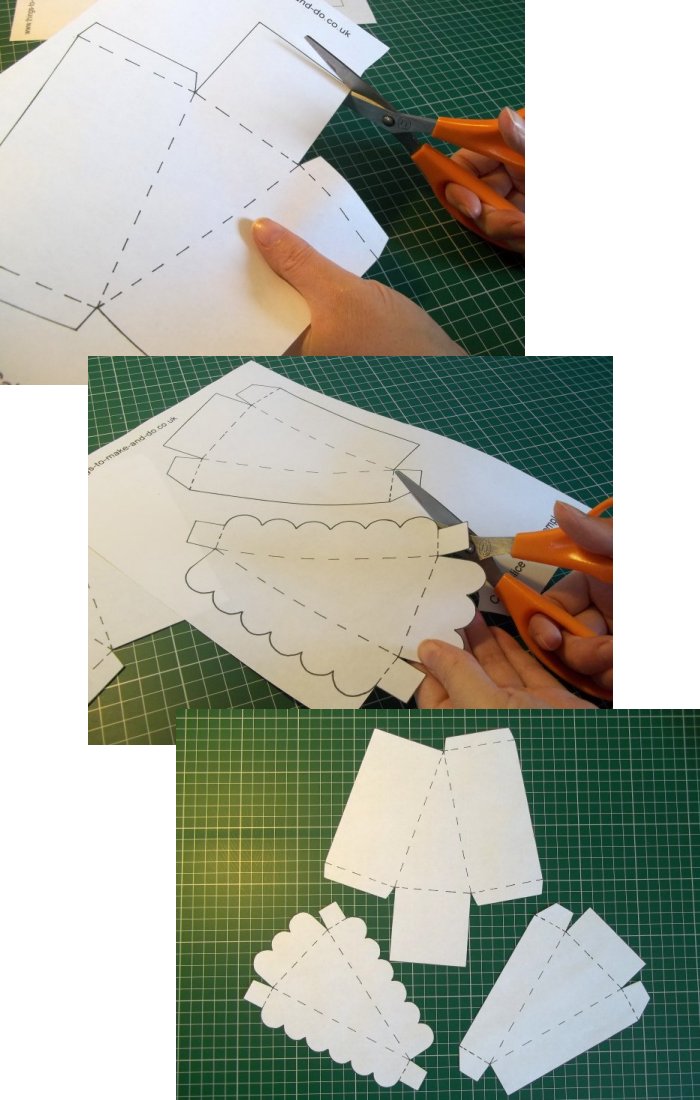
3. Carefully draw around the paper templates onto some card/cereal box to make stronger re-usable templates.
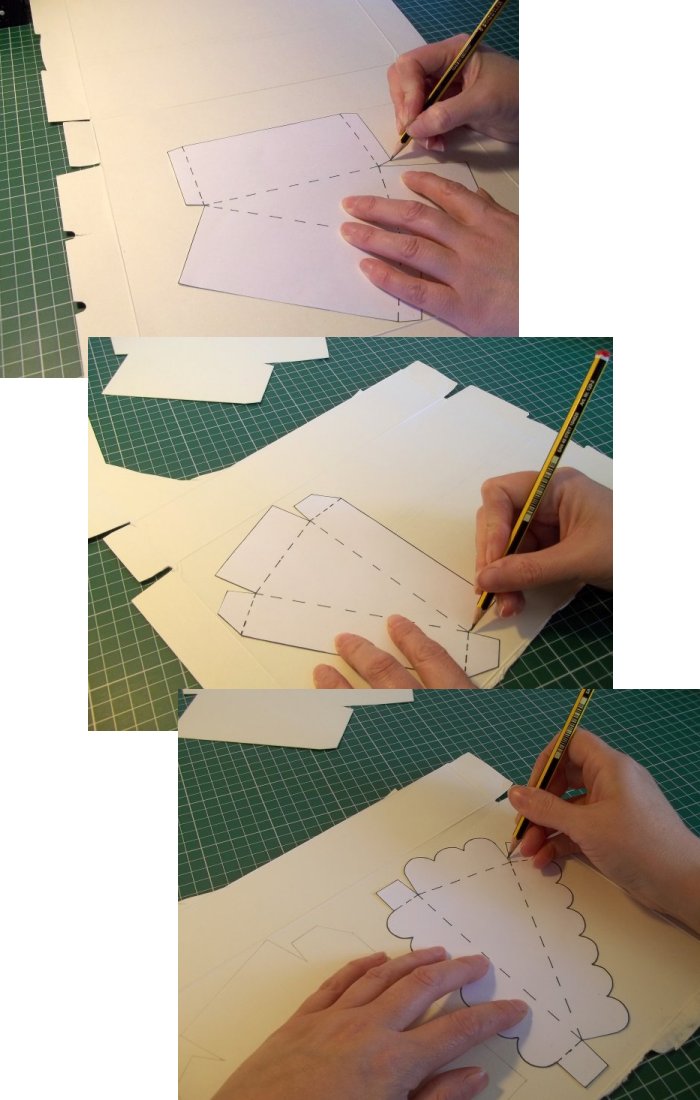
4. Carefully cut out the card templates and draw on the fold guide lines.

5. Draw around the stronger template for the box base onto the back of the card and carefully cut out. Rub out any pencil marks.
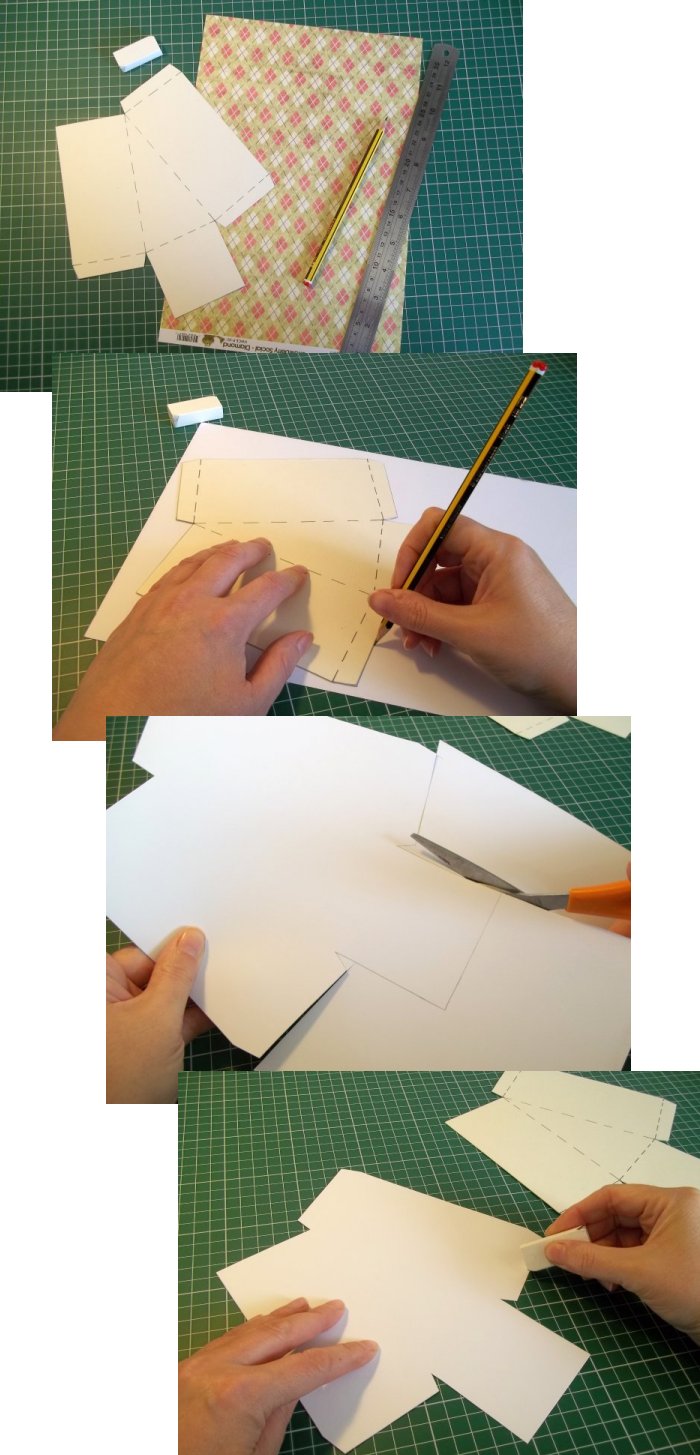
6. Using a ruler and the back of a crochet hook/blunt knife score the fold lines on the card using the template as a guide and lift up each side.
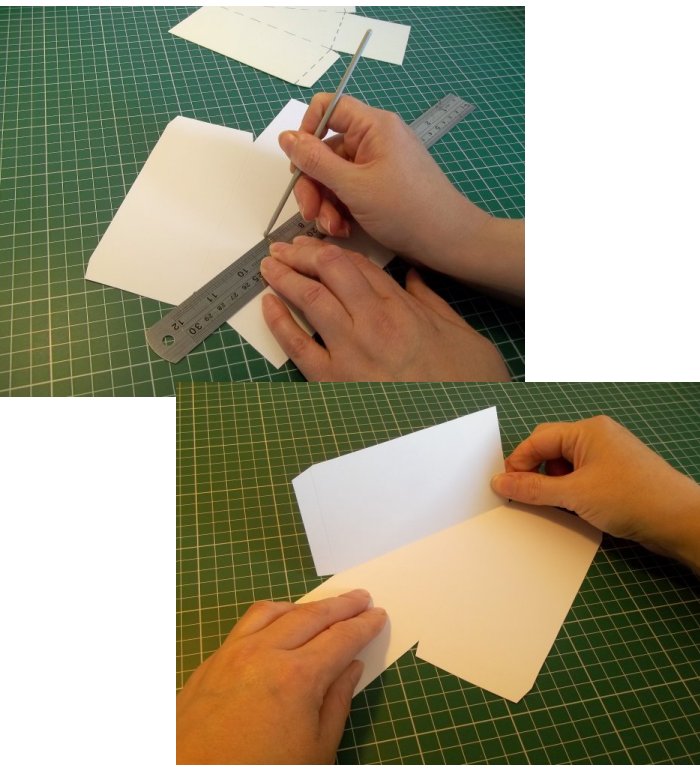
7. One at a time fold the sides in and press the fold with a bone folder to sharpen the crease.
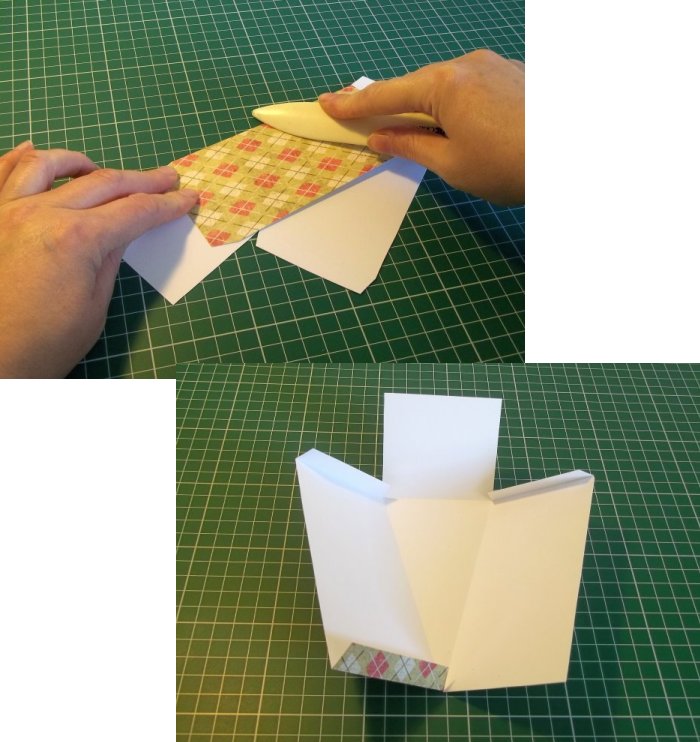
8. Glue the tabs on the right side of the card, lift up the sides and press the tabs to the inside of the box. If using PVA, hold in place until stuck.

9. Draw around the stronger template for the chosen box lid (straight or scalloped edge) onto the back of the card and carefully cut out. Rub out any pencil marks.
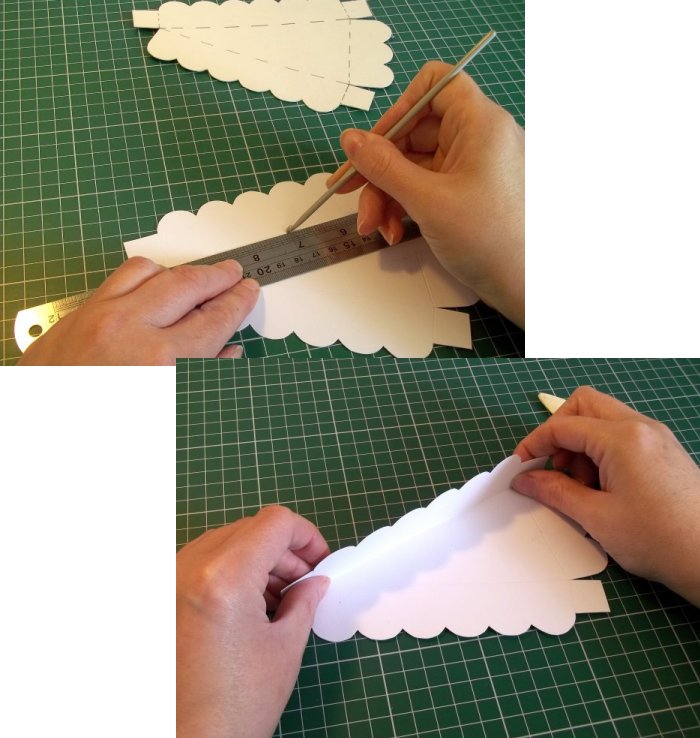
10. Using a ruler and the back of a crochet hook/blunt knife score the fold lines on the card using the template as a guide and lift up each side.
11. One at a time fold the sides in and press the fold with a bone folder to sharpen the crease.
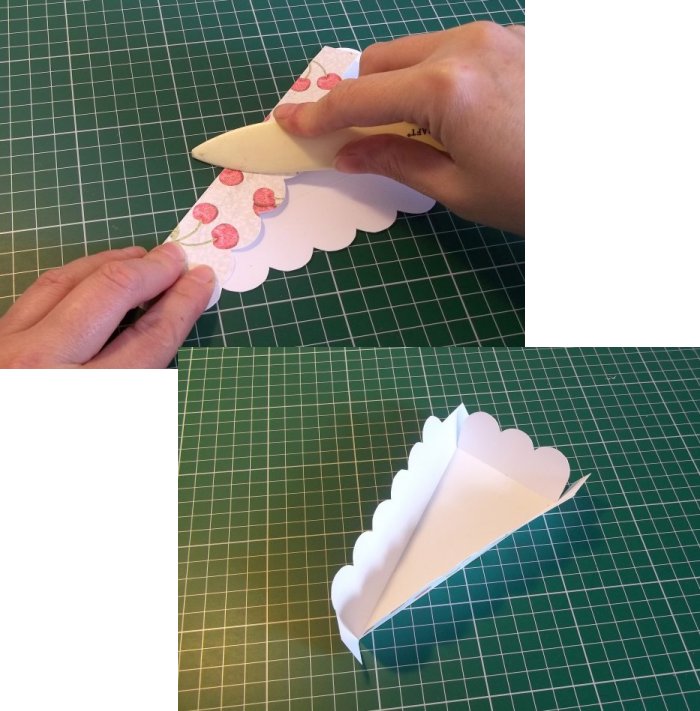
12. Glue the tabs on the right side of the card, lift up the sides and press the tabs to the inside of the box. If using PVA, hold in place until stuck.

13. Once the glue is dry the cake box is ready to use.
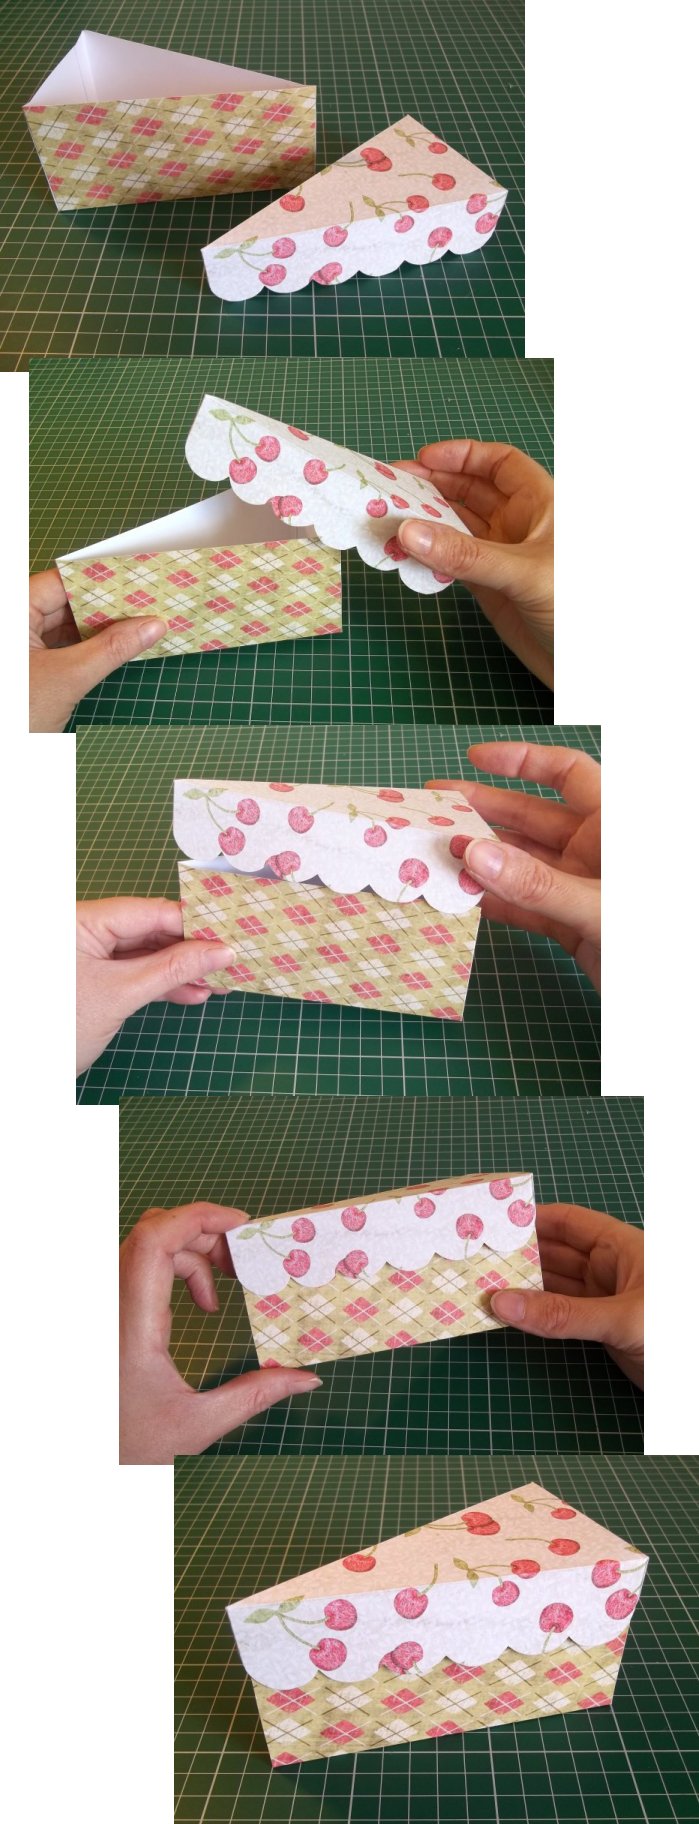
**TOP TIP - Remember to wrap a piece of greaseproof paper around the cake before placing it in the box, this will make it easier to lift the cake out and stops the box from getting too messy - TOP TIP**
Back to the Paper and Card projects menu...


