
Make a Lidded Square Box
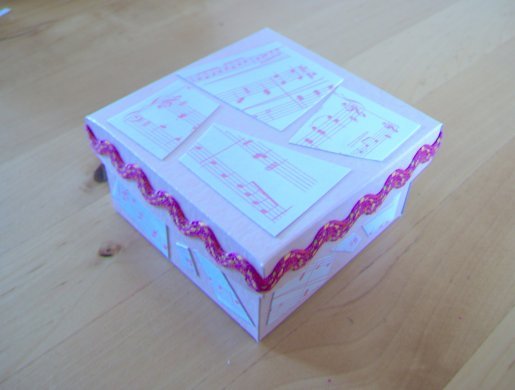
This is a lovely little gift box measuring 7½ cm wide and just over 4cm high with a separate lid, when the lid is on it measures 8 cm x 4½ cm. It is very easy to make, and this size can be printed onto one sheet of A4 card. If you would like a larger box, just enlarge the template on a photocopier.
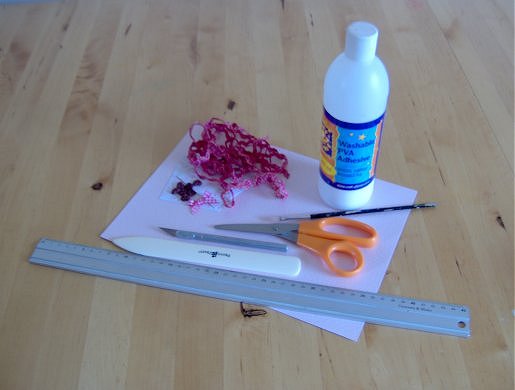
You will need:
Scissors
Craft knife or bone folder
Ruler
PVA glue
Bits and bobs for decorating
What to do
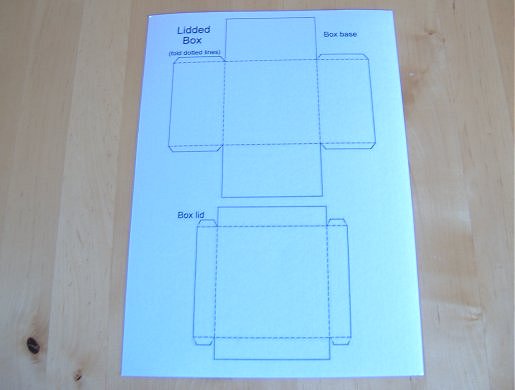
1. Download the templates onto the back of a sheet of A4 card. If your printer has trouble printing onto card, then print the templates onto printer paper, cut them out and draw around them onto the back of the card, referring to the printout for where the fold lines and cut lines are. (The cut lines are solid, the fold lines are dotted.) There are two sets of templates - the second set have no dotted lines on them; this makes them look more professional when they're made, as the inside of the box will be plain, without dotted lines on it. But be careful, as they will be harder to make! There's a small guide picture showing the dotted fold lines on each template to help you.
2. The box and lid are made in the same way so these instructions are for both pieces. Cut out the templates following the solid lines.
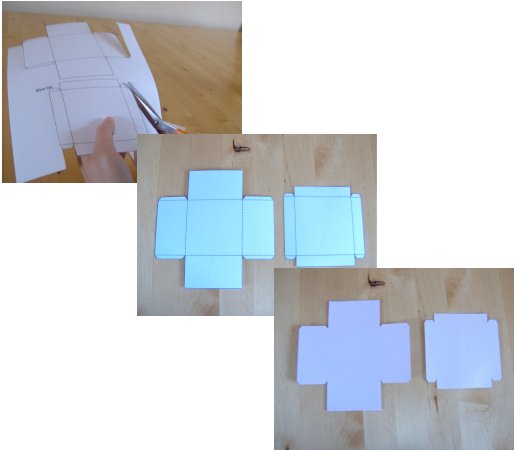
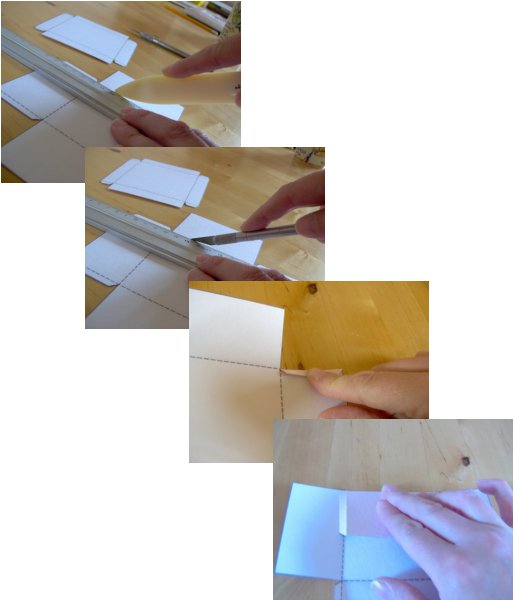
3. Score along the dotted fold lines using a bone folder and ruler or very gently using a craft knife and ruler (remember not to cut through the card, it is just to help it fold).
4. Fold over the sides and tabs and press with your finger.
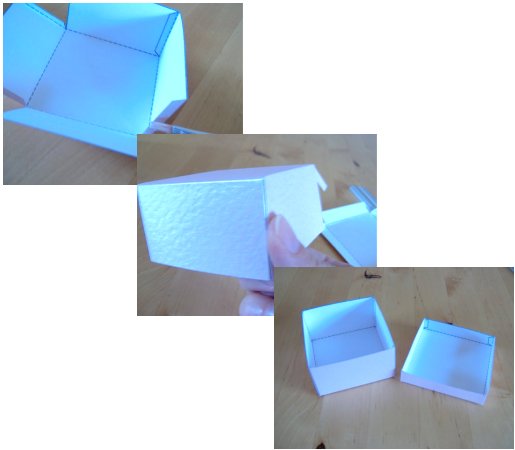
5. Check which side of the tabs will need gluing and spread on PVA glue, the tabs go on the inside. Press them into position and hold for a couple of seconds while the glue sets.
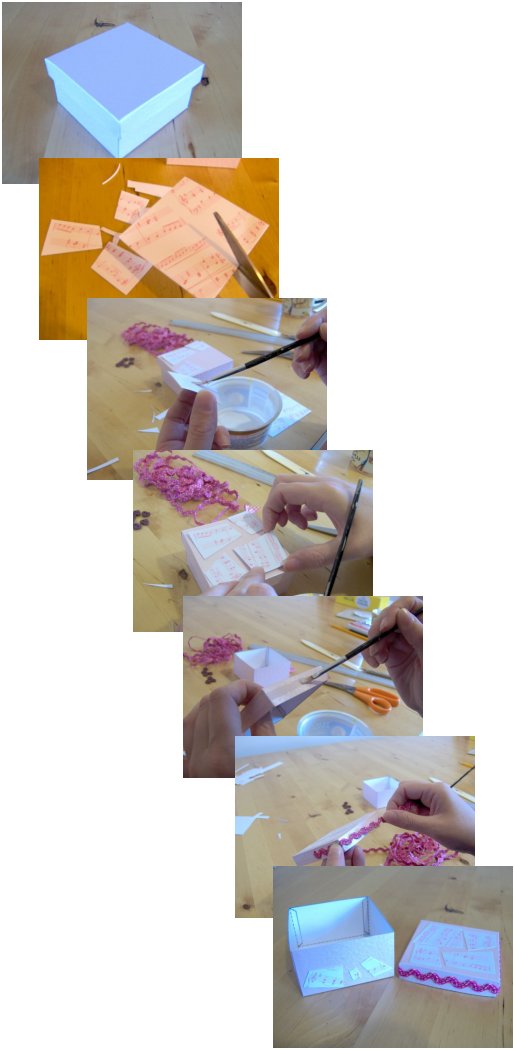
6. The box and lid are now ready for decorating. I cut up some music printed card and glued them on the top of the lid and around the sides of the box, I also glued some pink Rick-rack around the edge of the lid.
Back to the Paper and Card projects menu...


