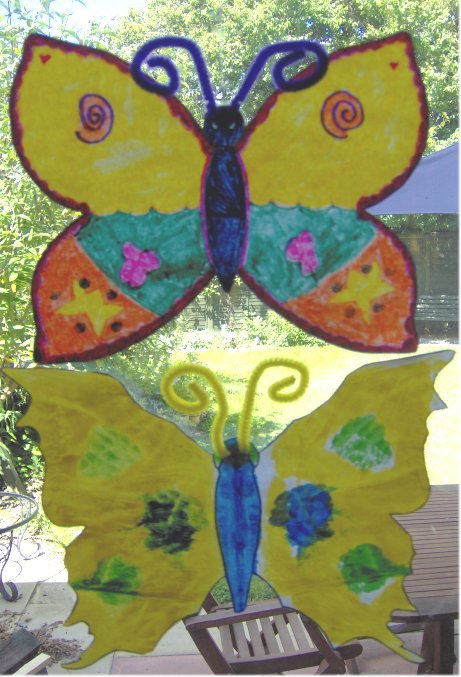
Make a Butterfly from paper or card.
This is a great one for younger children. These butterflies are bright and colourful which can either be stuck on the wall or fridge or hung from the ceiling where the children can see their handiwork and watch them fly. Make sure you have plenty of paper because I guarantee the children will want to fill the house with butterflies.
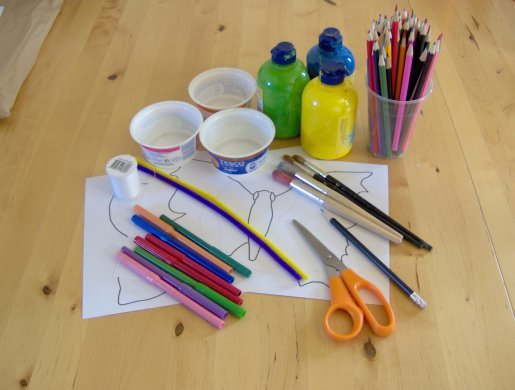
You will need:
Pencil
Coloured pencils or felt-tips
Paints
Scissors
String/ribbon/thread
Pipe-cleaners
What to do
1. Download one of the templates provided at the bottom of this page or draw your own butterfly shape on a piece of paper or card. I recommend craft paper or card if they are painting them as paint is very wet and can tear printer paper. These butterflies can be made any size so use whatever you have handy.
2. Fold the paper in half and open up again.
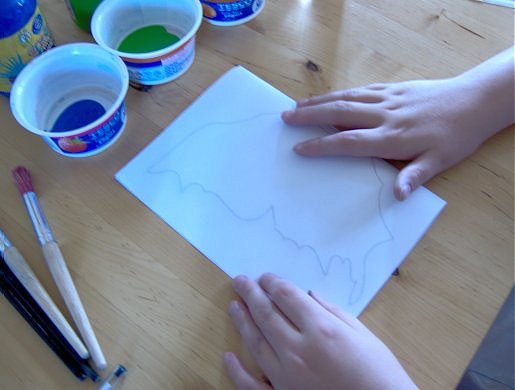
3. Quickly paint any design you want in as many colours as you want on one side of the butterfly only.
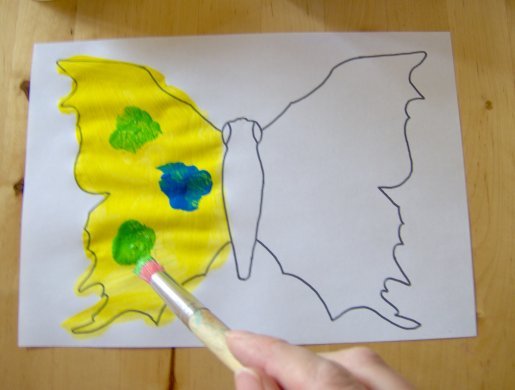
4. While the paint is still wet (add more paint if you need to as if the paint is not wet it won’t print on the other side) fold the paper over again and with your hand press down all over the paper.
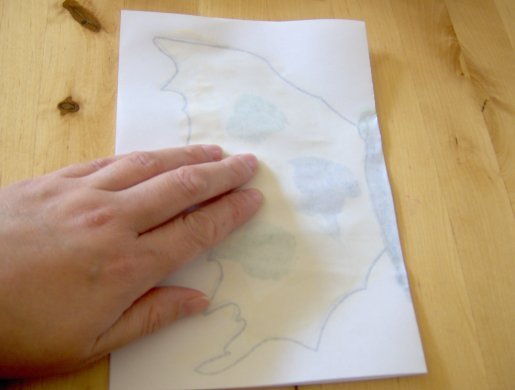
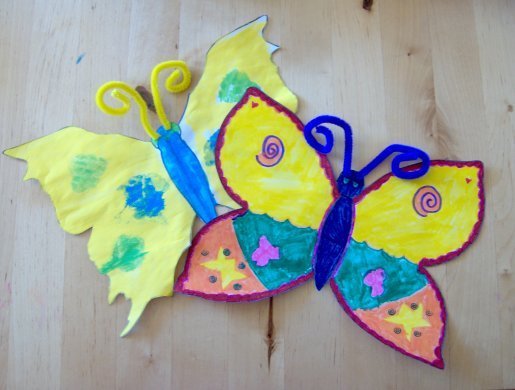
5. Open up the paper to reveal your beautiful butterfly. Leave to dry. Of course, if you don’t want to use paints, you can very easily colour in the butterfly pictures using felt tips or coloured pencils – just remember you’ll have to do both halves, not just the one! Below you can see we’ve done one with paints and one with felt tips.
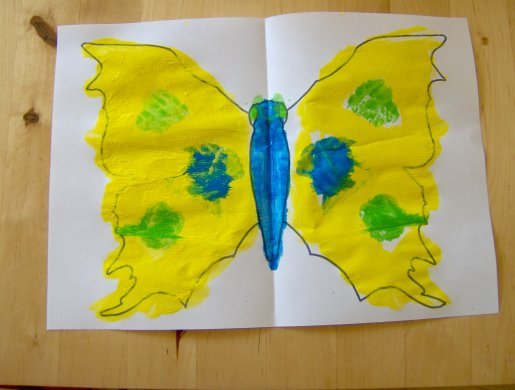
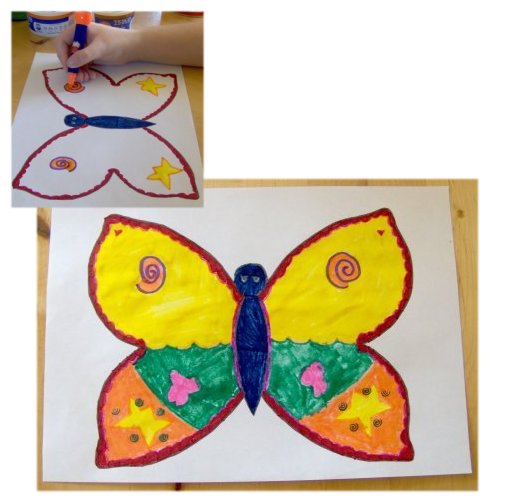
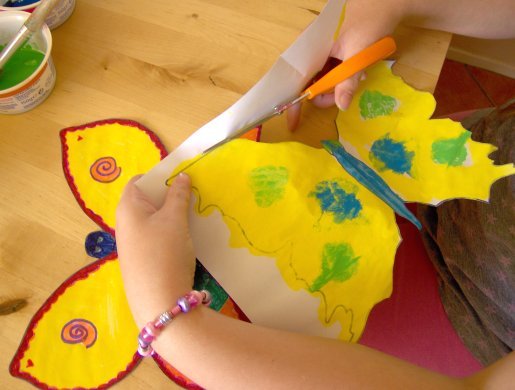
6. When the paper is dry cut out the butterfly following the printed or drawn on butterfly shape.
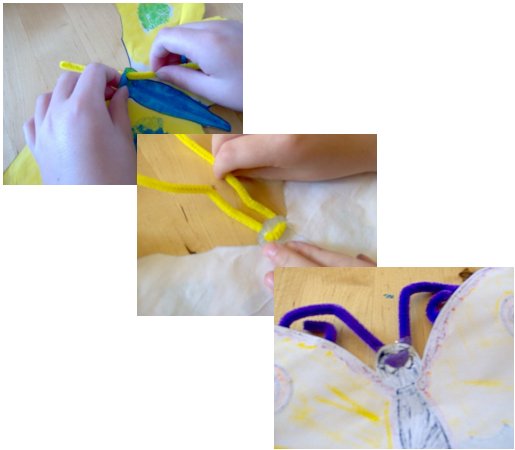
7. You can add antennae to your butterfly if you like by making a couple of small holes in the top of the body of your butterfly and threading through a pipe-cleaner, twist and bend into position.
8. Display your butterflies by holding them in place with some blue-tack or pierce a small hole with a hole-punch or a sharp pencil and thread some string or ribbon through to hang the butterflies up with.
