
Halloween Paper Pumpkin Favours
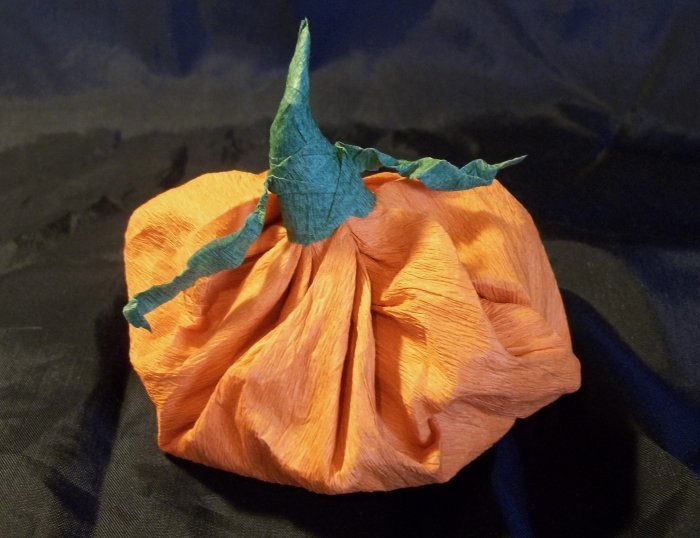
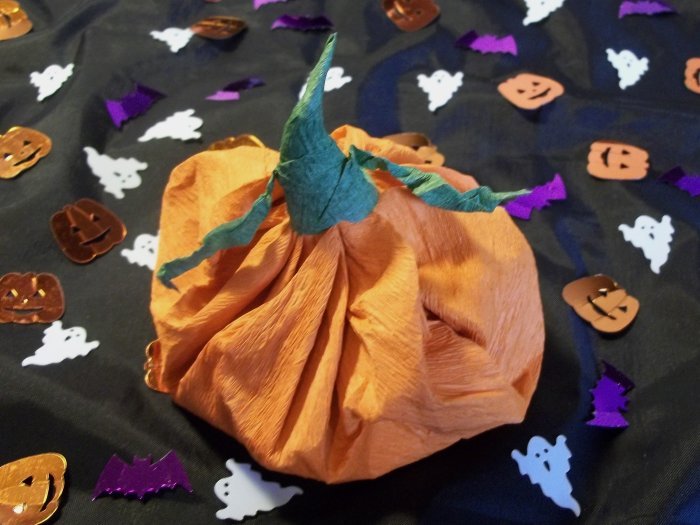
Disguise the sweet treats as pumpkins for Halloween this year with our very easy papercraft project. You need only a few materials and a spare afternoon to get prepared for the ghosts and ghouls that come calling looking for a treat.
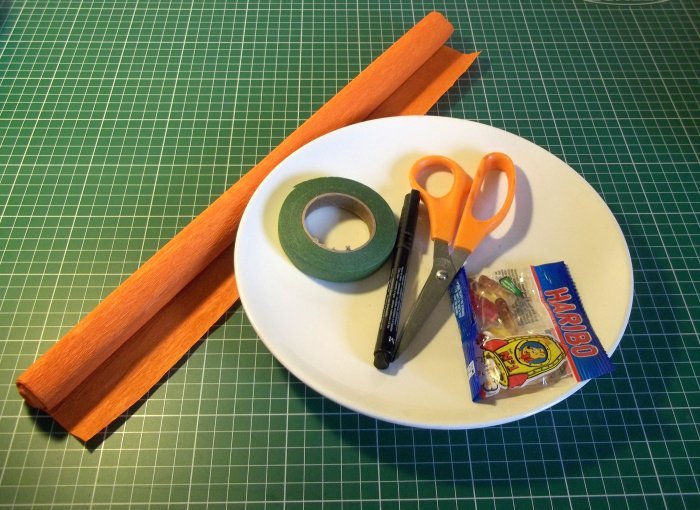
You will need:
Dinner plate
Marker pen
Scissors
Small sweets
Green florists tape
What to do
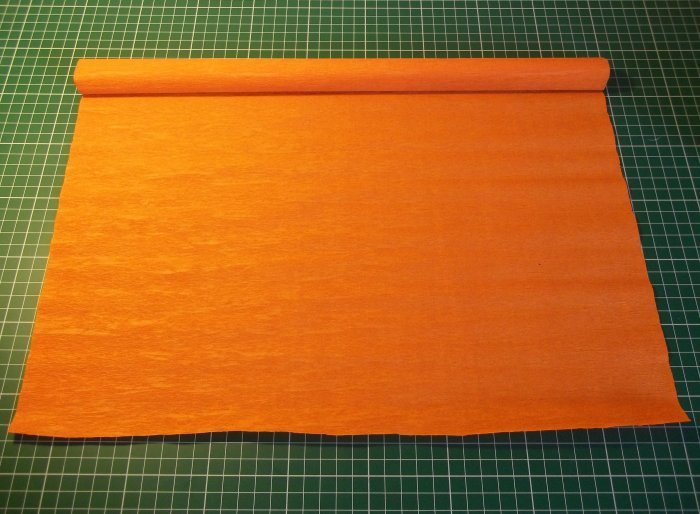
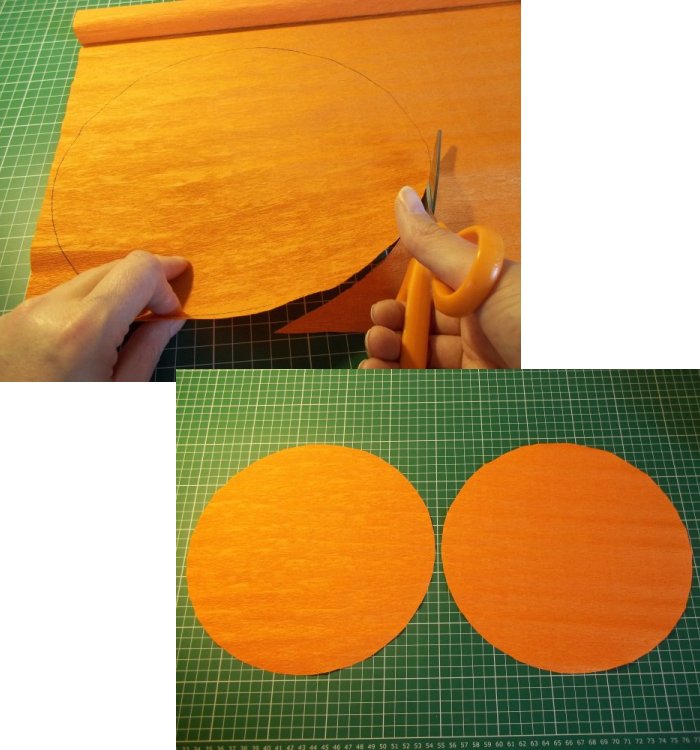
1. For one pumpkin - smooth and flatten out a sheet of orange crepe paper.
2. Using a plate as a template, lay it on top of the crepe paper and draw around it twice to make two circles (the size of the plate will determine the size of the pumpkin, I'm using a dinner plate that is 24½ cm in diameter).
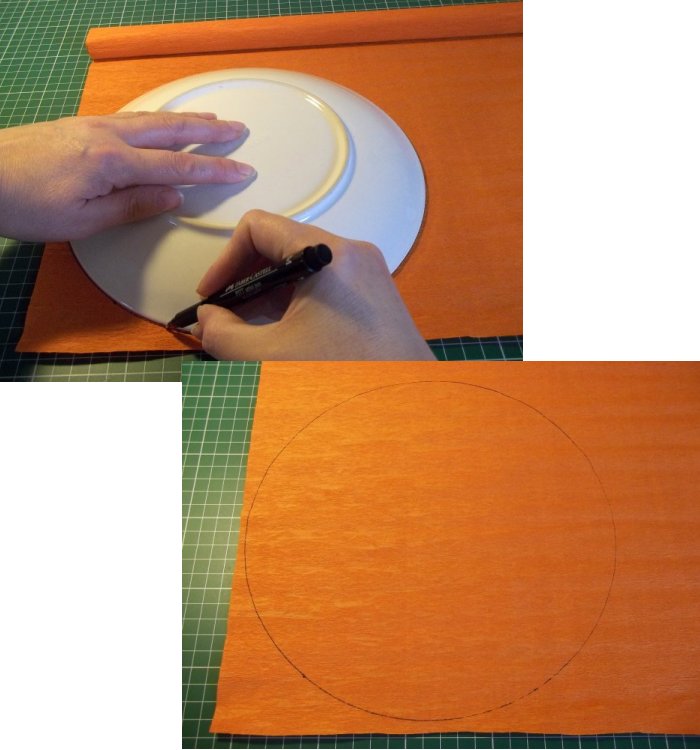
3. Cut out the two circles on the inside edge of the pen line (to remove the pen marks).
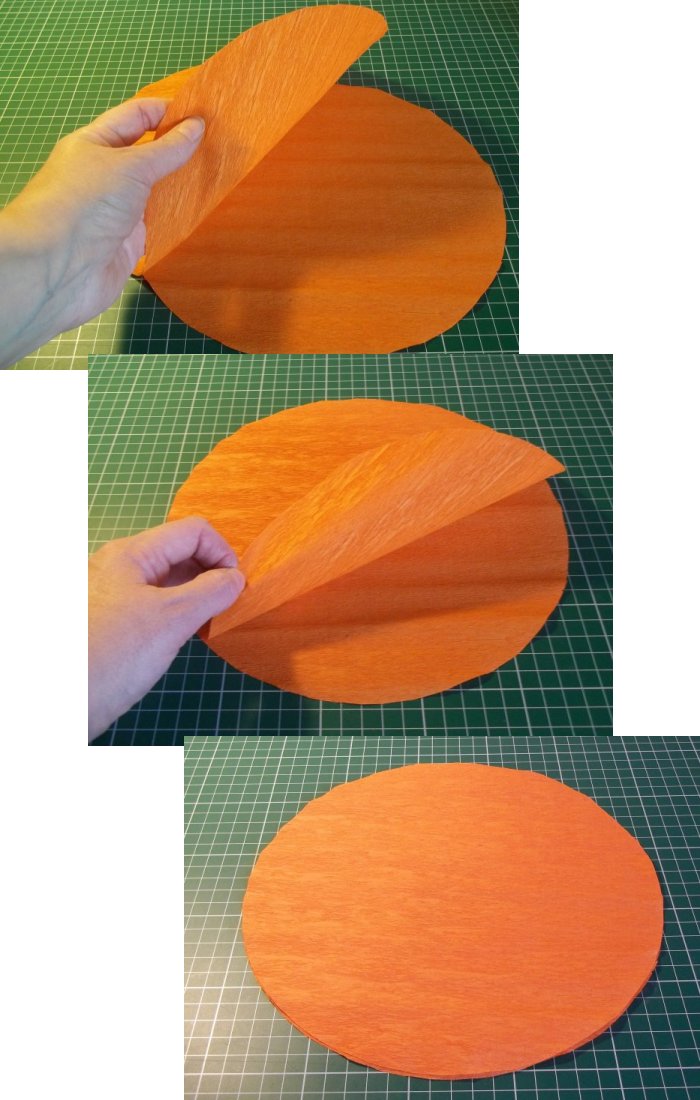
4. Lay the two circles on top of each other (having two layers of paper strengthens the pumpkin parcels).
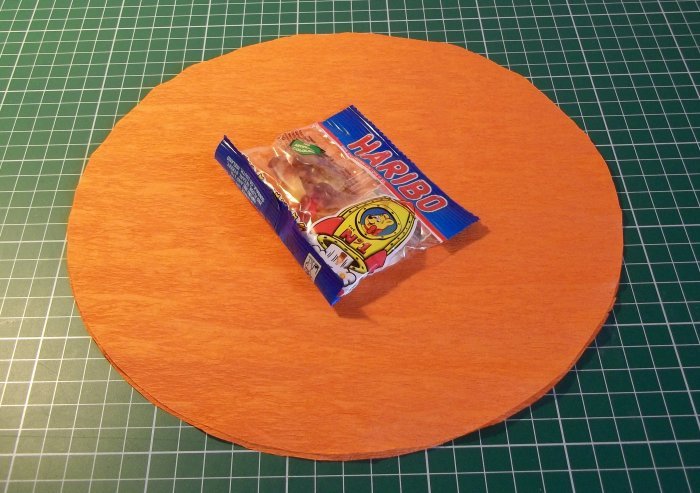
5. Place some small sweets in the centre of the paper circle.
6. Gather the circle edges together in the centre above the sweets and twist together to create the pumpkin stalk shape.
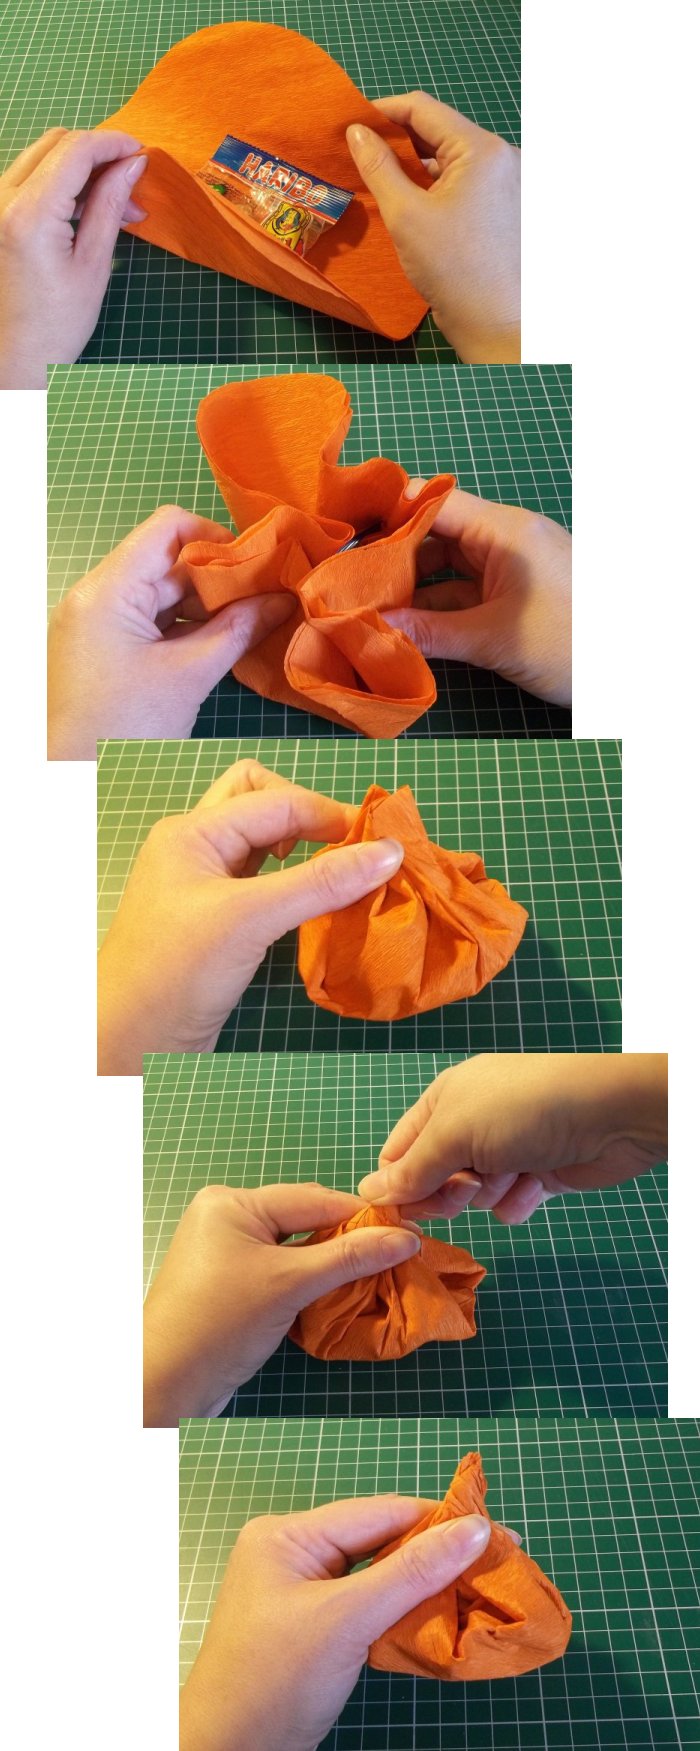
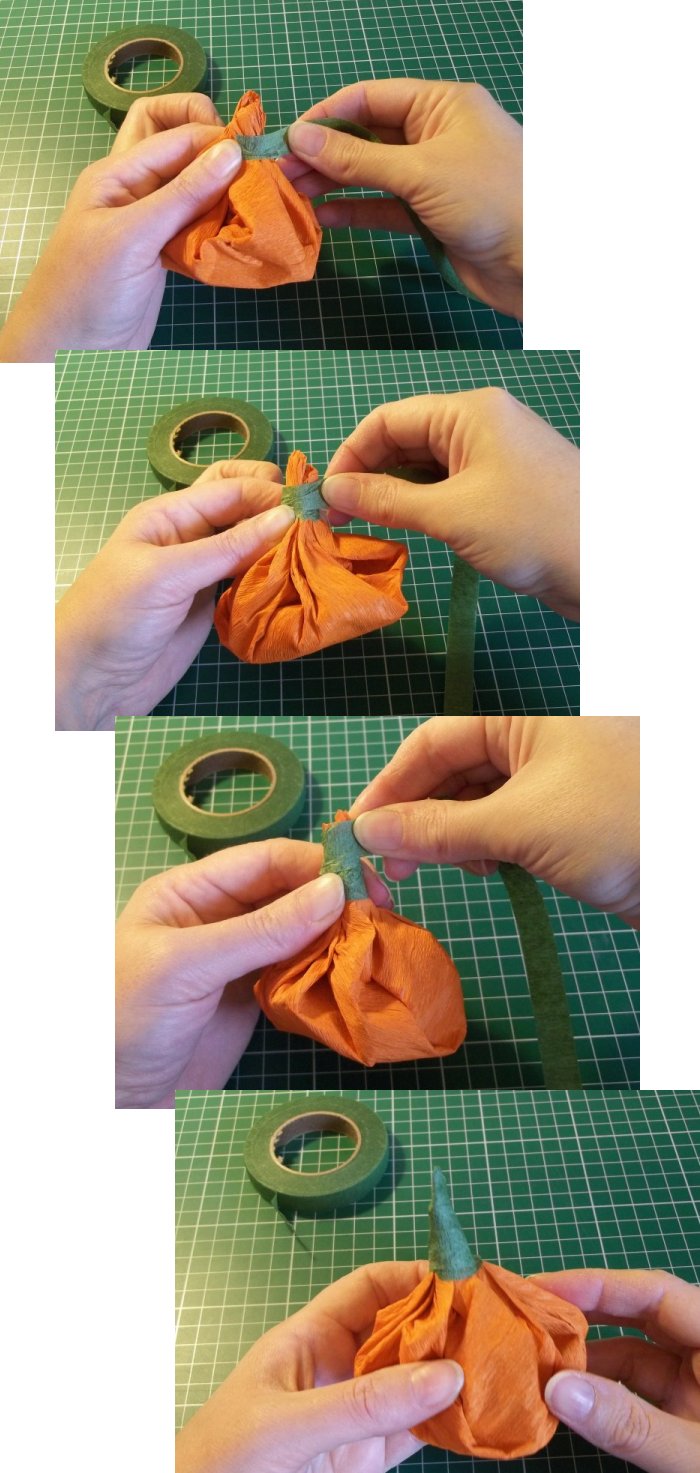
7. Starting at the base of the gathered paper stalk wrap the green florists tape around the stalk shape, tapering it at the top - florists tape has a shiny (adhesive) and a dull side, place the shiny side on the inside (next to the crepe paper). To activate the adhesive, gently pull the tape as you wrap it around the twisted paper and smooth it with your fingers.
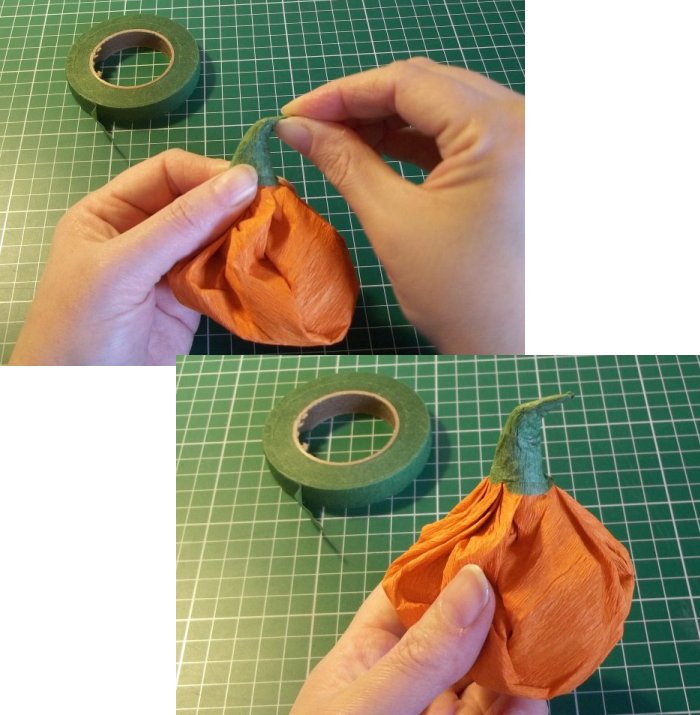
8. Bend the tip of the stalk to add interest.
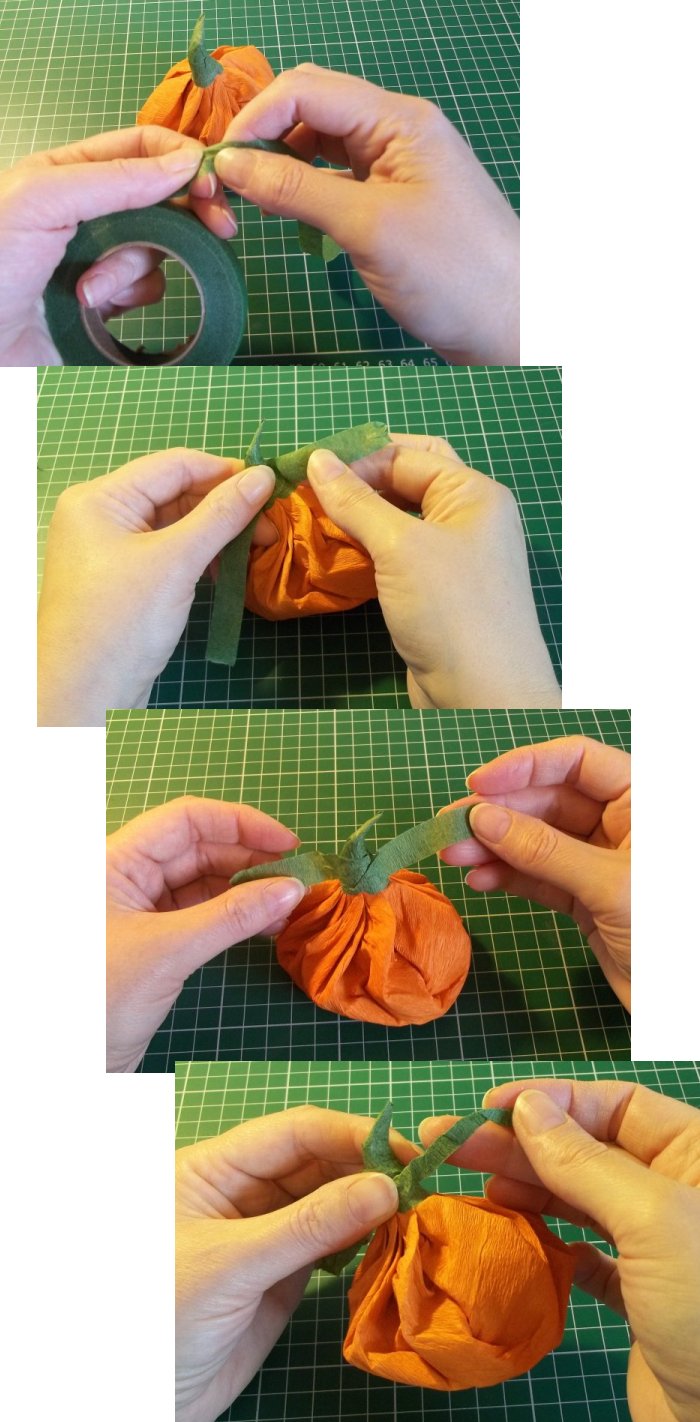
9. To give the impression of tendrils wrap an extra piece of tape around the stalk, scrunching up the ends and leaving them loose.
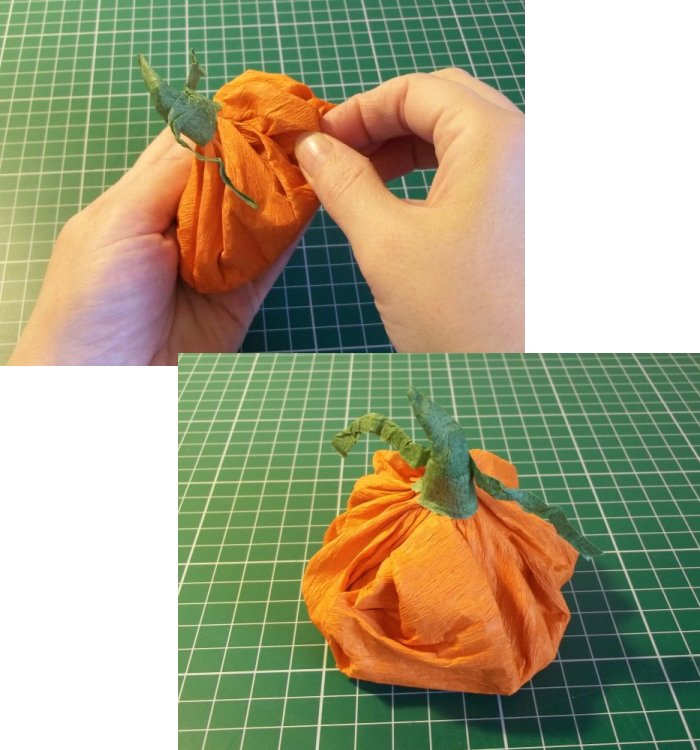
10. Carefully tease out the paper so as to make a full pumpkin shape.
11. Now you know what to do you'll need to make a whole bunch of them ready for when the 'Trick or Treaters' come knocking at your door.
Back to the Paper and Card projects menu...


