
Make an All-in-one Letter Envelope
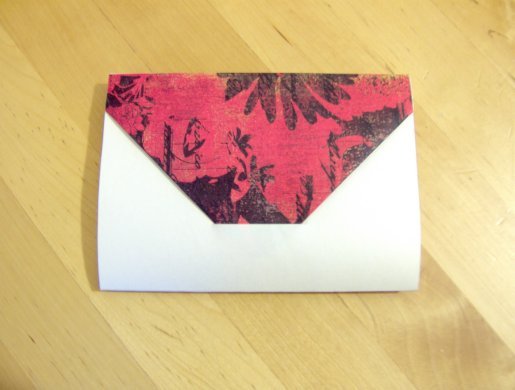
This is an easy and impressive project, using only a few items. Once you’ve made one I guarantee you’ll want to make more. They can be used as an unusual way of sending someone a special message or as an invitation to a party or event, or why not use them for scrapbooking. They would also make a great Valentines gift for your one true love!
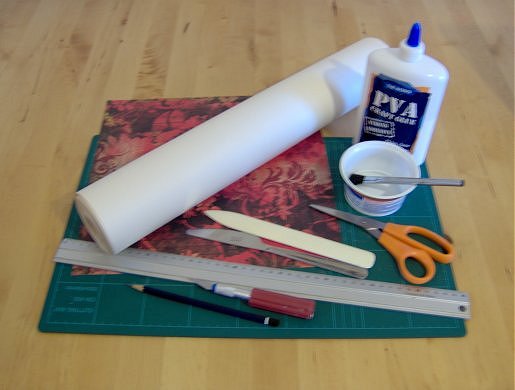
You will need:
Decorative paper (8½cm x 14cm)
PVA glue
Bone folder/blunt knife/knitting needle
Scissors
Cutting mat and craft knife
Ruler, pencil & rubber (eraser)
What to do
1. Cut a piece of paper 76cm x 14cm.
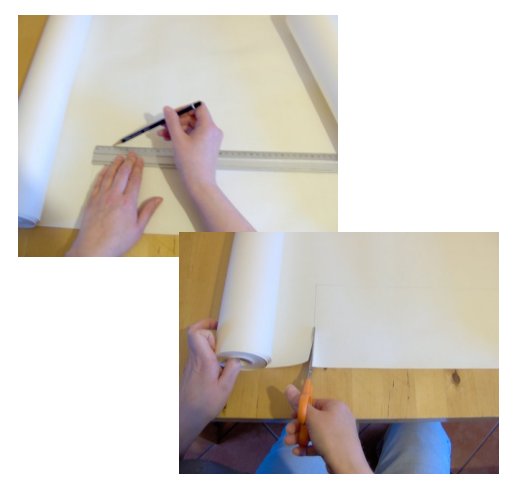
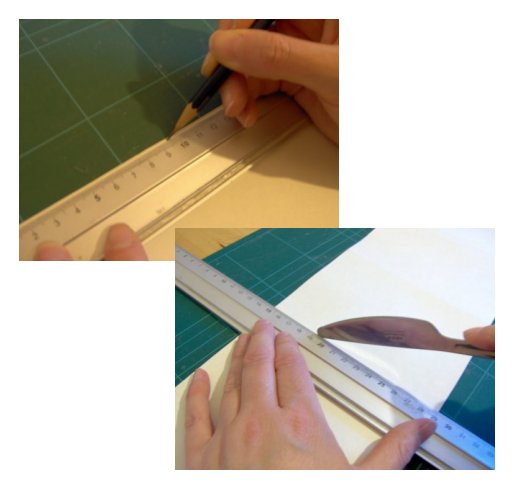
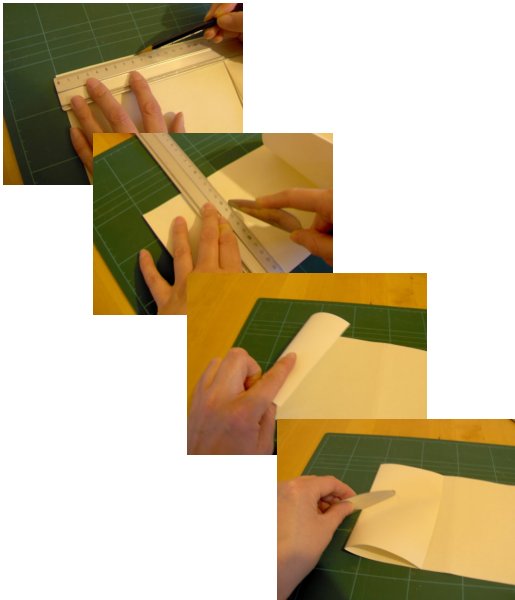
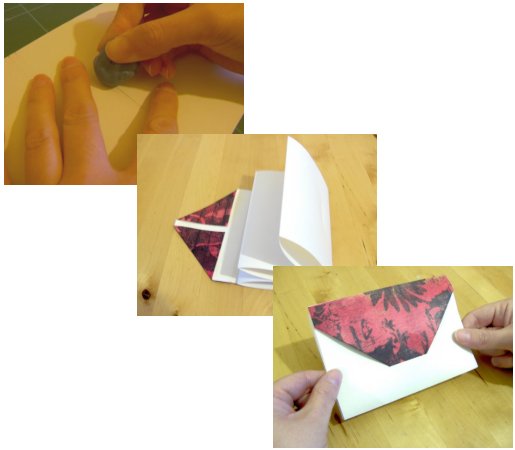
2. Measure and lightly mark with your pencil 18½cm and 19cm away from the left hand side of the paper at the top and bottom edges. Using the ruler and bone folder/back of blunt knife/knitting needle line up the 18½cm marks and score a fold line, do the same for the 19cm marks.
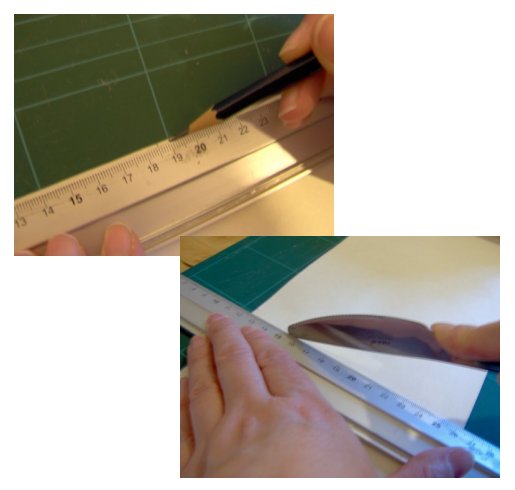
3. Starting at the 19cm mark, measure the remainder of the paper, lightly marking it top and bottom at 9½cm intervals. Using the ruler and bone folder line up the marks and score the fold lines. You should now have 7 fold lines, 2 close together (on the left hand side) and another 5 evenly spaced.
4. Starting at the right hand side of the paper, fold at the first fold line, making sure that the top and bottom edges line up. Press the crease with your finger, the bone folder or back of knife.
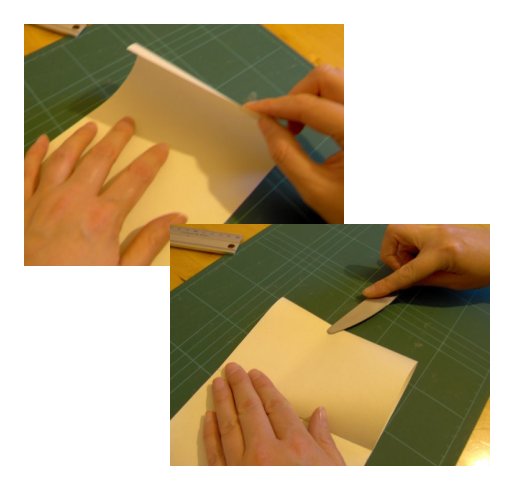
5. Turn the paper over and fold the next section over in the same way, pressing the fold.
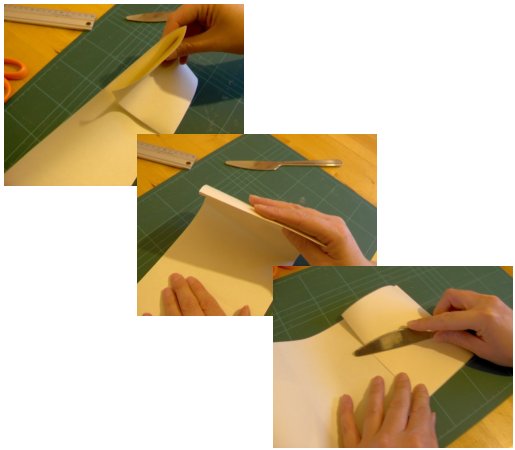
6. Turn the paper over again folding and pressing the folds. Continue to do this for a total of five folds.
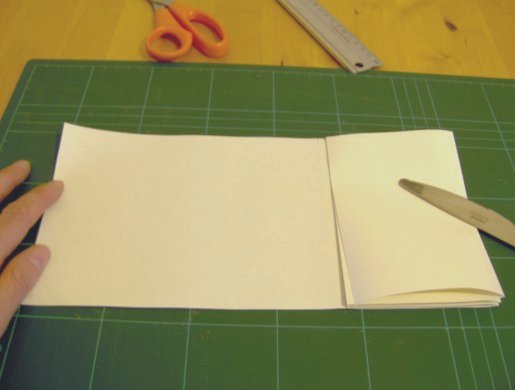
7. From the unfolded left hand side of the paper, measure and mark at the top and bottom 8½cm in, line up the marks, score a fold line like before with the bone folder and fold in pressing the crease. This is the envelope flap.
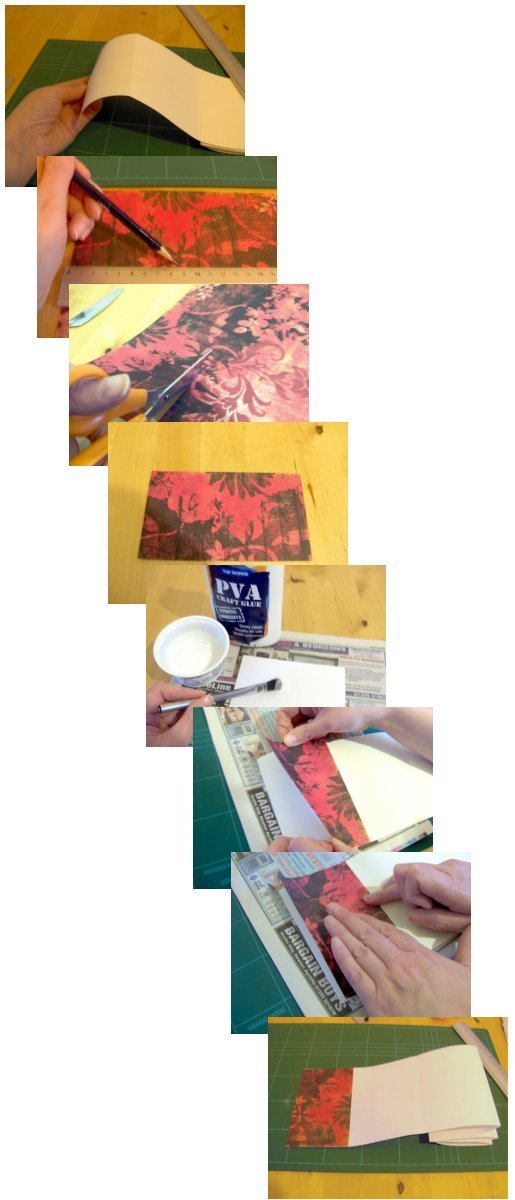
8. Turn over the paper and unfold the envelope flap. Cut a piece of decorative paper 8½cm x 14cm (it can be a little bigger if you like, and trimmed afterwards). Glue the back of the decorative paper and stick it to the envelope flap. Lay the paper along the fold line and press out to the edges with the bone folder. Trim any excess paper if needed. Leave to dry for a few minutes.
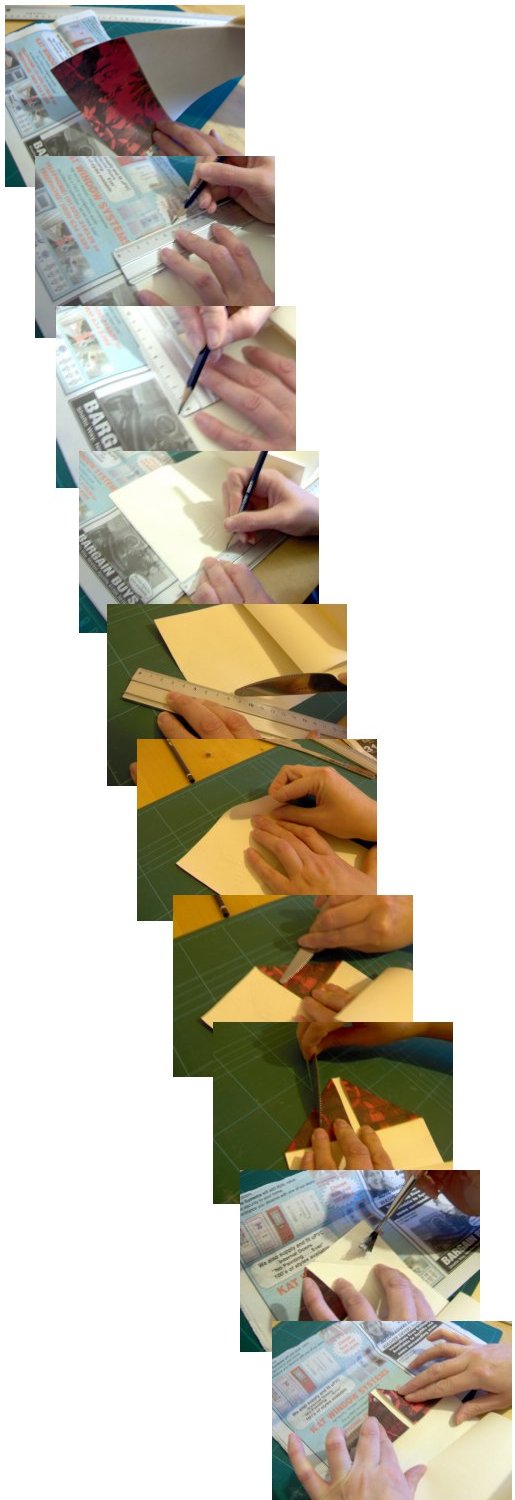
9. When the glue is dry, complete the envelope section. Turn the paper over so the decorative side is underneath. Measure and lightly mark 6½cm from each corner along the top edge and down the sides. Place the ruler on the diagonal of each corner and line up the 6½cm marks, score with the bone folder/knife and fold. To secure, spread some PVA glue on the underside of the triangle folds and press down (wipe away any excess glue).
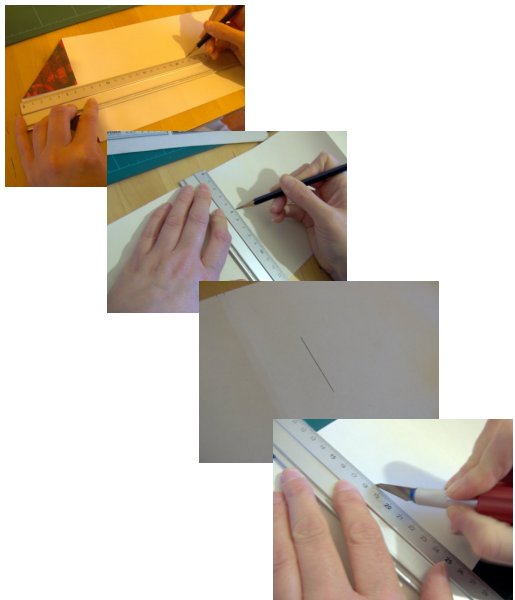
10. Measure and lightly mark 22cm in from the point of the envelope flap. At this point, measure and mark 5cm in from the top and bottom edges, join up these two points to make a 4cm line in the centre of the paper. Use the ruler and craft knife to cut along this 4cm central line (this makes a slit for the envelope flap to tuck into).
11. Unfold and rub out any pencil marks. Re-fold, tuck in the envelope flap and your ‘All-in-One Letter Envelope’ is complete.
Back to the Paper and Card projects menu...


