
Paper Bunting
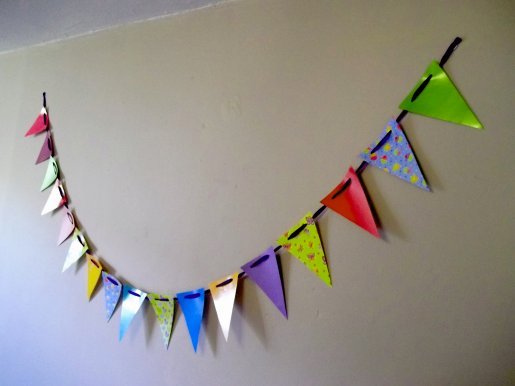
I love bunting! Just seeing bunting makes me feel happy, whether it's swaying in the breeze at a summer fete or draped in a bedroom as part of the everyday decoration. If you are in need of a quick party decoration then 'paper bunting' is the way to go. There are so many patterned papers & cards available nowadays that you can make bunting for every occasion from Birthdays and Weddings to Halloween and Christmas.
**TOP TIP - If you use paper or card that is patterned/coloured on both sides then the bunting can be draped across a room rather than just against a wall - also it will be reversible so you will have two looks for the price of one - TOP TIP**
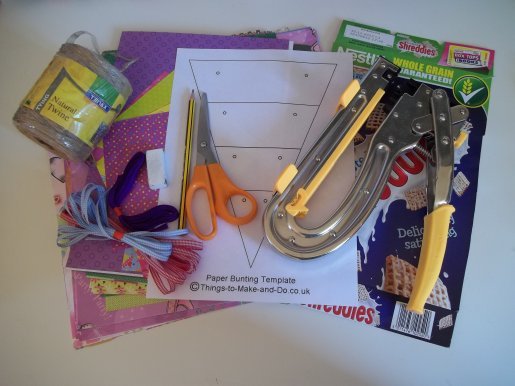
You will need:
Coloured/patterned paper or card
Pencil & eraser
Cereal box card
Scissors
Hole-punch
String or ribbon
**TOP TIP - Make sure that when you cut your ribbon/string you allow enough length for tying loops at the ends, knots between the flags and the swag - TOP TIP**
What to do
1. Print out the triangle flag template below (or draw your own), the template provides four different size bunting flags.
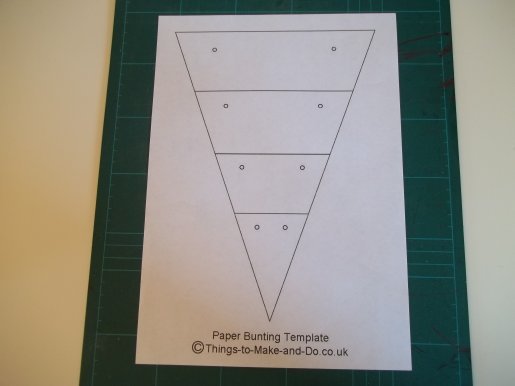
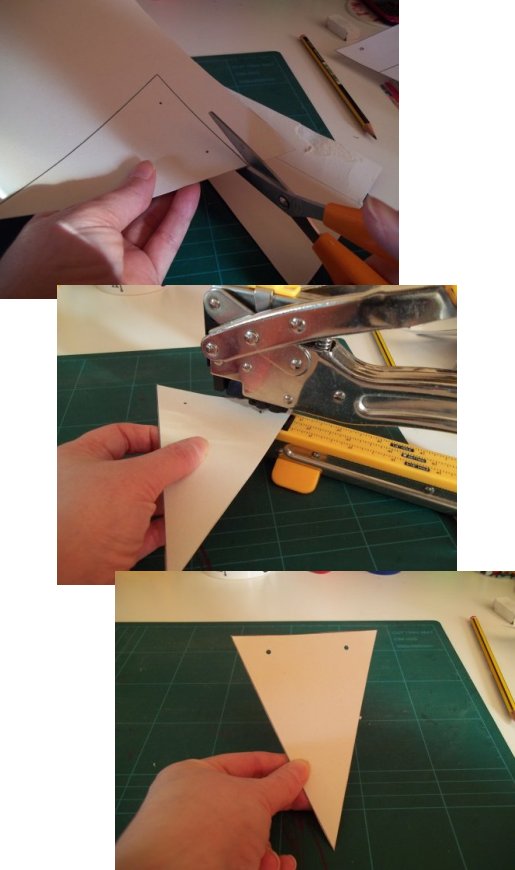
2. Decide which size bunting you want, cut out the triangle & punch out the two holes.

3. Draw around the paper template onto the cereal box card and mark where the holes are.
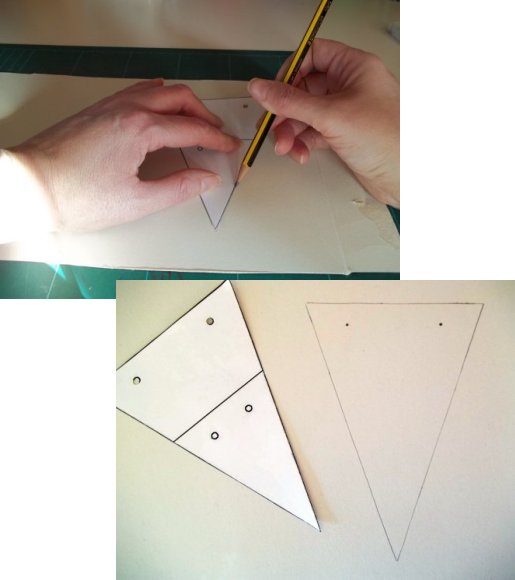
4. Cut out the card template and punch out the holes.
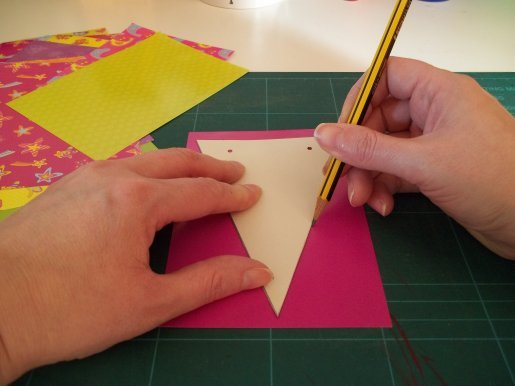
5. Using the card template draw the triangle flags onto coloured paper/card, marking the position of the holes (to minimize pencil marks it is best to draw the template onto the back of the paper/card, unless it is double sided then it doesn't matter).
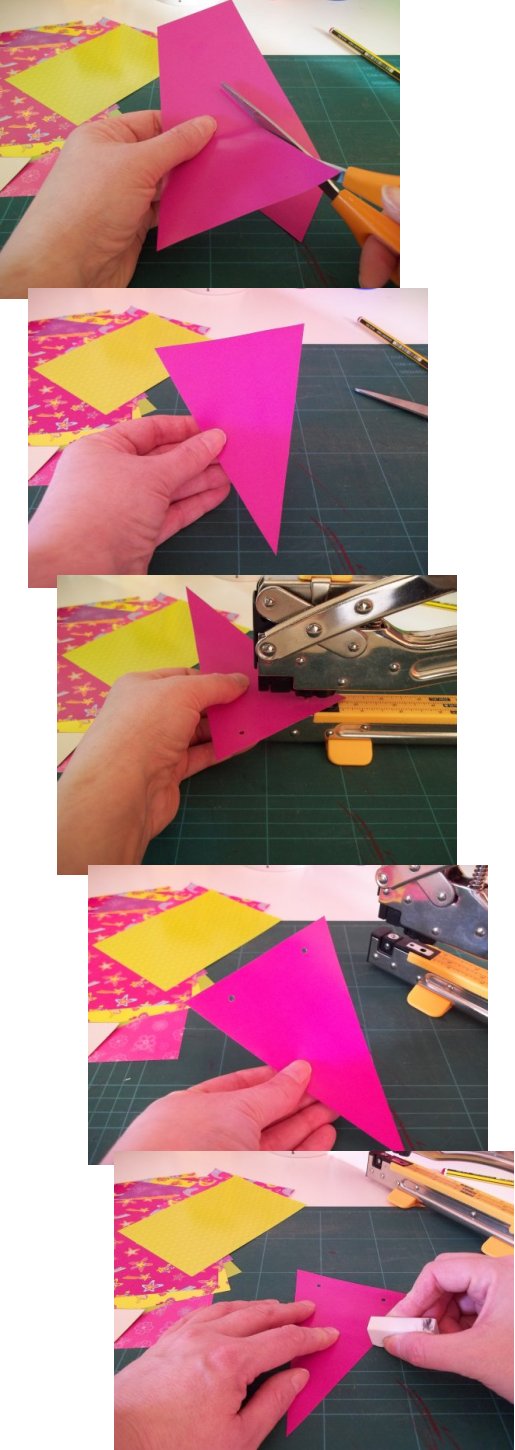
6. Cut out the paper/card triangles and punch out the holes, carefully rub out any pencil marks.
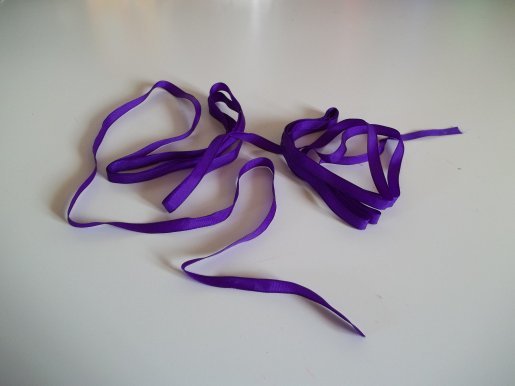
7. Cut a length of ribbon or string (allow extra for tying knots between flags, tying loops at the ends and the swag)
8. Tie a loop at one end.

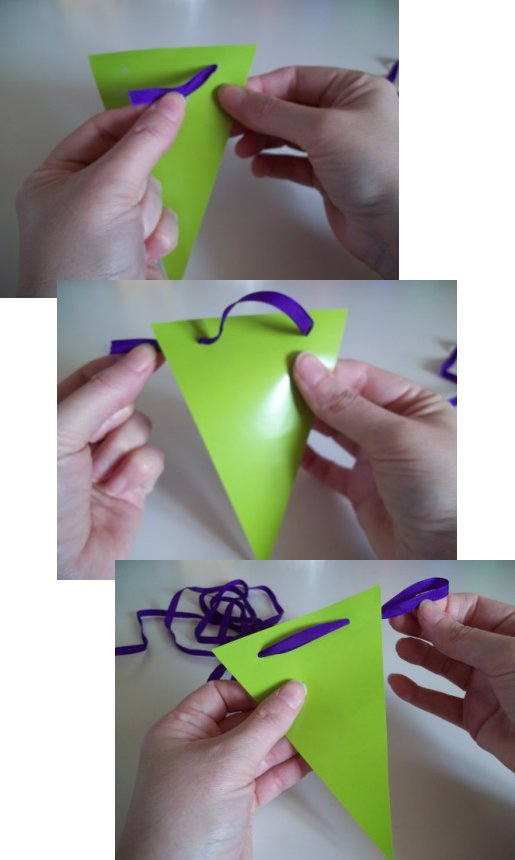
9. From the opposite end to the loop carefully (so as not to tear the paper) thread on your first triangle flag. With the right side of the paper facing you, thread the ribbon/string through the right hand hole from the back to the front, then thread it through the second hole from the front to the back.
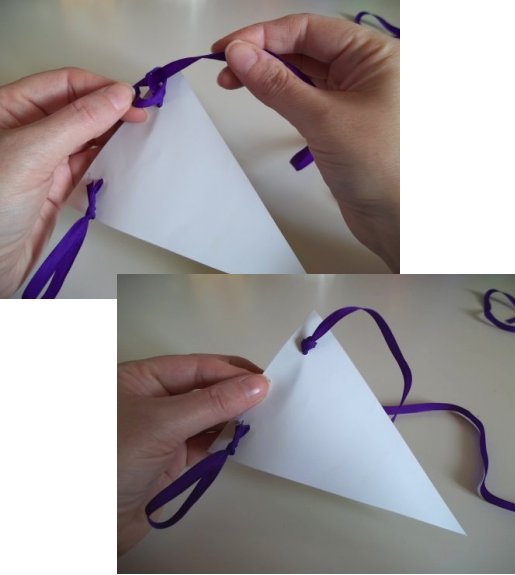
10. Tie a knot in the ribbon/string at the back of the second hole.
**TOP TIP - Tying knots behind each flag hole keeps them in place -TOP TIP**
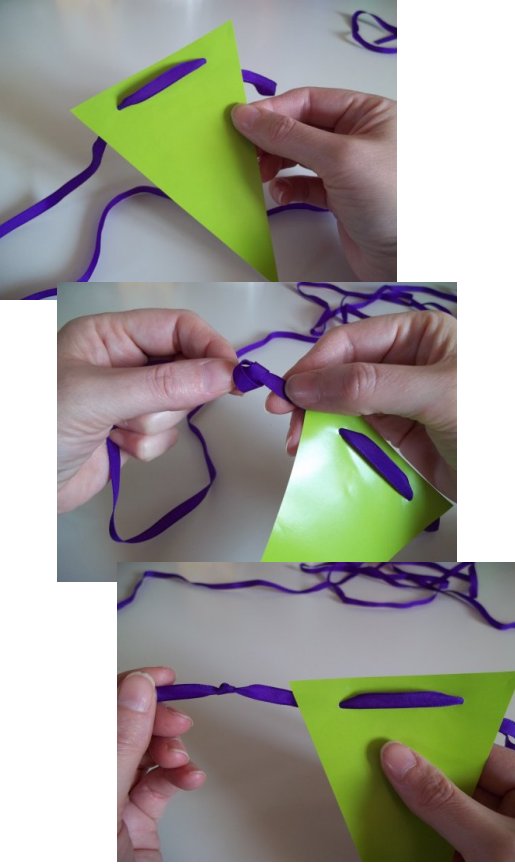
11. Tie another knot in the ribbon/string about 1-2 inches away from the flag (the bigger the triangle the longer the space). Each flag will have a knot behind each hole, this will hold them in place, keeping the flags separate and stopping them from overlapping.
12. Thread on the next flag and tie a knot afterwards.
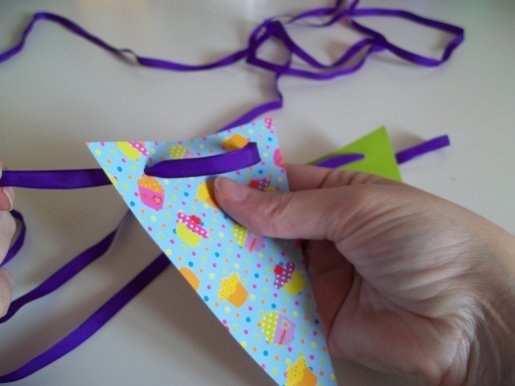
13. Continue adding more flags and tying knots until you reach your desired length, run out of flags or are near the end of the ribbon/string.
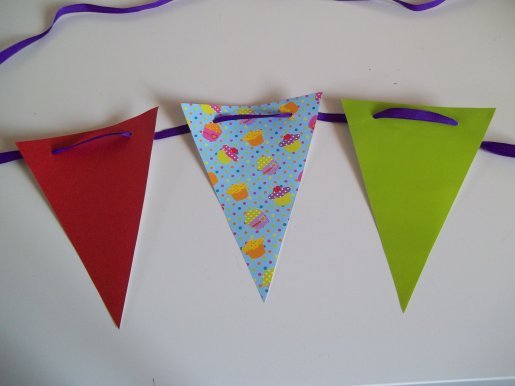
14. Tie a hanging-loop at the end of the ribbon/string just like you did before threading on the flags in step 8.
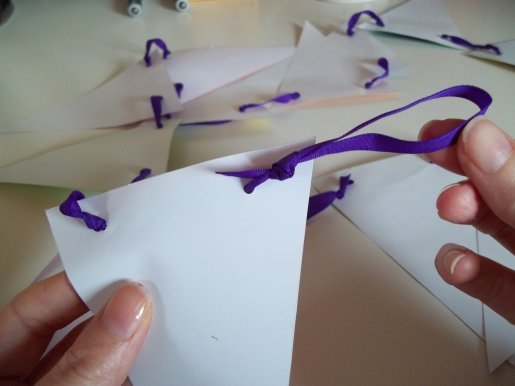
15. Now you can hang-up your paper-bunting and enjoy the party.
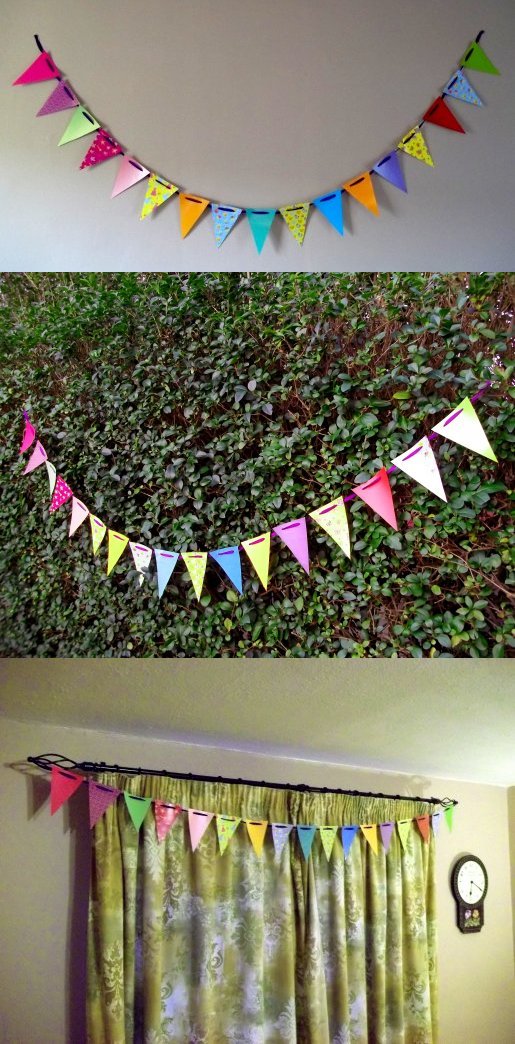
Back to the Paper and Card projects menu...


