
Fabric Covered Notice Board
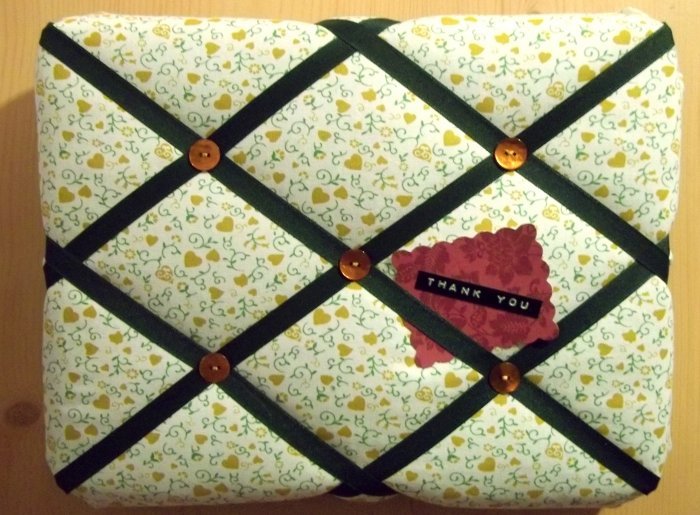
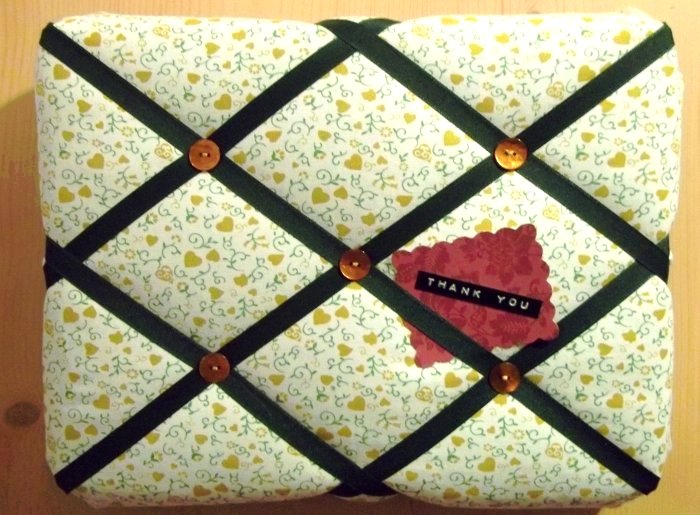
Notice boards are a must have in any home as they are a great place for keeping appointment cards and take-away menus. There are many different styles and ways of making notice boards, this project uses a box canvas that I bought at a discount book store but you could easily use a ready made cork noticeboard instead.
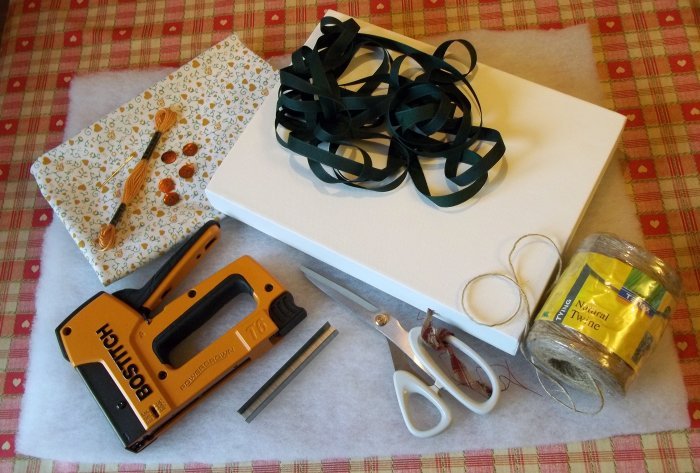
You will need:
Wadding (enough to wrap around canvas)
Fabric - ironed (enough to wrap around canvas)
Ribbon (amount depends on the size of canvas)
Buttons & matching embroidery floss (thread)
Staple gun & Staples
Pins & tape measure (optional but handy)
String
Sewing equipment (needle & scissors)
What to do
1. Place the wadding in front of you and lay the canvas face down on top of it.
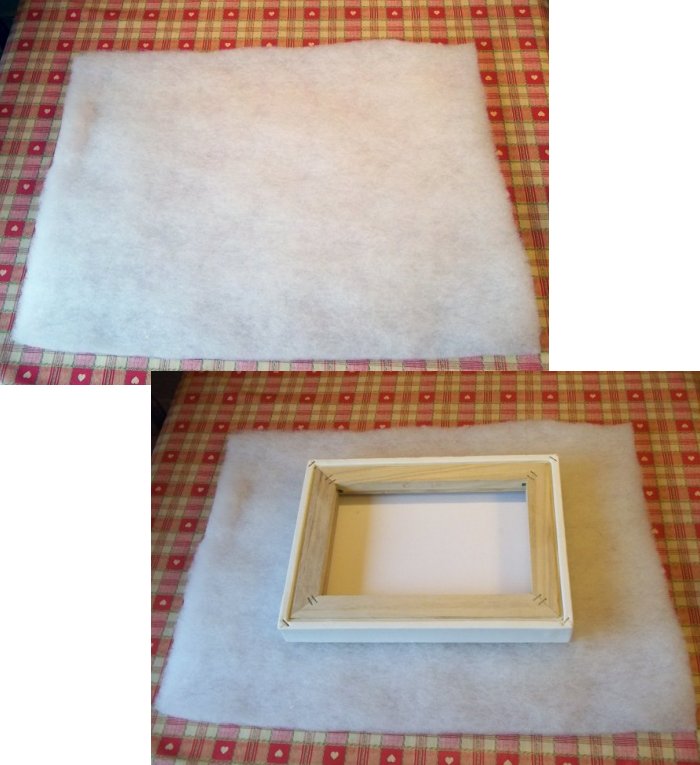
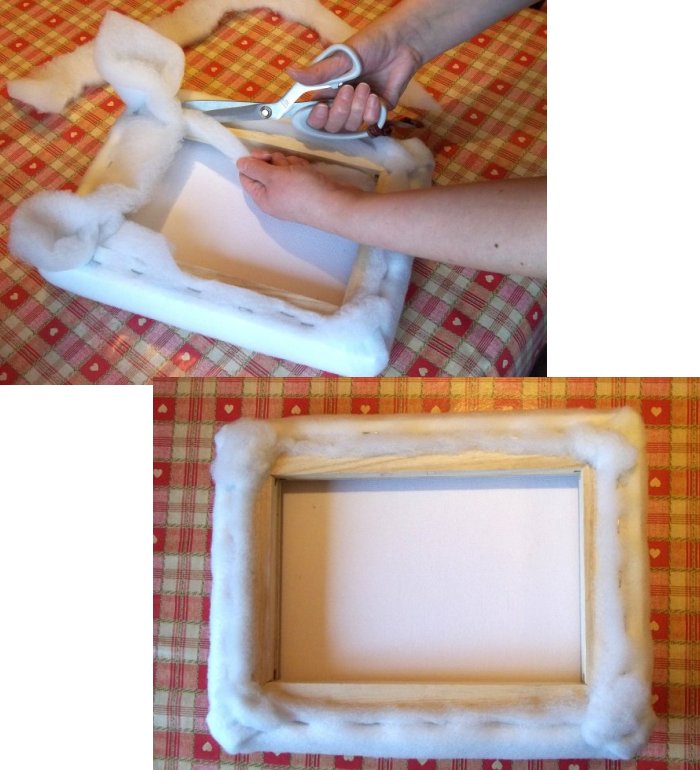
2. Wrap the wadding around the canvas, staple in place to the back of the frame - Pull the wadding firmly around the back and start by stapling the sides first, from the centre working out to the corners. Next fold in one corner - fold in one side, staple, fold in the second corner side and staple, and lastly fold in the centre of the corner and staple. Staple the other three corners in the same way.
**TOP TIP - It is essential that you pull the wadding and fabric tightly around the canvas before stapling, but do not pull it so tight that it stretches the fabric out of shape. - TOP TIP**

3. Trim away the excess wadding.
4. Lay the fabric right side down on table and place the wadding wrapped canvas on top.
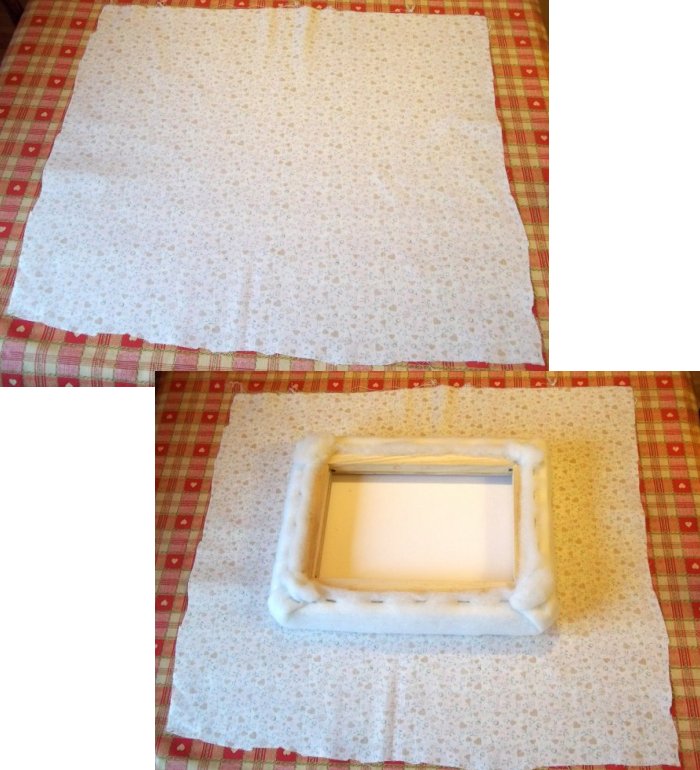
5. Wrap the fabric around the canvas & wadding. Fold over the edges of the fabric to create a hem and pull the fabric firmly to the back of the canvas, over the wadding and staple in place to the back of the frame - trim away any excess fabric before folding in the edges and stapling in place.


6. Now attach the ribbon - (attach all the ribbons that go in the same direction first) for example staple the ribbon at the back of the canvas in the top right hand corner, take it around the front to the back of the bottom left hand corner and staple at the back.

Continue attaching ribbons that start at the right hand side and finish at the left.
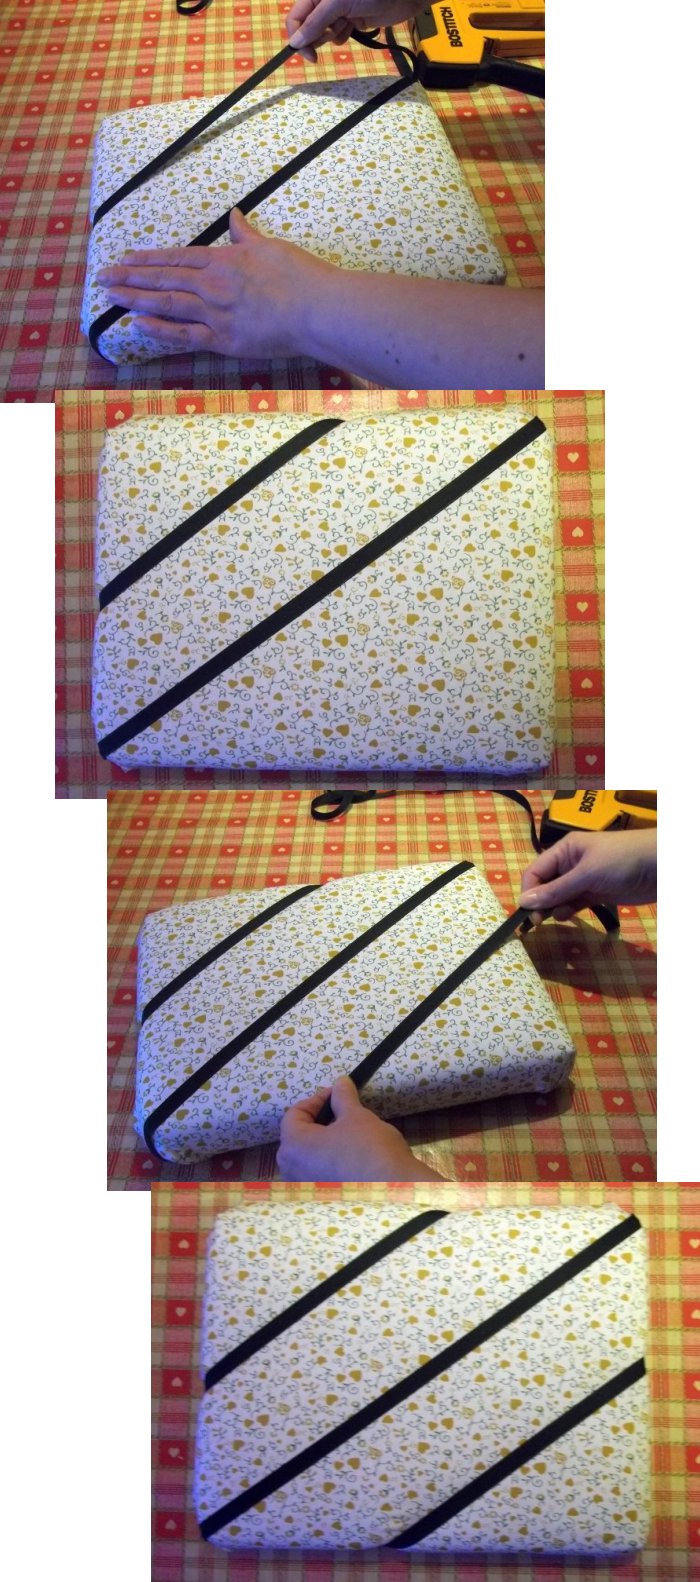
**TOP TIP - If you are unsure about where to position the ribbons then a tape measure can come in handy to help work out equal distances between them. -TOP TIP**
7. Now attach the ribbons that go from left to right. Weave (alternately) the ribbons over and under the ribbons already in place before stapling to the back (if the central ribbon weaves over, under, over etc then the ribbons either side of it will weave under, over, under etc, I hope that makes sense).

8. Sew buttons at the points where the ribbons cross.
**TOP TIP - Pins can come in handy here, stick one through each point where the ribbons cross and you want to place a button, this will help you see where to poke the needle through from the back, remove pins as you sew on the buttons, or once they've made a mark on the back so you don't risk scratching yourself on them. - TOP TIP**
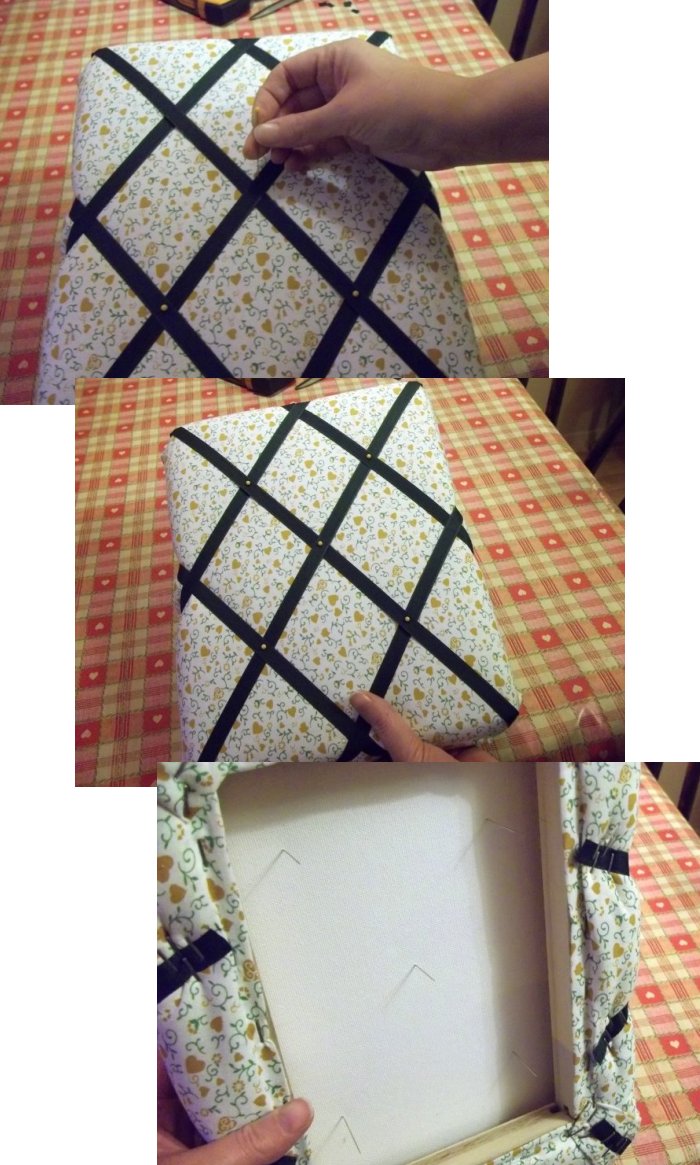
Thread two or three strands of embroidery floss (thread) onto a needle, leaving 3-4 inches for tying. Thread it from the back of the canvas through to the front and through the point where two ribbons cross. Thread on a button and then push the needle back through the ribbons to the back of the canvas. Repeat two or three times and then tie a knot at the back of the canvas to secure. Trim excess embroidery floss (thread).

Sew on all the buttons in the same way.
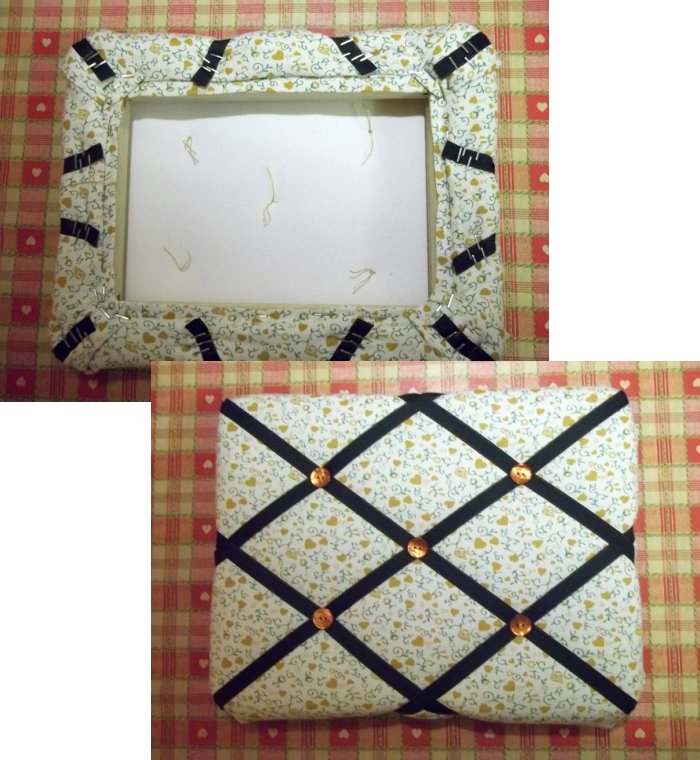
9. Cut a length of string or ribbon for hanging, knot the ends and staple to the back of the canvas (knotting the ends will stop the string/ribbon from coming loose).

10. Your fabric notice board is now ready to hang-up or to give as a gift.
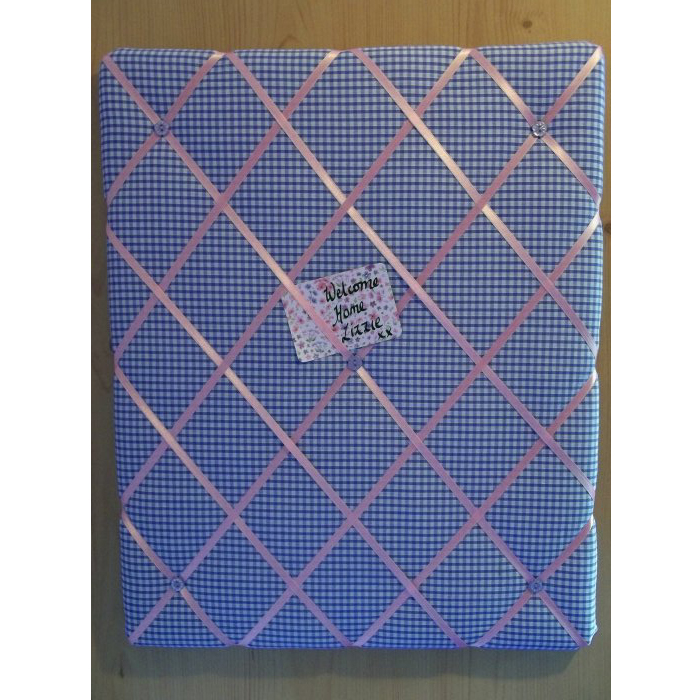
...and here's another version we made:
Back to the Fabric and Sewing menu...


