
Stitchery Picture
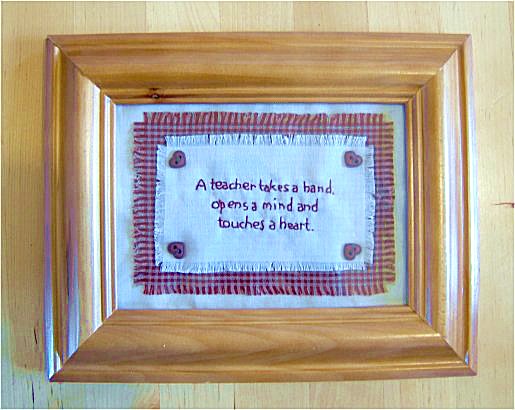
I love stitcheries! They are so personal and can be sewn onto so many things such as in a frame as I am showing here or onto a cushion or a wall hanging or as an embellishment on a soft toy or bag. The list is endless, the only thing stopping you is your imagination.
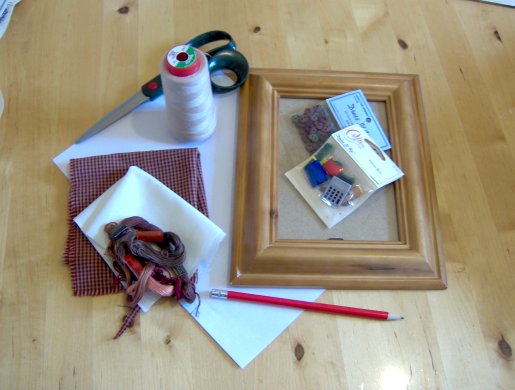
You will need:
Fabrics
Buttons
Embroidery Floss
Sewing equipment (scissors, needles and thread)
Pattern/poem etc
Pencil and paper
Carbon paper for fabric (handy but not essential)
What to do
1. Collect together what you need and sketch a design of how you want your finished item to look.
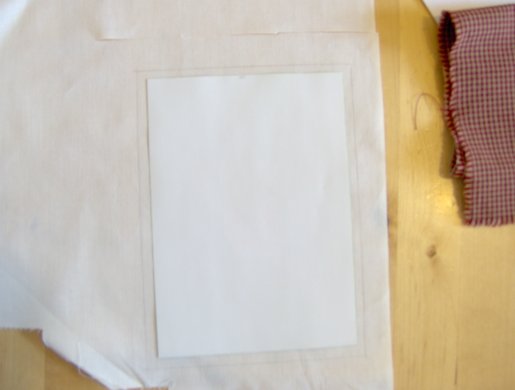
2. Take the frame apart and draw through the opening onto a piece of paper, this is the template that will give you the size of the completed picture for you to work from.
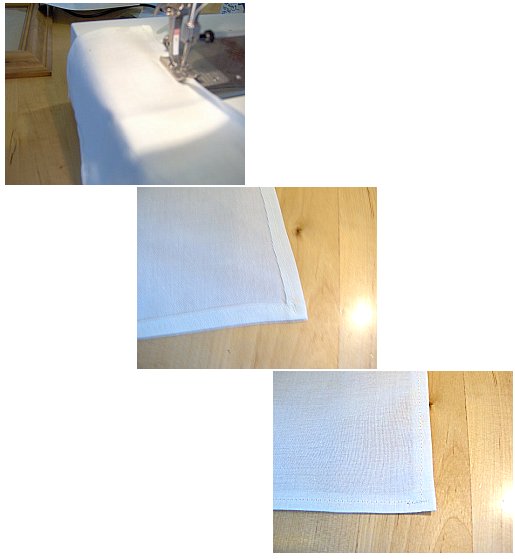
3. Choose a piece of fabric for the background and using the template cut out a piece of fabric with a 1/4inch seam allowance. Turn the seam allowance under and sew either by hand or machine. This should now fit exactly in the opening window of the frame and will not fray because you have made a seam.
4. Follow your design working first from the background ending with what will be at the front of your design.
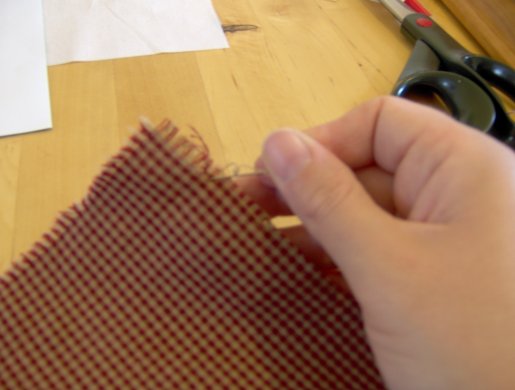
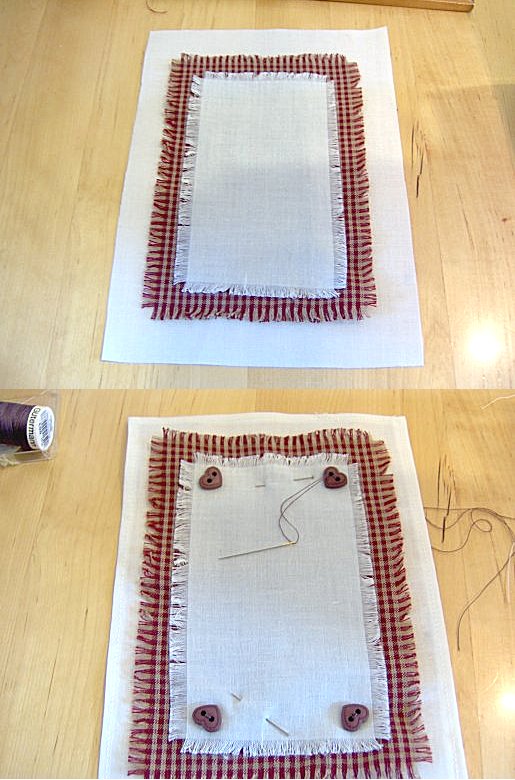
5. For my design I chose three pieces of fabric. After preparing the background I cut the second piece of fabric a little smaller than the background and using a fine needle I picked out half a dozen threads all the way round and placed it on top of the background fabric. I did the same with the top fabric (which the stitchery will go on to), cutting it a bit smaller so that the second fabric can be seen behind and then picked out half a dozen threads as before.
6. I chose four small heart shaped buttons and sewed these onto the four corners of the top fabric sewing through all the layers therefore holding all three fabrics together.
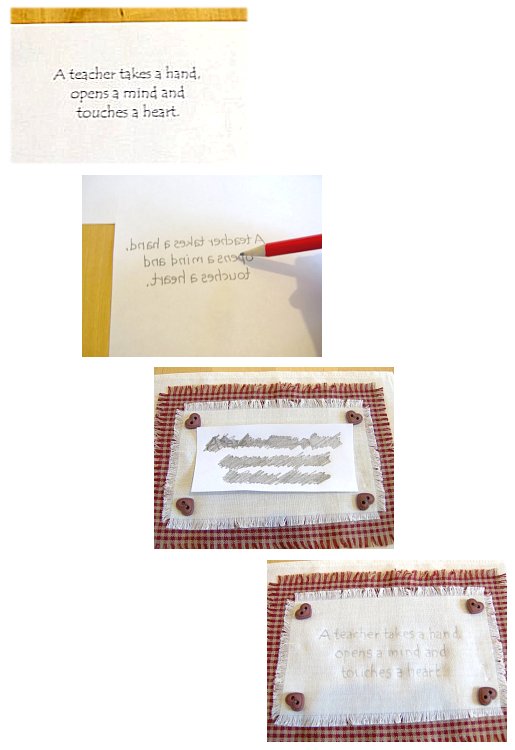
7. Since this stitchery was a present for a teacher I chose to stitch ĎA teacher takes a hand, opens a mind and touches a heartí. I typed this into a word document on my computer and had a play with the style and size of the lettering and printed it out to work from, but you can write freehand to get the effect you want. I recommend practicing on some scrap paper first before you draw onto your work.
8. The design can be transferred onto the fabric freehand if you are brave enough or copied using carbon paper, but as I didnít have any I had to trace instead. I turned the paper over and traced the letters which I could faintly see through the back . I cut the piece of paper so it was easier to place in position and then turned it over again so the wording was facing the right way up and placed it exactly where I wanted it to be on the fabric. I then re-traced the wording again firmly with the pencil so that it marked the fabric underneath to give me a guide for stitching.
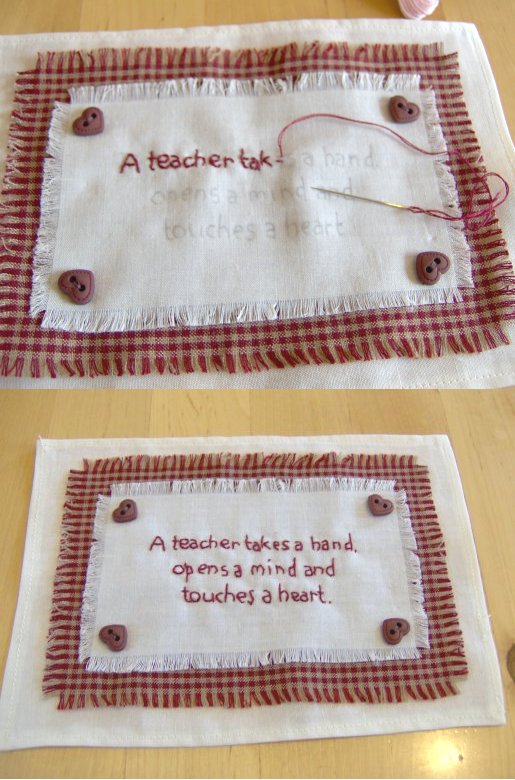
9. Choose a colour of embroidery floss and split it into 2 strand lengths about 50cm/20inches long. Floss usually comes in 8 strands so by splitting it into lengths of 2 strands your floss will go a long way.
10. Sew your stitchery following the pencil marks using a backstitch securing the embroidery floss with a couple of backstitches on the back of your bottom fabric at the beginning and end of the thread/design. The stitchery is now complete and can be placed in the frame. If the buttons are too thick it may not be possible to keep the glass in the frame, if this happens you can still frame your piece and secure it by gluing it to the backboard of the frame with some PVA glue on the back of the stitchery or the frame design may hold the stitchery securely in place without any extra help. I was able to hold this stitchery in place with the glass still in the frame.
Back to the Fabric and Sewing menu...


