
Make a Memory Jar
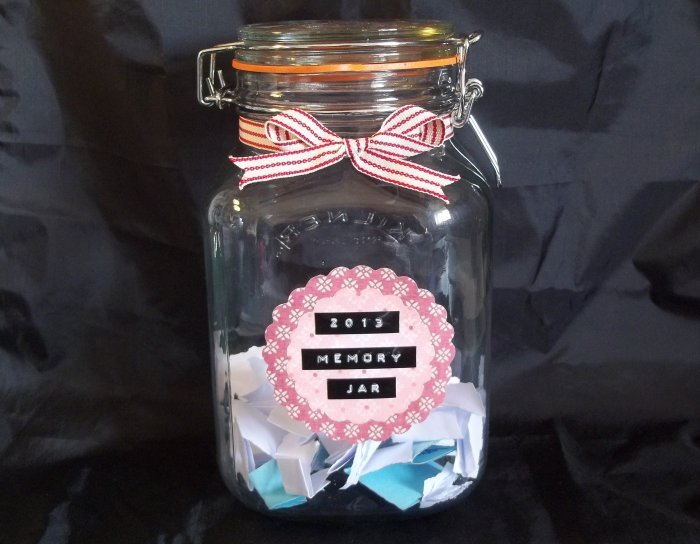
You will need:
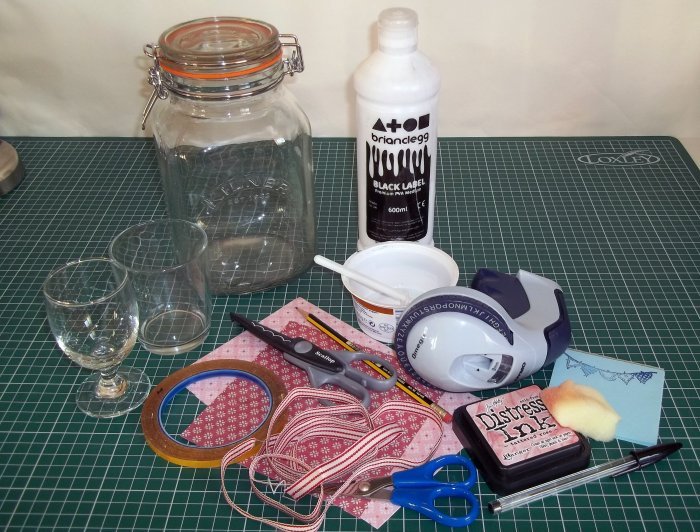
Paper/card (patterned or plain)
Ruler (or something to draw around
- I'm using two different sized glasses)
Pencil
Scissors (straight or fancy edged)
PVA glue & spreader
Double-sided sticky tape or
patterned Washi-tape
Marker-pen, label maker or
letter stickers etc
Extra embellishments
(ribbon, distress ink etc)
Paper & pen/pencil - for writing memories
(you could make a memo-pad especially
for this - see 'Memo-pad' project, there is a
link at the bottom of the page)
What to do
You can decorate your jar anyway you like, but this is how I made mine.
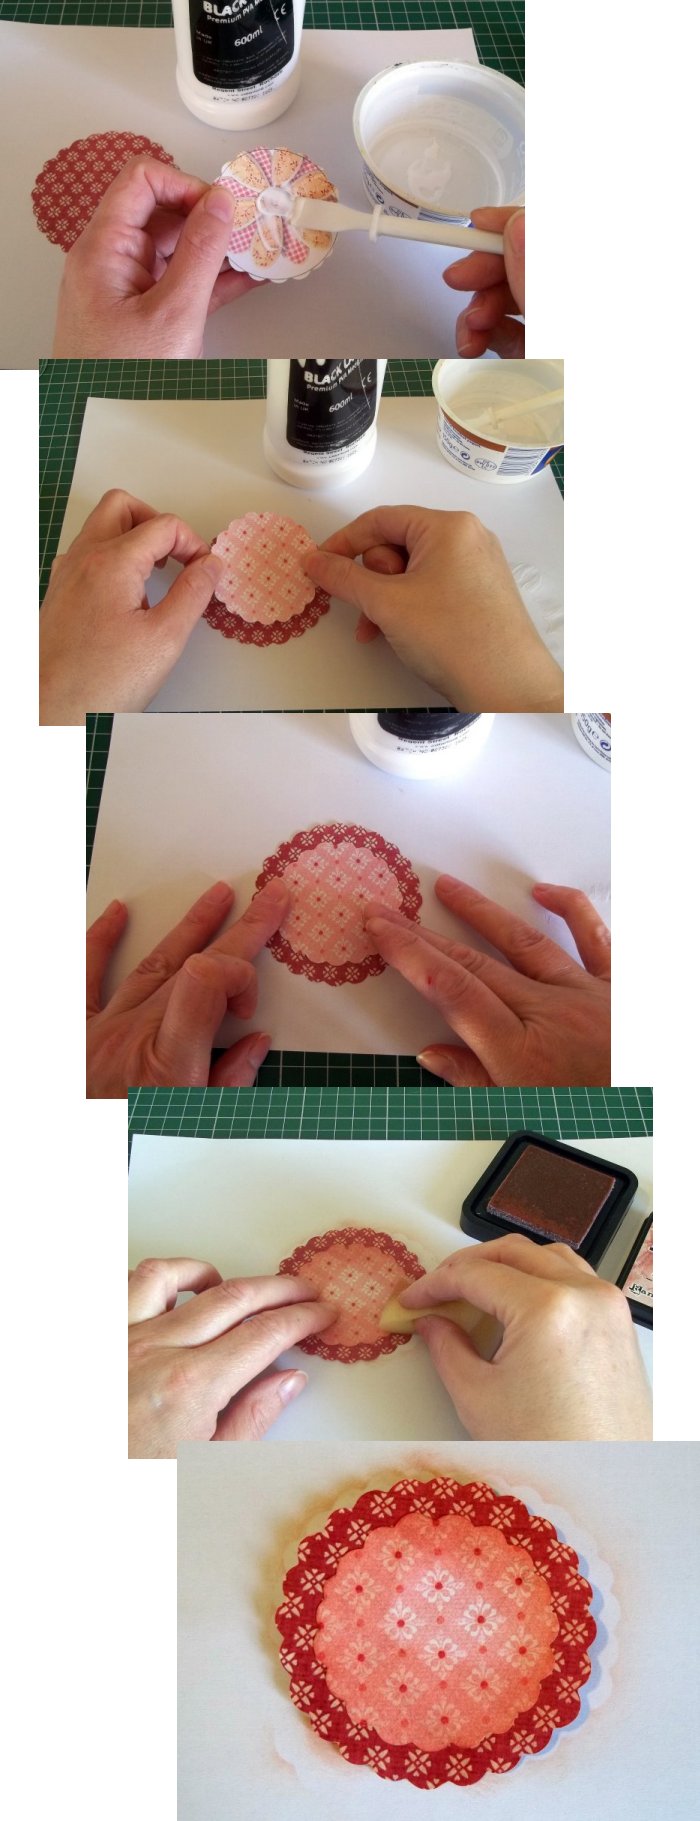
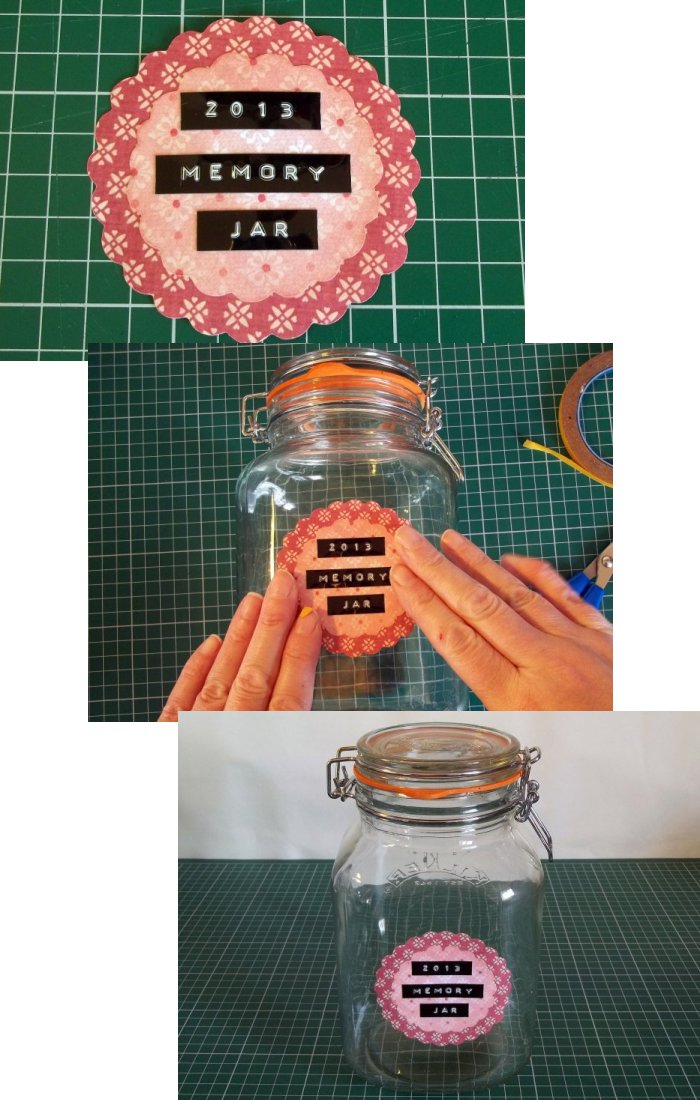
1. Cut out two paper/card shapes for the label, one smaller than the other - Draw a shape on the back of some card to use as the background for your label (I'm drawing around two different size glasses to make circles, but you can have any shape you like). Cut out using either straight or fancy edged scissors - if you are using a glass or plastic jar, don't forget to erase any pencil marks that might be seen on the back once it's in position (I realised this when I came to stick it on at the end).
**TOP TIP - When cutting out the background shapes for the label make sure they fit comfortably to the front of your jar and that they are big enough to stick letters to/write the year and 'memory jar' on. - TOP TIP**

2. Stick the smaller shape centrally to the front of the larger one using either PVA or double-sided sticky tape. I then added a little distress ink with a sponge.
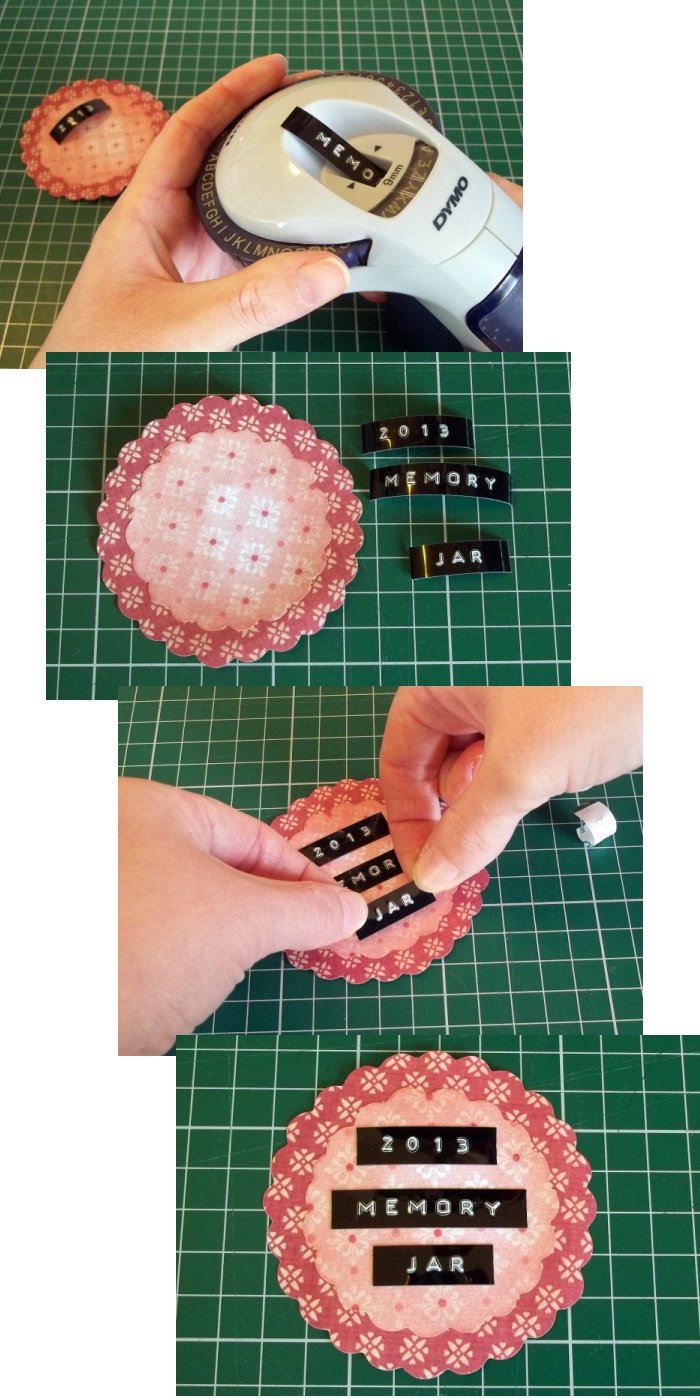
3. Add the coming year (for example '2013') and 'Memory Jar' to the label (you can write this on by hand or use a label maker/letter stickers etc).
4. Stick the label to the front of your jar using double-side sticky tape or fancy Washi-tape.
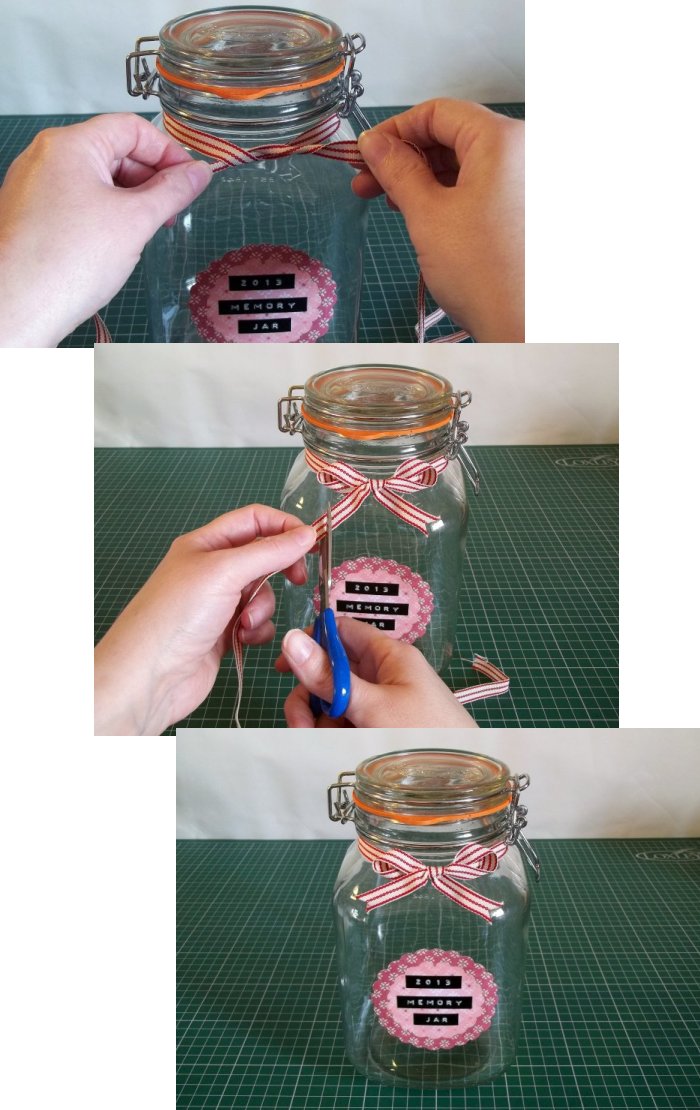
5. Tie a ribbon around the neck of the jar (optional).
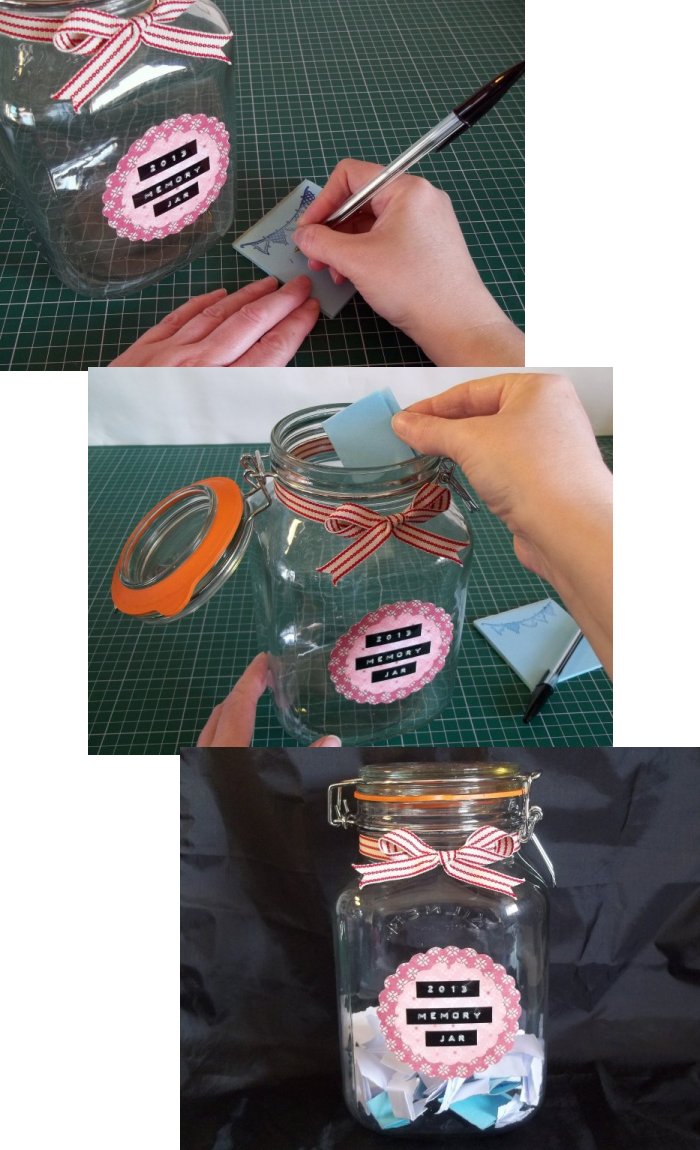
6. Start collecting memories - why not make a memo pad especially for writing your memories on, there is a link to the 'Memo Pad' project at the bottom of the page.
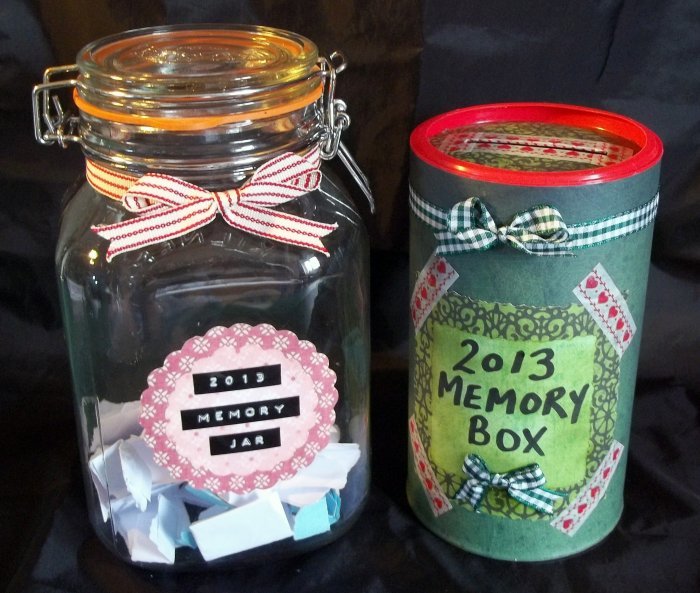
As an alternative, this is an example of a 'Money Box' style Memory Jar, and there is a link to the project at the bottom of the page.
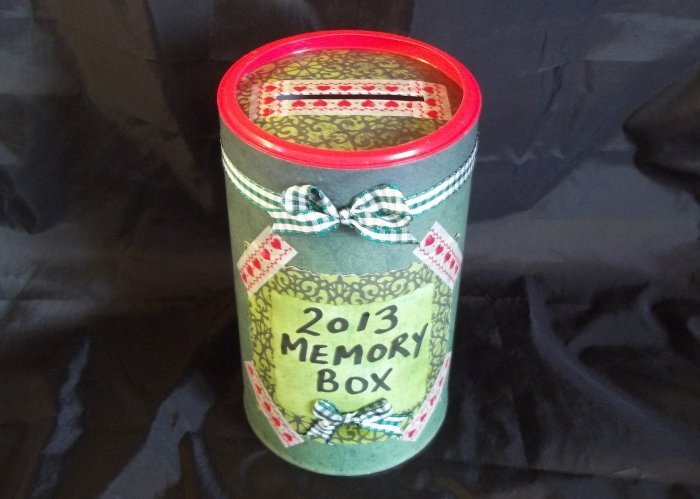
Go to the Money Box project...
Back to the Things to Do menu...
Back to the Other Stuff projects menu...


