
Sculpting a 28mm figure - Ronin Samurai
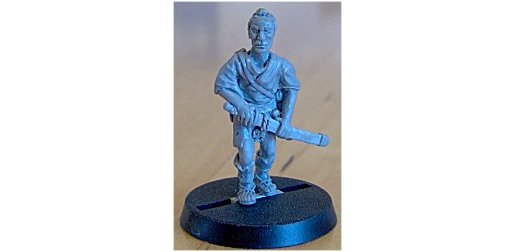
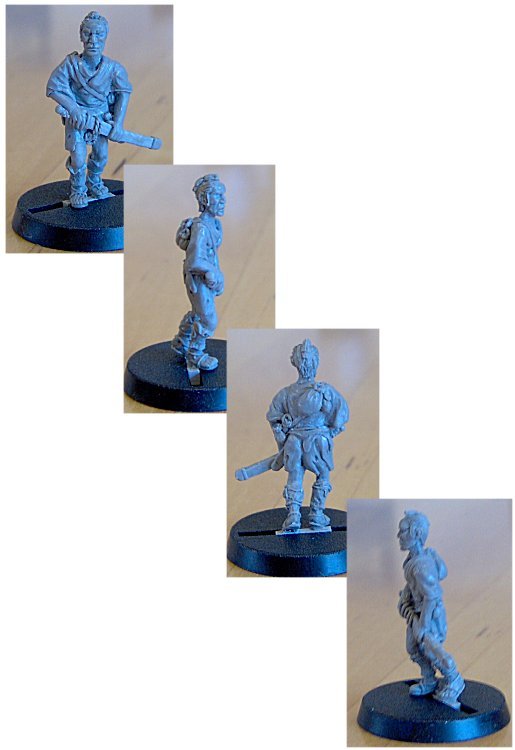
This is a more advanced section of the website, and is intended for older children and adults, as the tools and materials involved can be dangerous. Here you will how I sculpted a 28mm miniature figure. This figure was done with the left over bits of putty from sculpting the 54mm Polo player, while that model was curing. I don't like to waste putty or time!
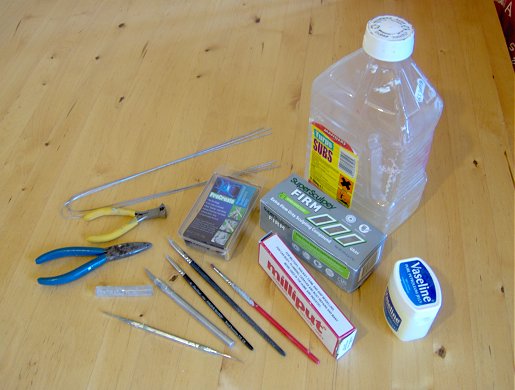
Below you'll see a picture of the tools and materials I use when sculpting. You don't need all of them, and will probably find the tools and products that suit your style as you go. Sculpting is a very personal thing, and there are as many ways of doing it as there are sculpters. So feel free to adapt or alter the tutorial below to suit what works for you.
You will need:
- I use the SG dental tool from Tiranti of London.
Some wire, or an armature.
Some epoxy putty, ideally ProCreate.
What to do
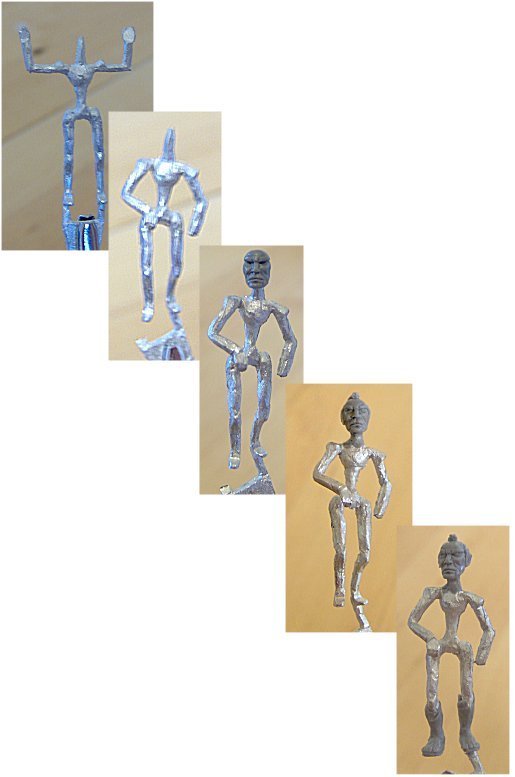
1. I started out with a ready made armature. There a a lot of these on the market - this one came from Jeff Valent studios. I generally make my own armatures from wire, but I'll describe that another time.
2. I then bent the armature into the position I wanted, advancing a preparing to draw his katana.
3. I sculpted the face in one go, using the method described in our Face Sculpting tutorial. I added hair and ears after the face had cured.
4. Then I added his lower legs and feet with sandals.
5. I then did his upper body clothing in one go. i used a single lump of putty, and shaped it. I find that much easier to get smooth than adding pieces of putty. I made him quite thin and scrawny, because he's a lordless ronin.
6. Next I added his lower clothing, making it look quite rough and worn. While that was curing rolled out a piece of putty for his katana's scabbard. I put a thin length of wire into it, for strength, and smoothed it out on a sheet of acetate. Then when it was dry I peeled the acetate off, and sanded the putty smooth with 600 grade wet-and-dry paper.
7. Then I added his belt, using the stickiness of the fresh putty to attach the scabbard as well.
8. Once it was cured, I added the arms and hands.
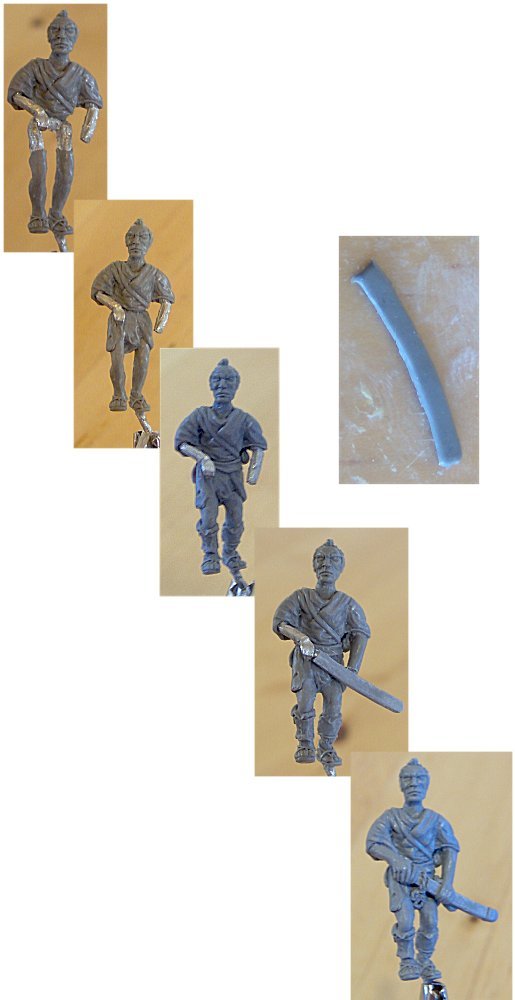
9. Finally, I added the hilt of the katana, and a few packs and bags to show he's a wandering ronin, and also to fill the gaps!. After adding a tab to his feet for basing, he was finished. My first 28mm figure - I was well pleased!
Back to the Sculpting and Modelling menu...


