
Fabric Mobile Phone Case
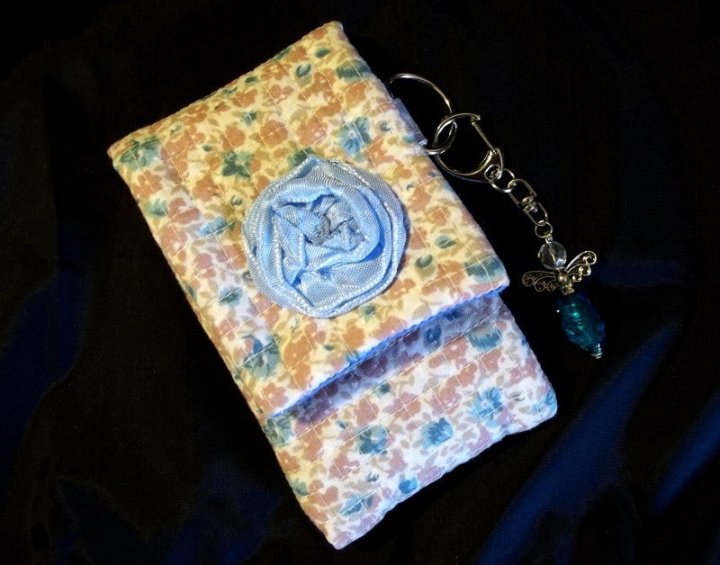
I was asked to make a tutorial for a fabric cell phone case, this is the result I hope you like it. We all have mobile phones nowadays; a protective case is a great idea to help keep your phone safe from scratches. Using quilted fabric gives a little extra padding too and with the wide variety of fabrics available they can be made to suit everyone's taste.they make great gifts too. So if you're handy with a sewing machine I hope you'll enjoy this project.
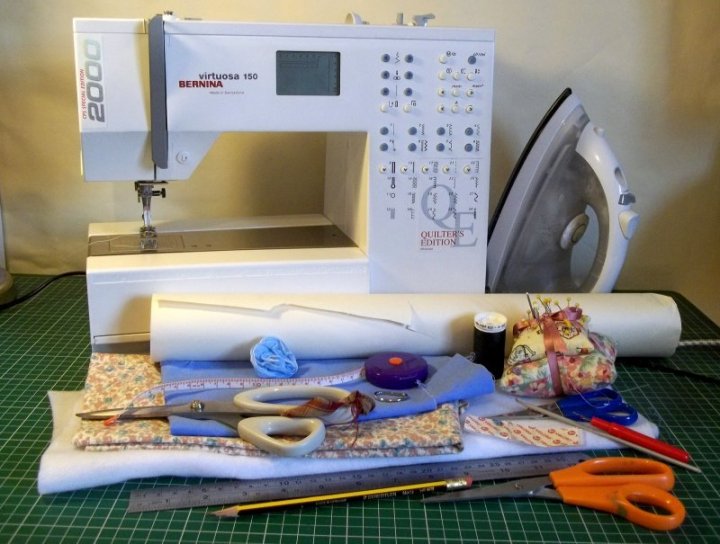
You will need:
Paper & pencil
Ruler & scissors
Main fabric (ironed/pressed) or quilted fabric
Thin wadding or felt
(not needed if using quilted fabric)
Lining fabric (ironed/pressed)
Sewing equipment
(needle, thread, pins, scissors etc)
Sewing machine
Velcro
(I used 'stick n sew' where one side had a gluey back)
Optional - D-Ring
Iron & ironing board
Optional - button, small fabric rose, fabric patch etc
What to do
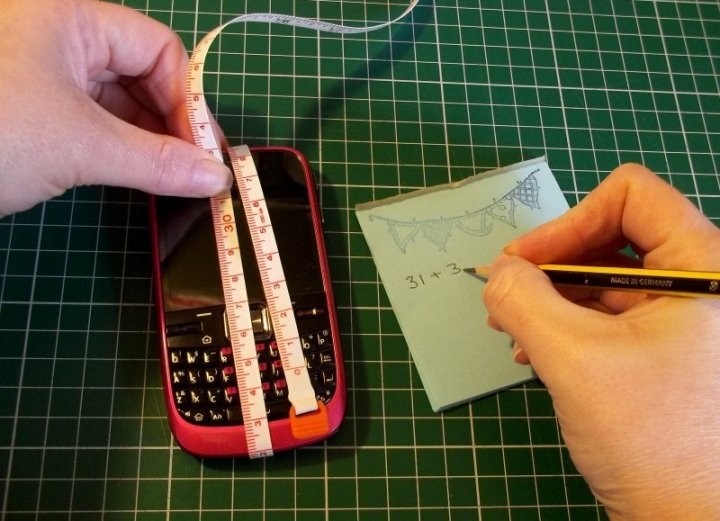
1. Measure your cell phone - start with your tape measure ¾ of the way down the front of your cell phone, wrap it around the back and finish ¾ of the way up the front. Add 3 cm seam allowance. This is the length of fabric.
2. Measure the width of your cell phone including both sides. Add 3 cm seam allowance. This is the width of fabric.
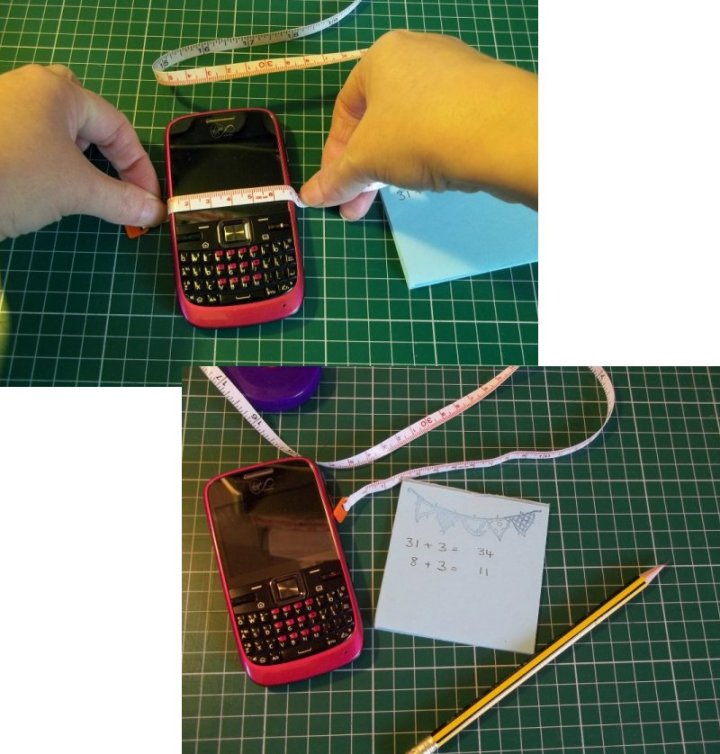
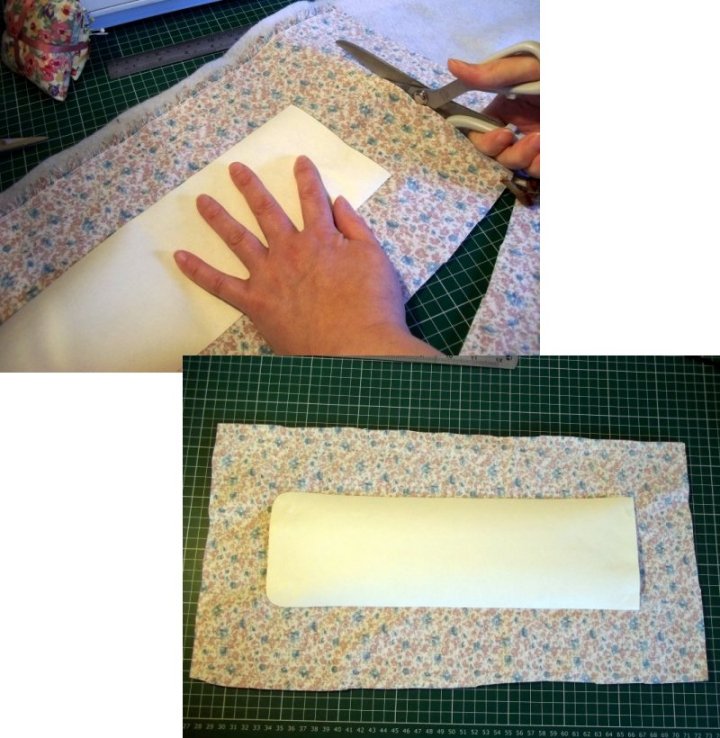
3. Using the measurements you have just made make a paper template. Place a round object such as a thread spool at the two top corners, draw around them and cut off the excess corner paper.

4. If using quilted fabric go to step 5, otherwise cut a piece of main fabric and a piece of thin wadding/felt a couple of inches bigger than the paper template (this is more fabric than you need but it allows for the shrinkage that happens during the quilting process).
Lay the main fabric right side up on top of the wadding/felt and pin them together. Baste (tack) the two layers with a large running stitch and take out the pins.

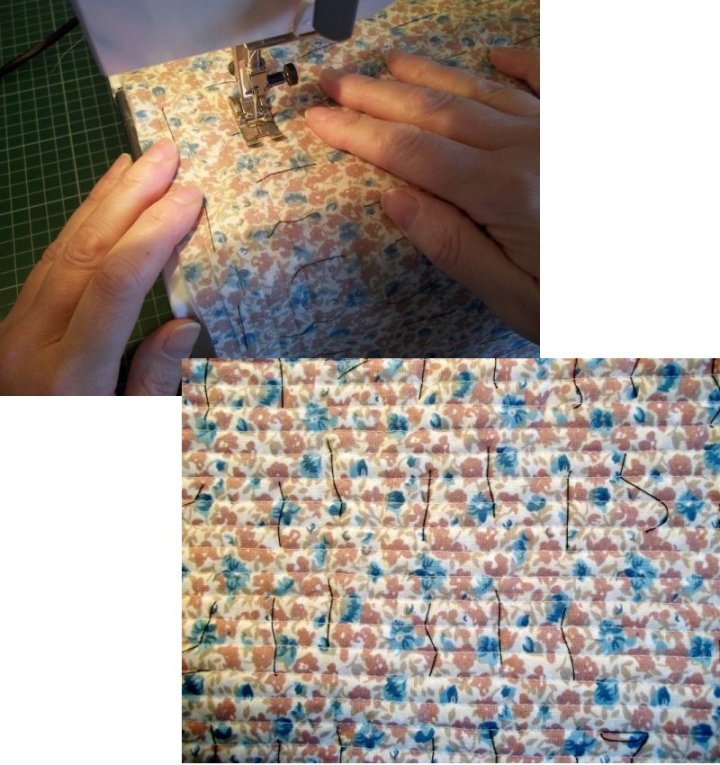
Quilt the two layers together using a slightly longer stitch than you would normally use to sew pieces together (starting with a straight edge (can be drawn on with pencil & ruler) and using the foot of your sewing machine as a guide to sew straight lines is the easiest way but you can quilt any design you like).
I started at a straight edge, sewed a line of straight stitch, turned the fabric, sewed 3 or 4 stitches (depends on your length of stitch), turned the fabric again lining up the foot on my machine with the first line of stitches, sewed back down the length of fabric. I continued to do this until I reached the end of the fabric.
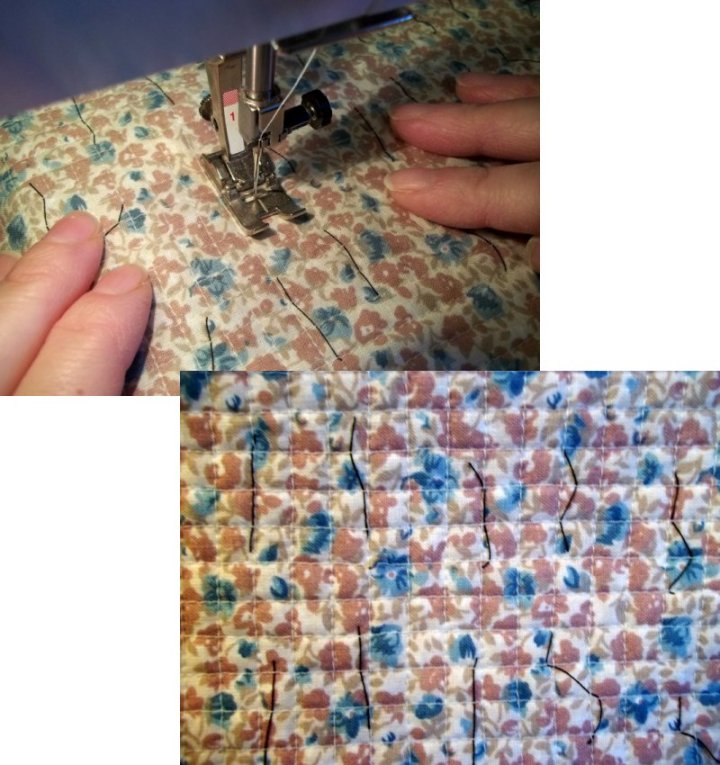
I then quilted in exactly the same way across the width of the fabric at a 90 degree angle from the already quilted lines, thus creating quilted squares. When you have finished quilting put the setting for the length of stitch back to normal.
**TOP TIP - Normally to quilt fabric it is easier to use a 'walking foot' fitted to your sewing machine , but as we are using felt or a very thin wadding the thickness of the two layers is quite small so a 'walking foot' is not necessary. - TOP TIP**
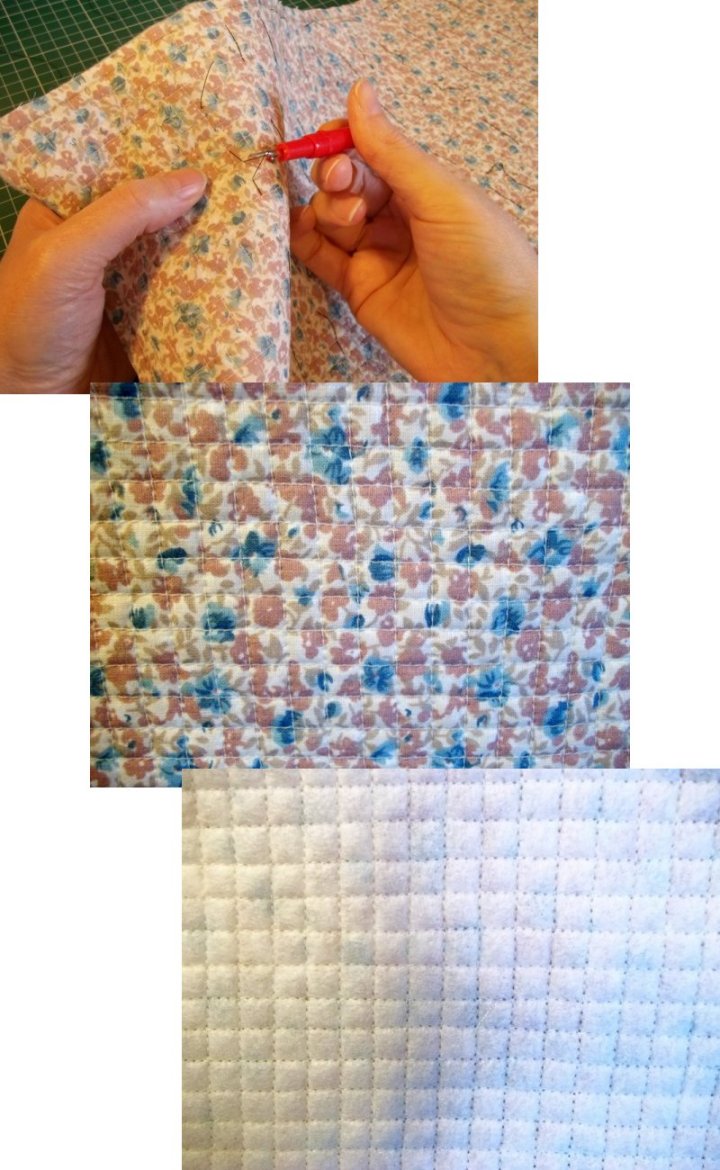
Carefully remove any baste/tacking stitches. You now have a piece of quilted fabric which could be used for many different craft projects, but for now we are going to make a cell-phone cover.
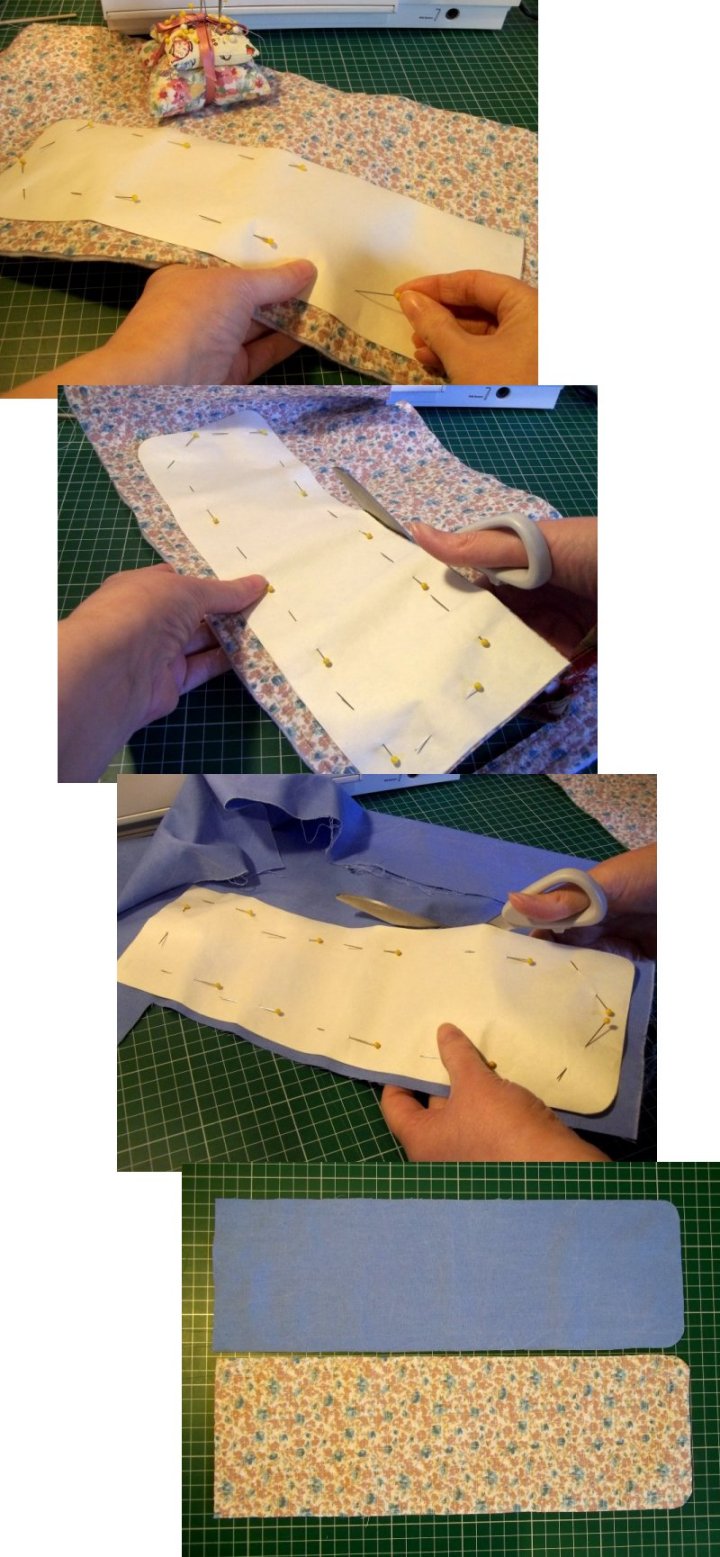
5. Using the paper template cut out 1 x quilted fabric and 1 x lining fabric (pin the template in place and cut the fabric out around it).
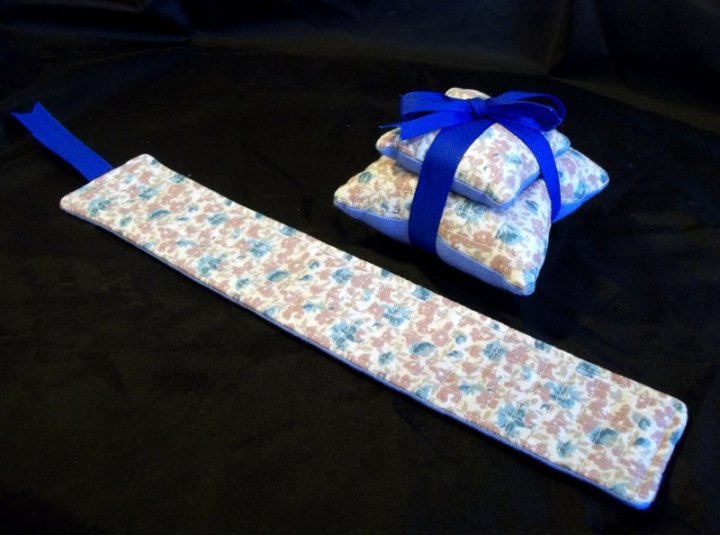
**TOP TIP - There will probably be some quilted fabric spare, ideal to make into a bookmark or pin-cushion, see links at bottom of page. - TOP TIP**
6. Cut a 2½ cm (1 inch) square of Velcro and pull it apart so you have two matching pieces. If one of the pieces has adhesive on its back put this to one side for later. Pin & baste (tack) the other piece of Velcro centrally 2 cm from the bottom end on the main fabric side. Sew firmly in place (I sewed all the way round twice to make sure it was secure). Remove tacking stitches.

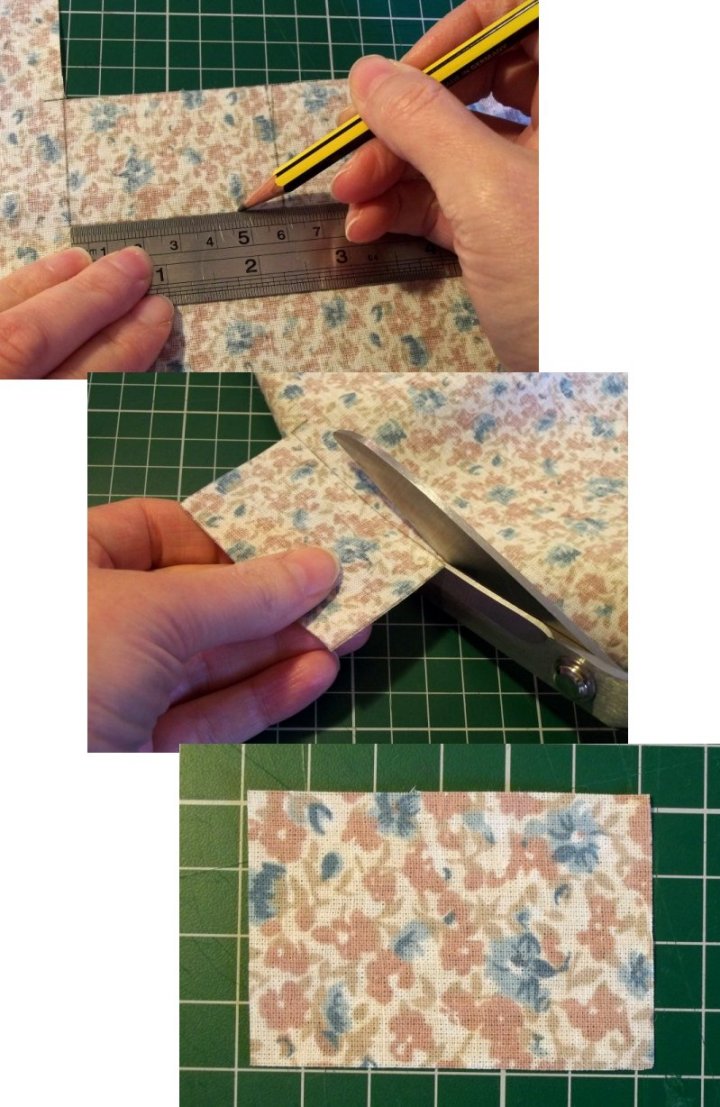
7. Optional - (If you would like to add a tab & ring to hang charms from, for keys or to attach to a bag etc). Cut a 6cm x 4cm rectangle from the main or lining fabric (not the quilted fabric).
With the fabric right-side down, fold the two short sides in to meet at the centre, press (iron).
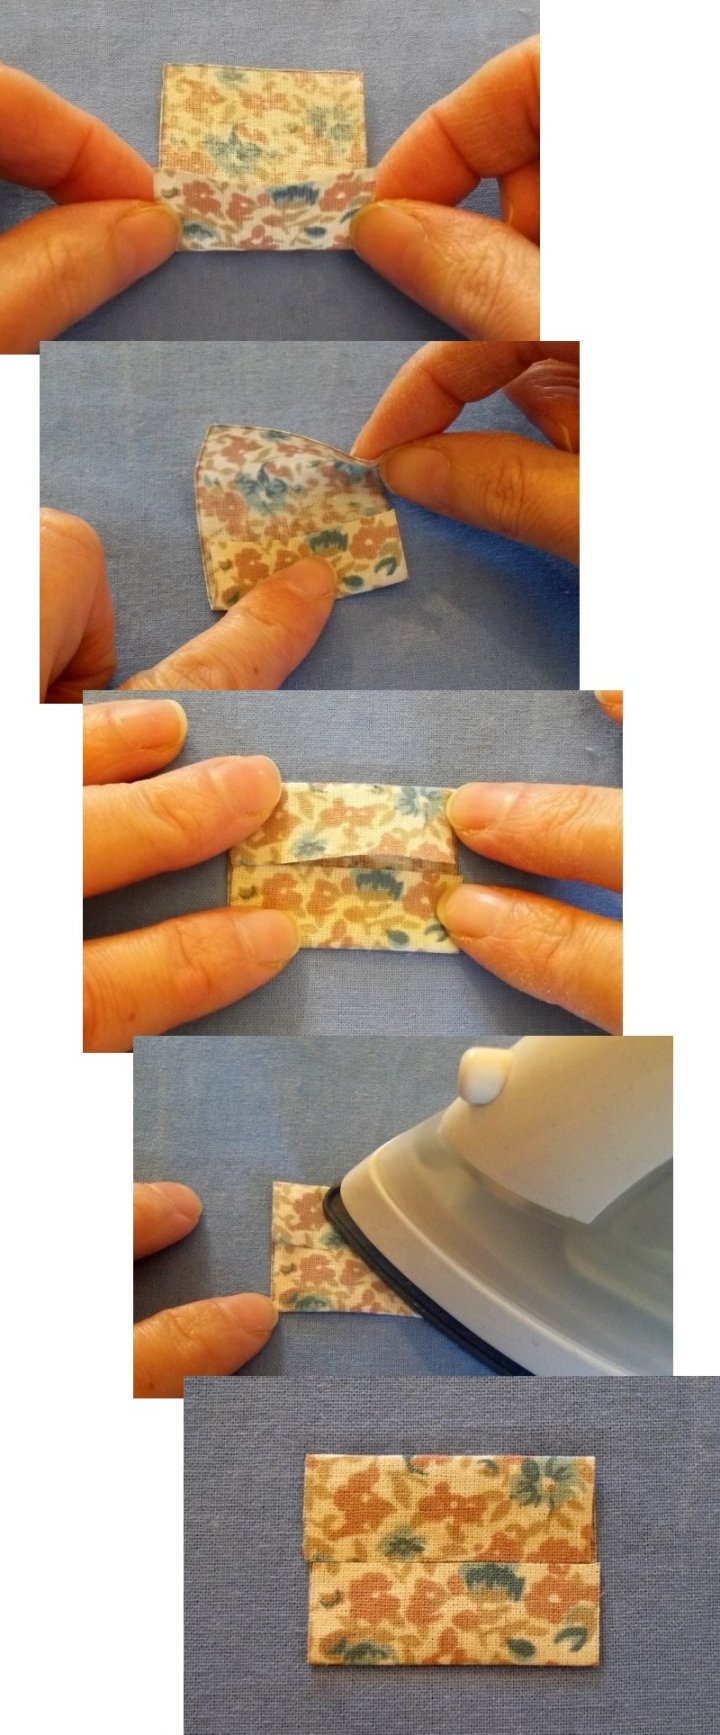
Fold in half so the folded sides meet and press (iron).
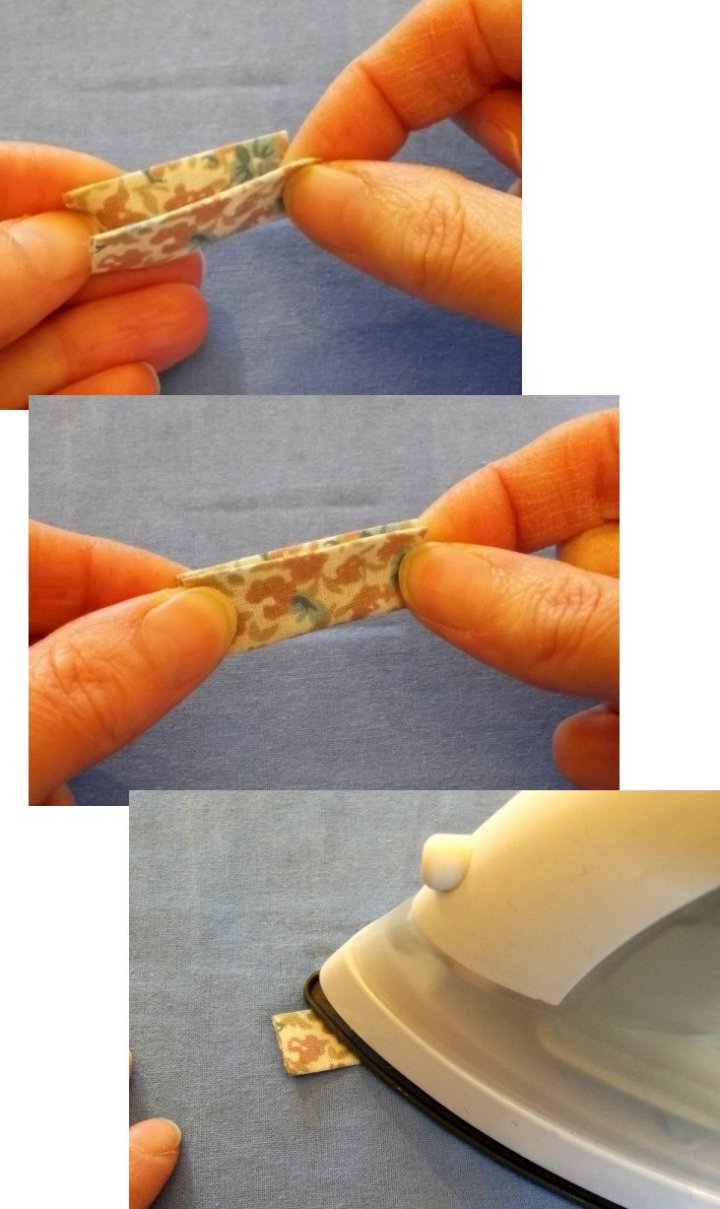
Sew the folded open sides together about 2 or 3mm in from the edge.
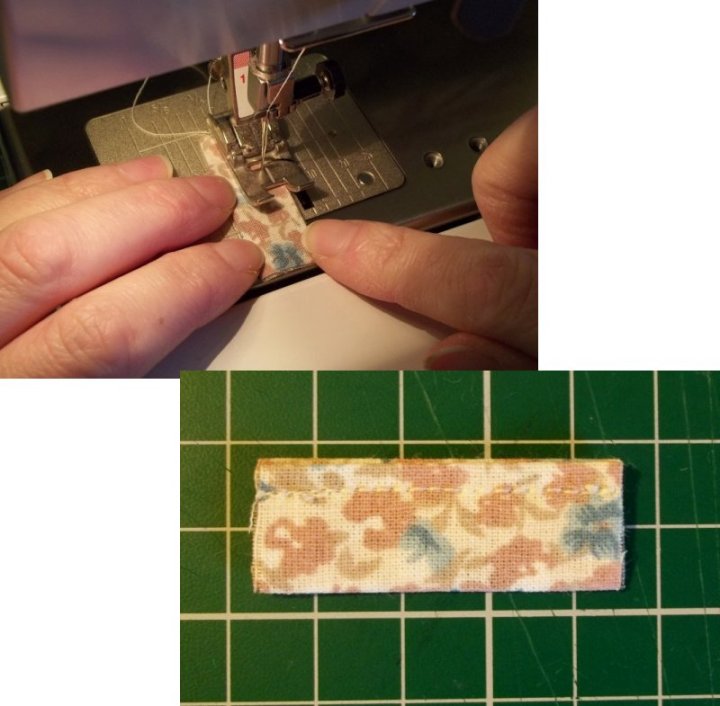
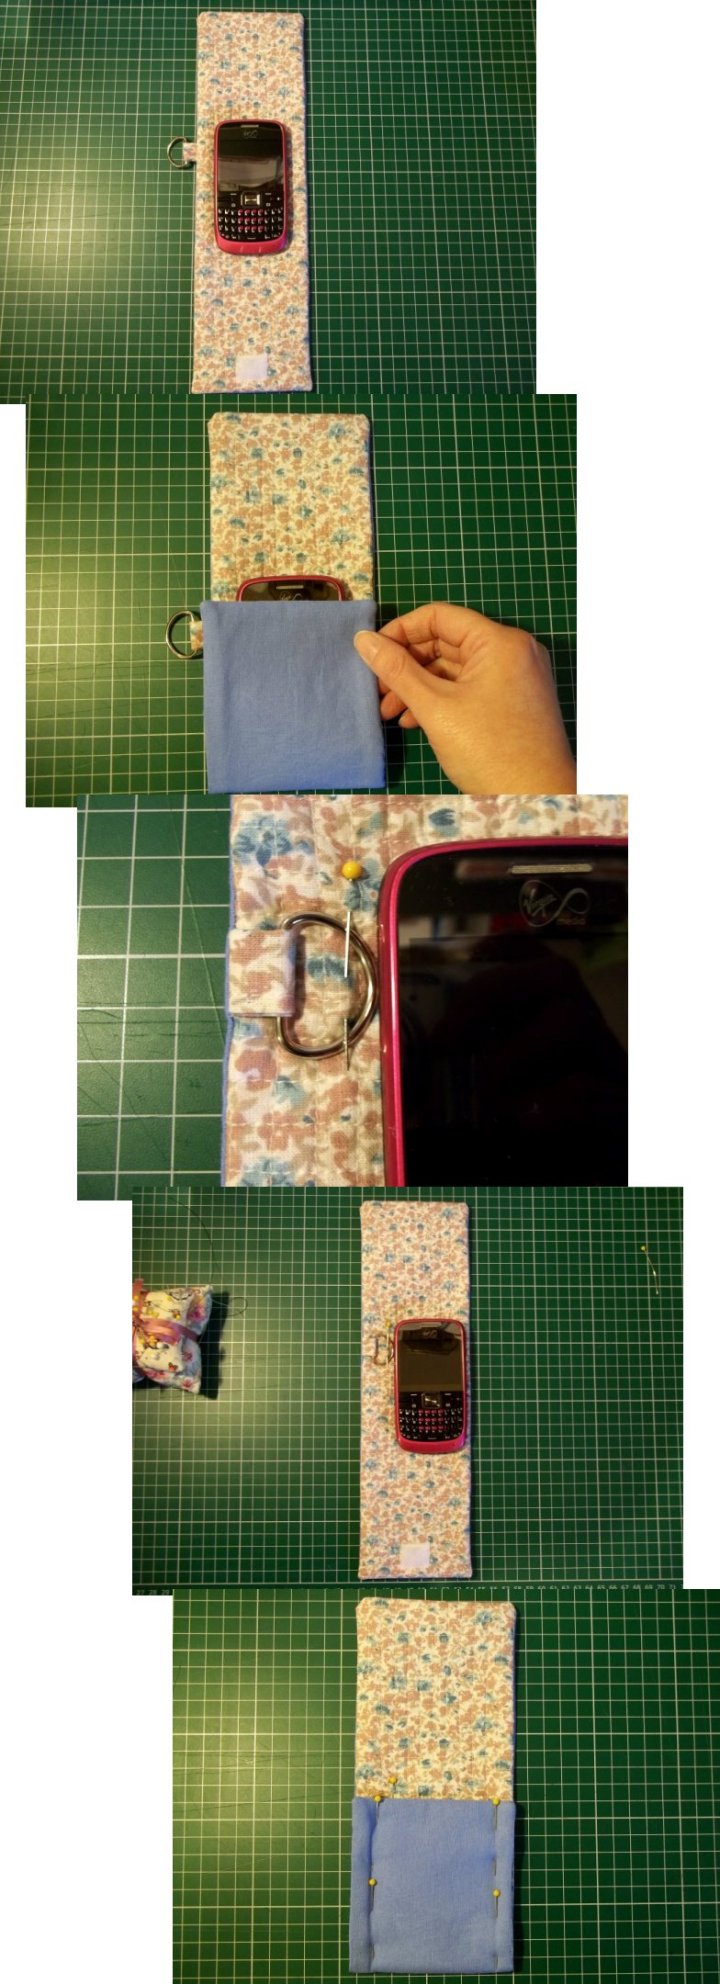
Place your phone centrally on the wadding/felt side, fold up the bottom, then fold the top down, when you are happy with the position wrap the tab around the flat part of the D-Ring & line up the two short open ends. Decide where you would like to place the tab (near the top of the central section on either the right or left side works best). Pin the tab & ring in position placing them on top of the main fabric side (with the open short ends at the edge of the fabric).

8. Place the lining fabric on top of the quilted fabric, right sides facing (sandwiching the tab & ring if included). Pin together.
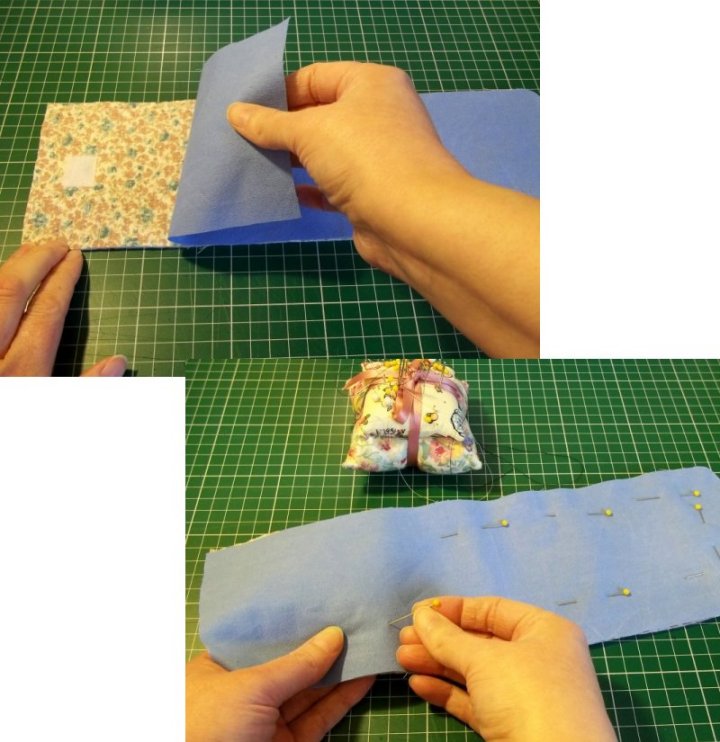
9. Using a ¼ inch seam allowance sew the pieces together, leaving a gap for turning (double stitch the first & last few stitches to secure). Remove pins & trim the threads but leave one long thread for sewing the gap closed.
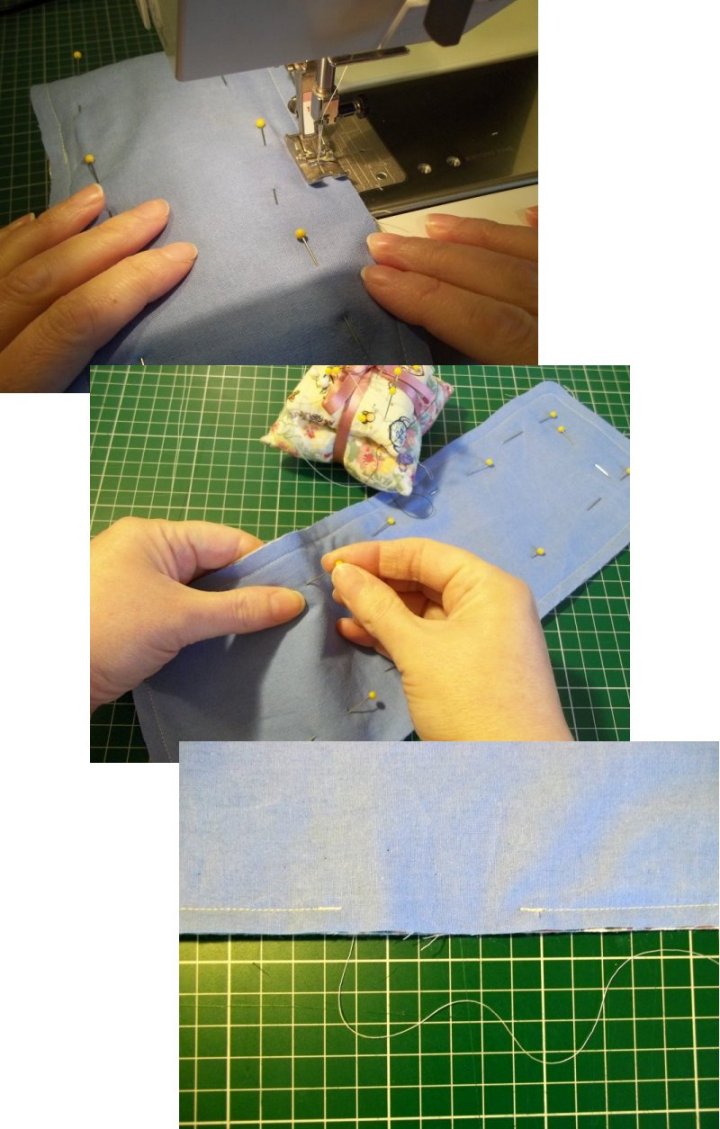
10. Carefully snip the corners (don't go too close to the stitches).
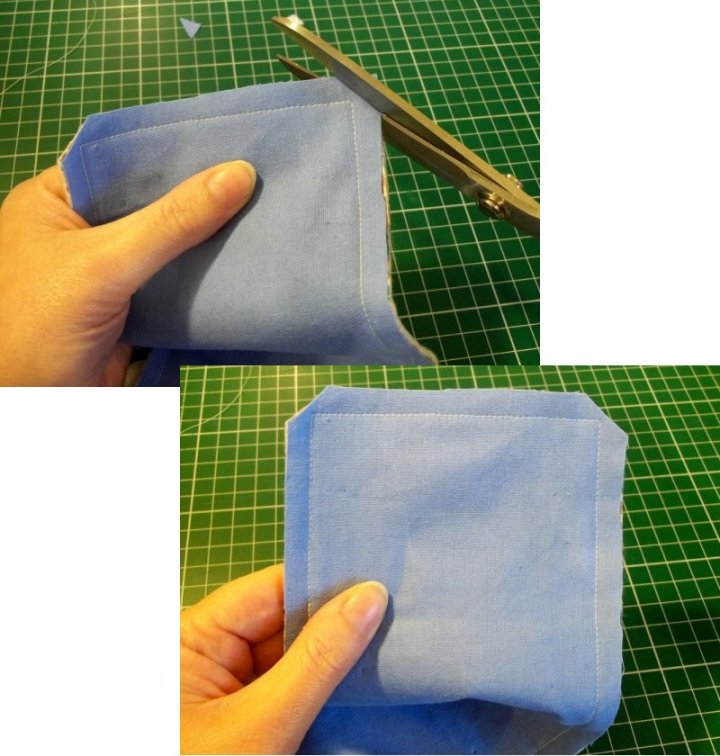
11. Turn the right way out, carefully poking out the corners with a crochet hook/knitting needle.
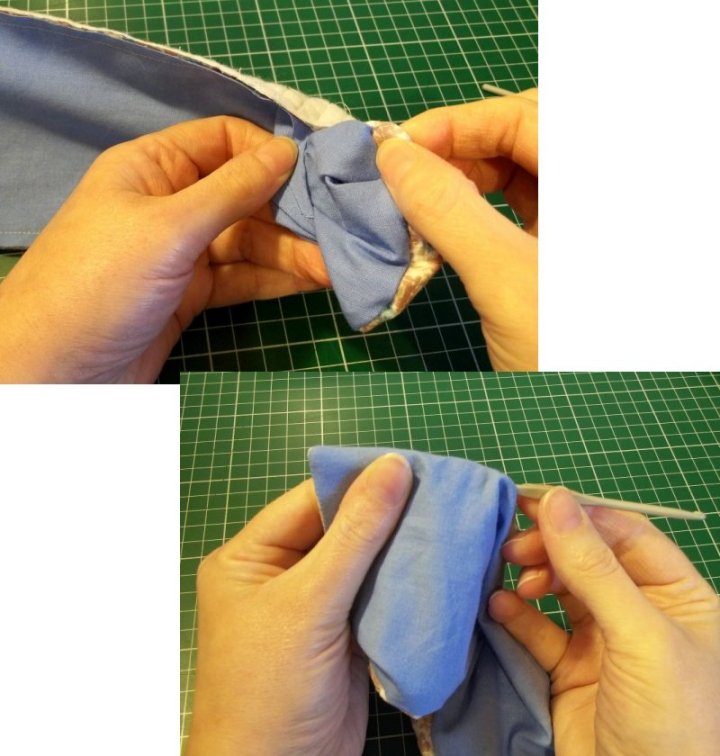
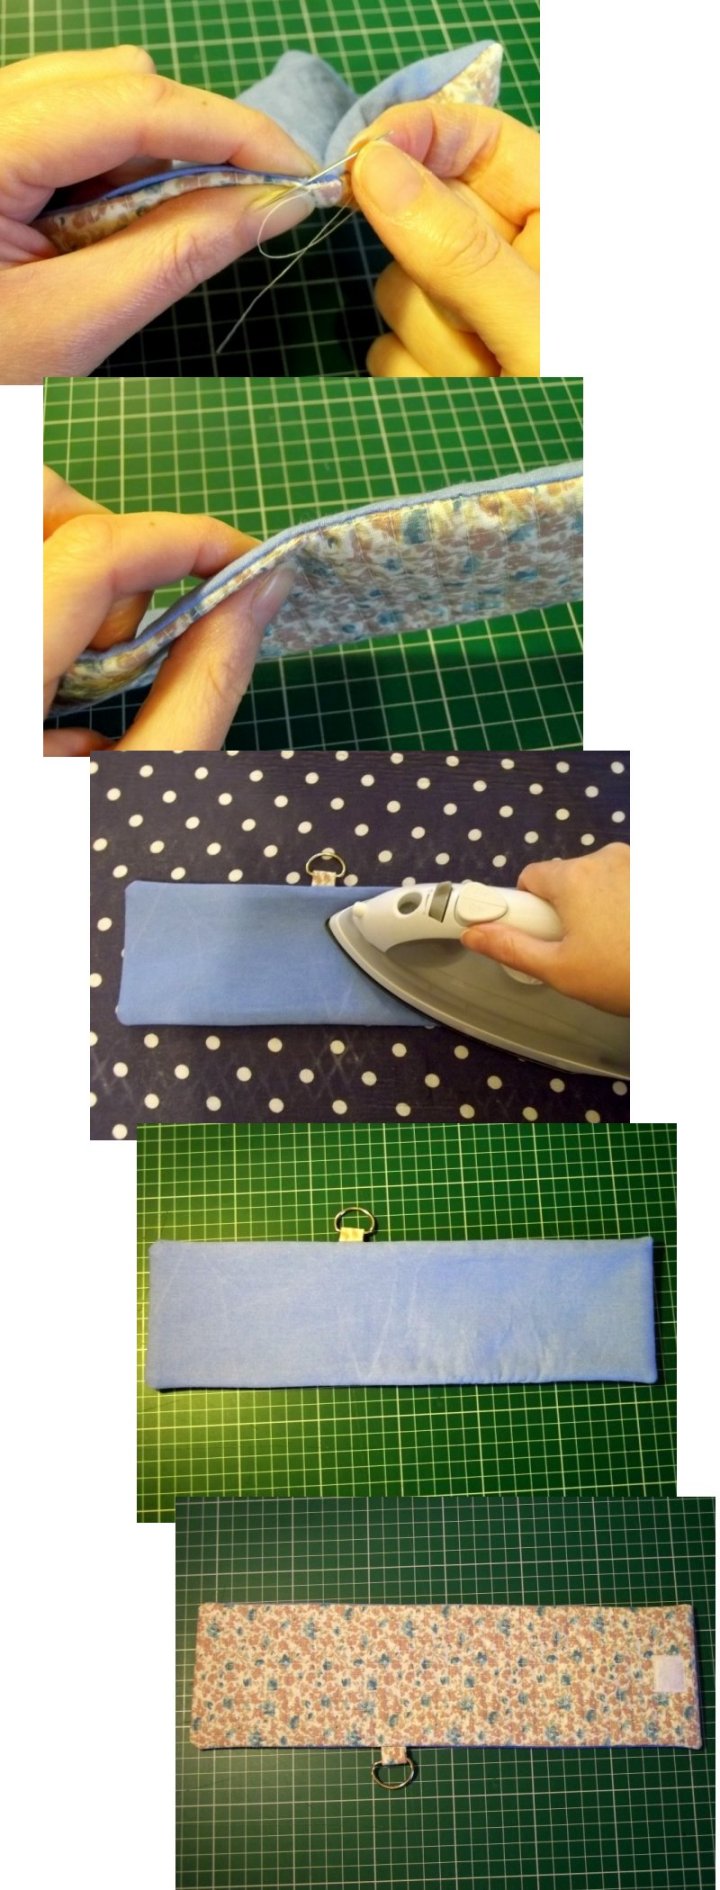
12. Sew the gap closed with a blind stitch and then gently press (iron) on the lining side.
13. Place your phone centrally on the main fabric side; fold up the bottom end to check position. Carefully take out the phone and pin the bottom folded-up part to the central section (if the tab & ring are in the lower section, make sure they are tucked on the inside next to the main fabric).
14. Sew the two sides together 2 or 3mm from the edge, double sew the first & last few stitches to secure and snip the thread. Remove pins.
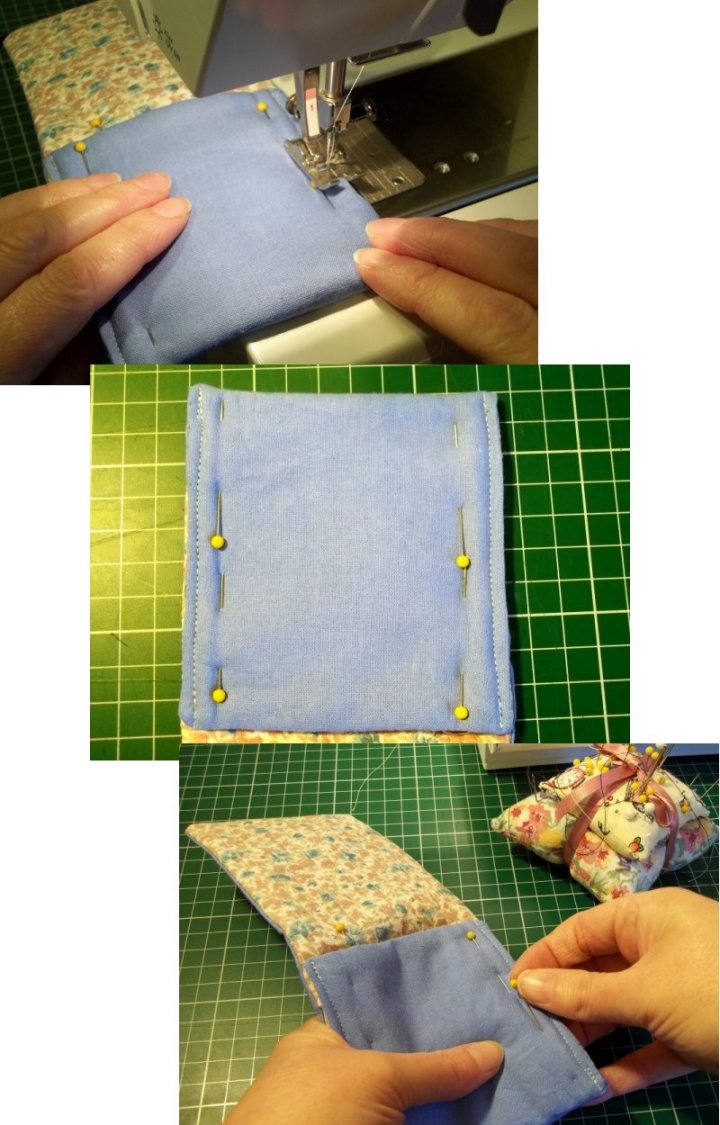
15. Turn the case the right way out.
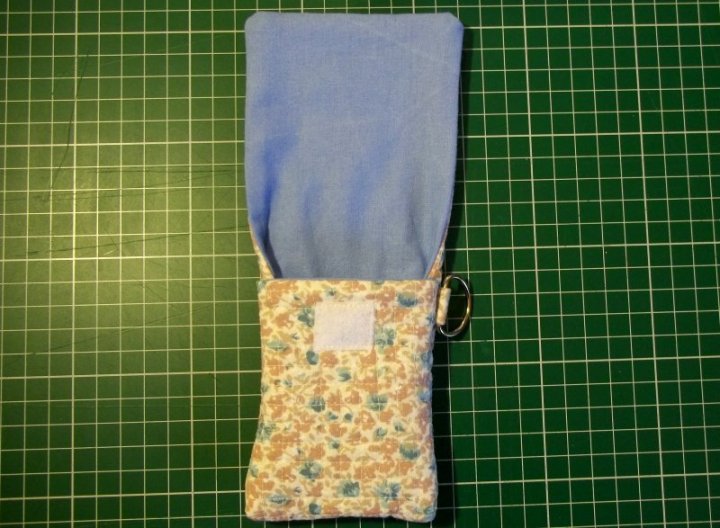
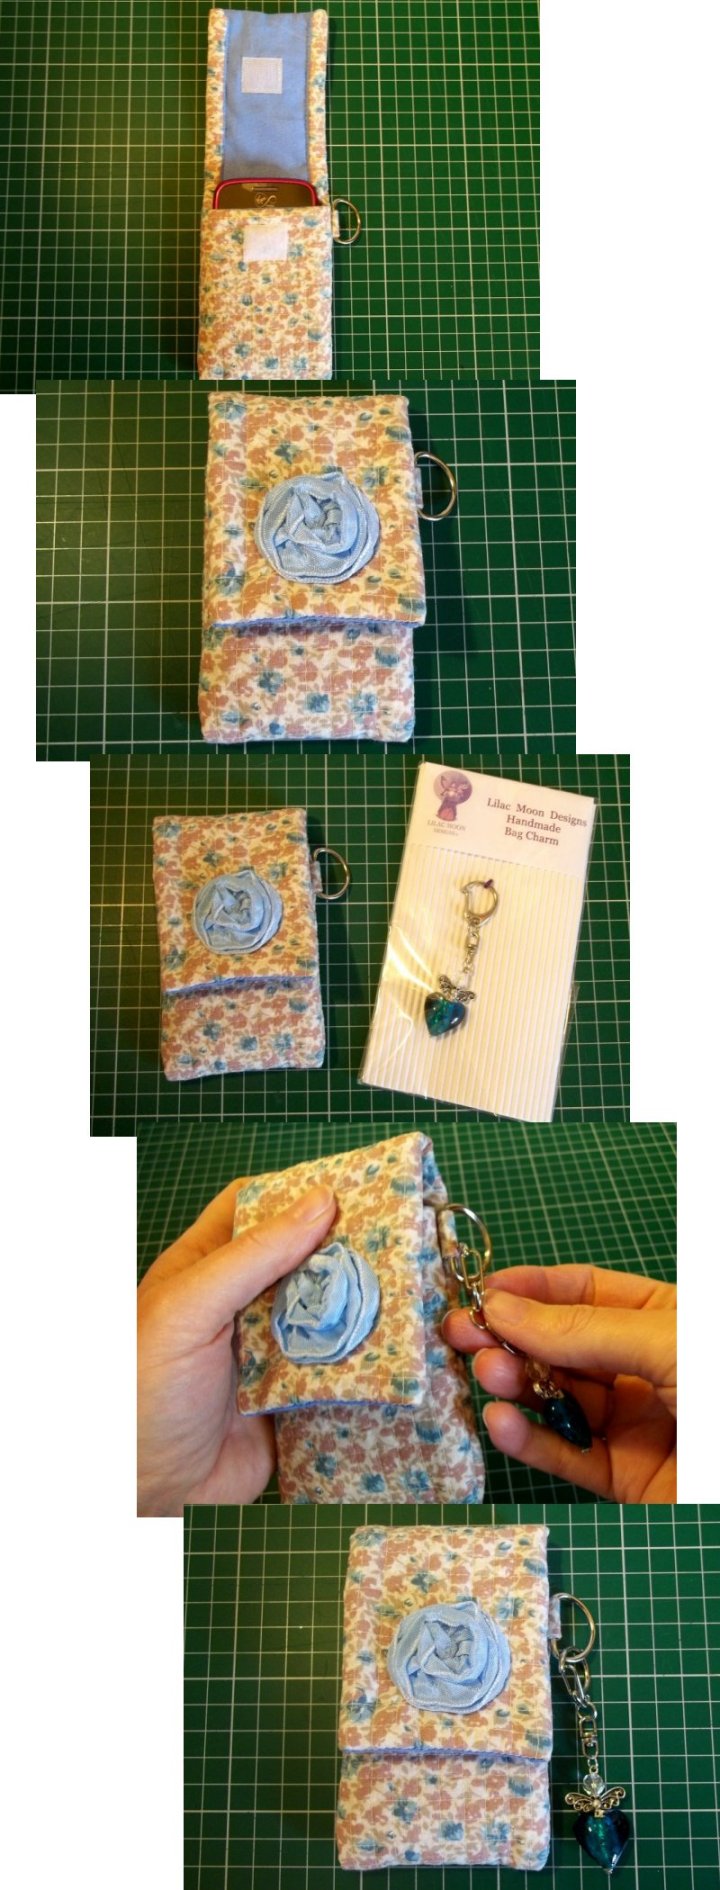
16. Place your phone in the case, fold down the top flap and pin the second piece of Velcro to the inside (lining), matching it up with the piece already attached.
**TOP TIP - My second piece of Velcro was sticky on the back so this made it easier to place. I just attached it to the first piece of Velcro, peeled off the protective backing and folded down the fabric top, I rubbed the fabric with my fingers and the Velcro then stuck in position to the fabric. Holding onto the glued Velcro I then carefully pulled the tab up, it was stuck in position and just needed sewing in place to secure like I did with the first piece. - TOP TIP**

17. Sew the Velcro in position.
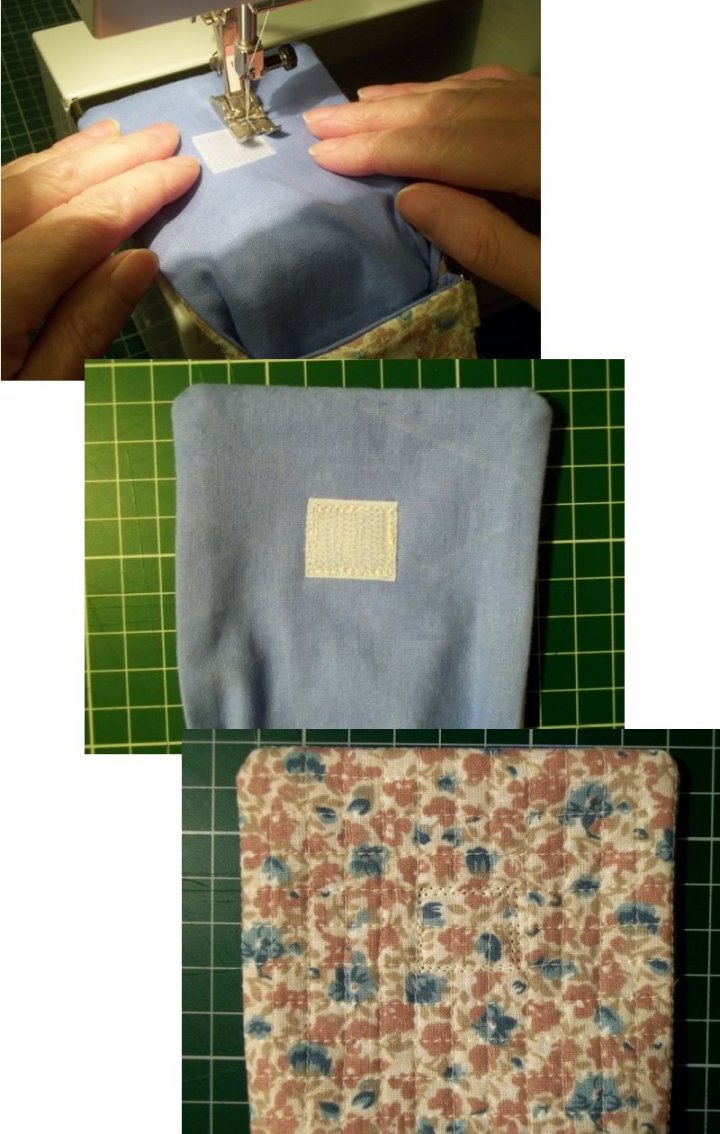
18. Optional - Sew on by hand a decorative button, small fabric rose (see link below) or fabric patch of your choice to hide the stitches on the closing flap where the Velcro was sewn.
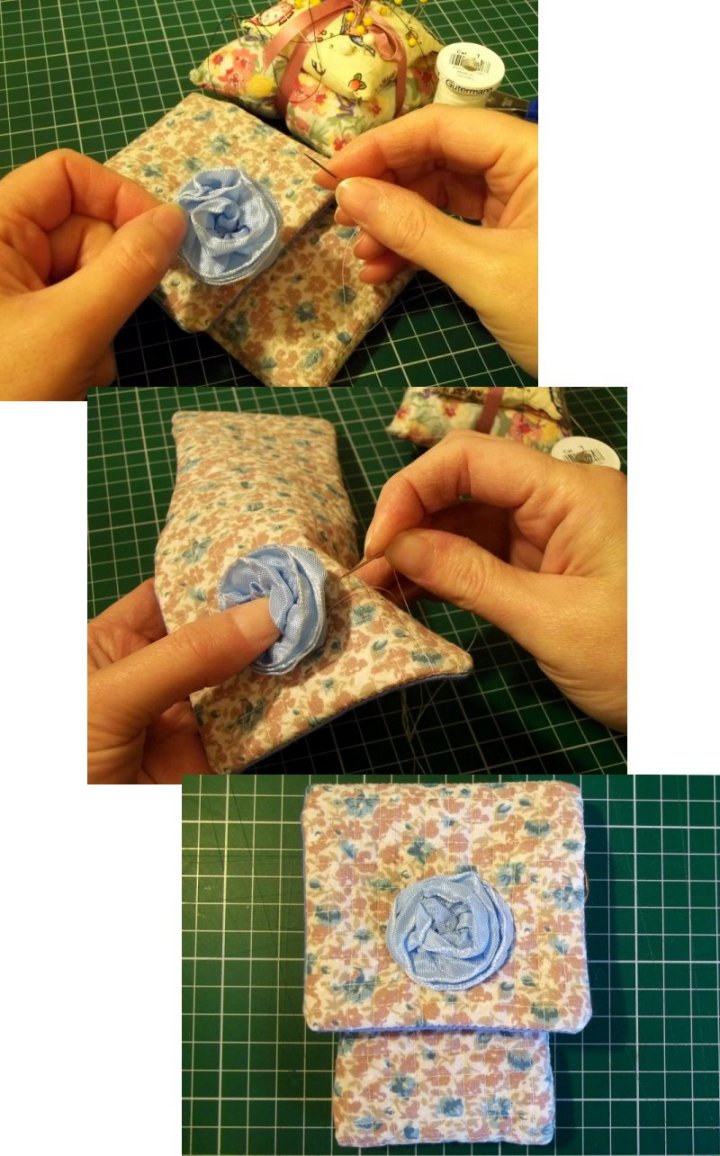
19. To line up the flap with the pouch part turn in the sides of the flap a little, pin them in place and then sew them closed by hand with blind stitch.
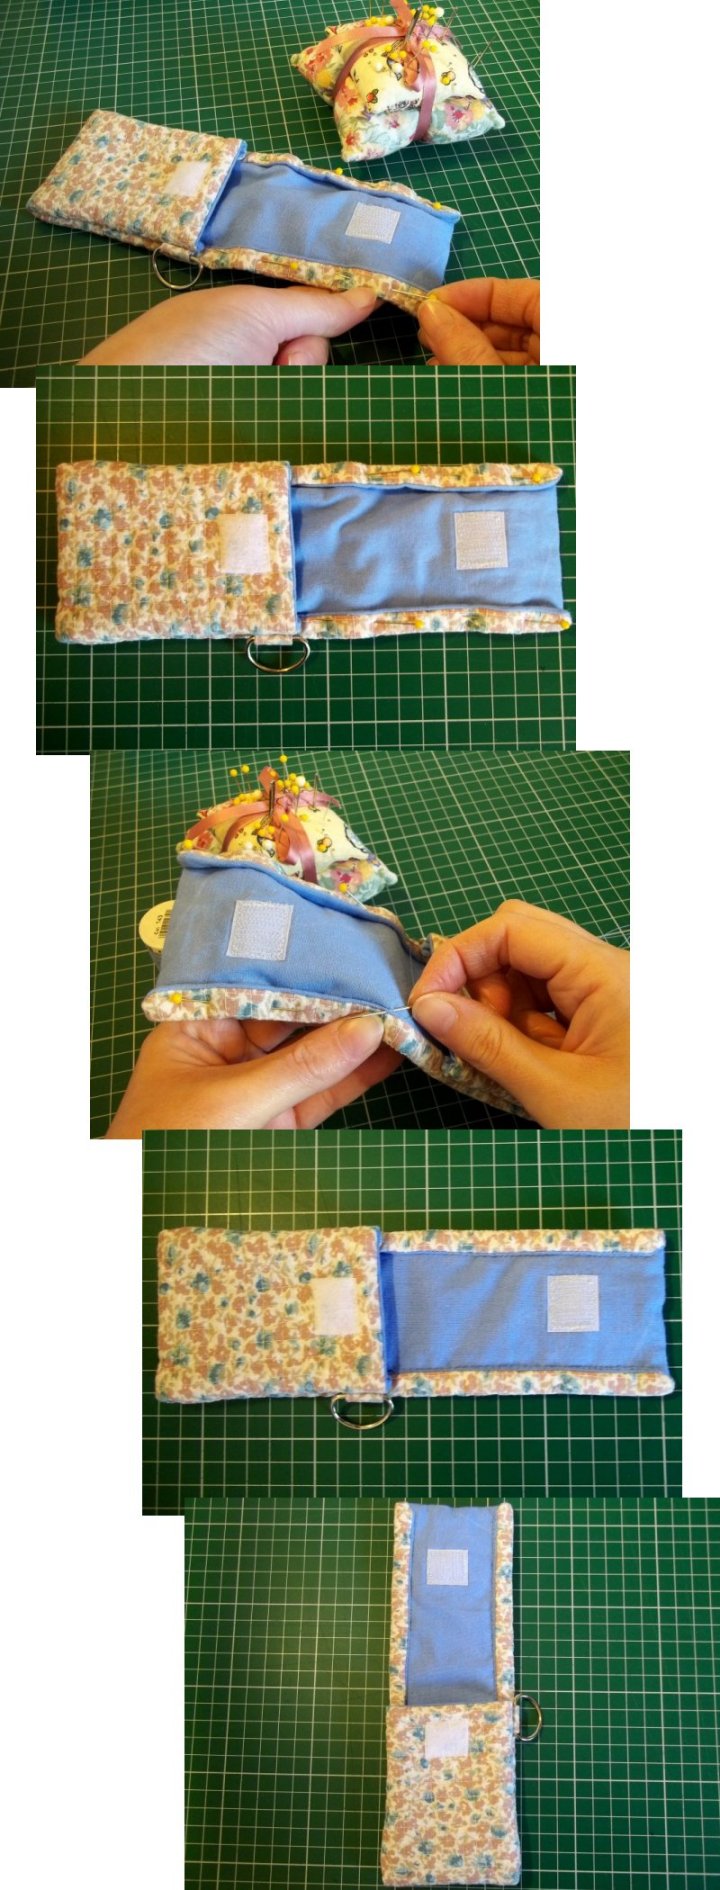
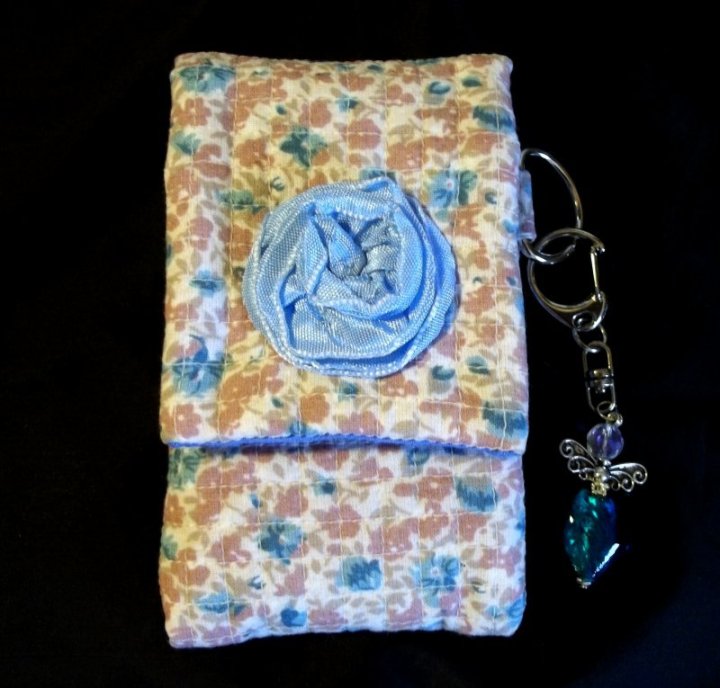
20. Place your phone in its new protective pouch, hang a charm from the tab and you're ready to go. (My charm was from Lilac Moon Designs)
Bookmark and pincushion made from the leftover pieces of quilted fabric:
Go to the Ribbon Rose tutorial...
Go to the Fabric Bookmark tutorial...
Go to the Pin Cushion tutorial...
Back to the Fabric and Sewing menu...


