
Marbling with Pébéo
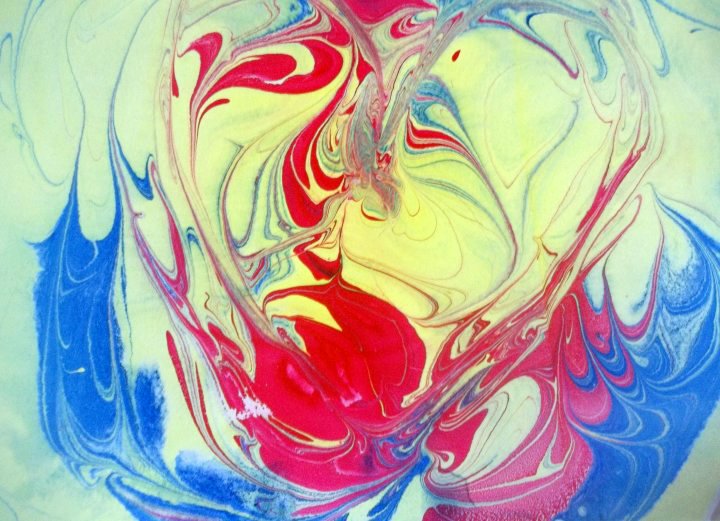
In this project we are marbling with Pébéo products onto thick paper and card. The same technique can be used to marble onto fabric instead of paper/card but once dry the fabric must be ironed so as to fix the colours.
Once dry your marbled thick paper/card/fabric can then be used to make a wide variety of projects, adding colour and interest. You also have the wonderful feeling of having designed and coloured them yourself.
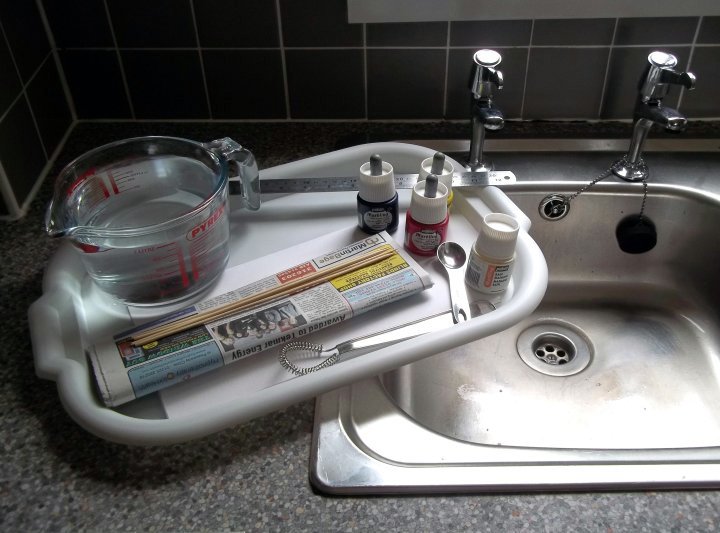
You will need:
Tray
Jug
Water
Marbling bath powder (we used Pébéo)
Marbling colours (we used Pébéo)
Whisk
Measuring spoon
Ruler
Thick paper/card
Newspaper
What to do
**TOP TIP - As you will need to use running water, it is best if you do the whole project near your sink so you keep all the mess in one place and don't drip paints etc over the floor. - TOP TIP**
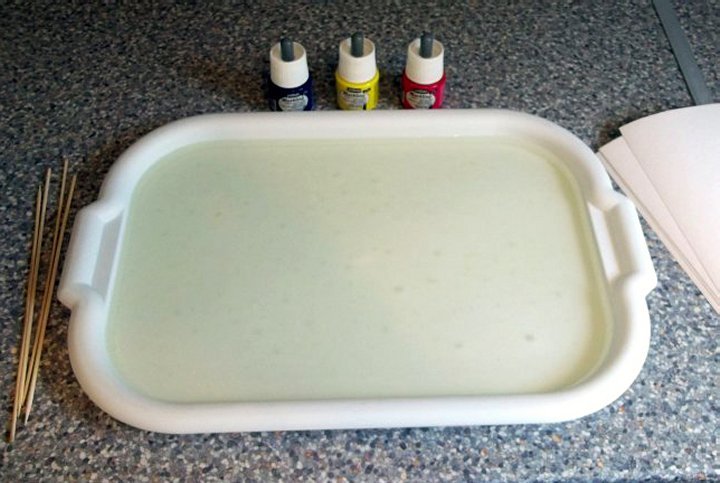
1. Collect together items needed to make the marbling bath (tray, water, marbling bath powder, measuring spoon and whisk).
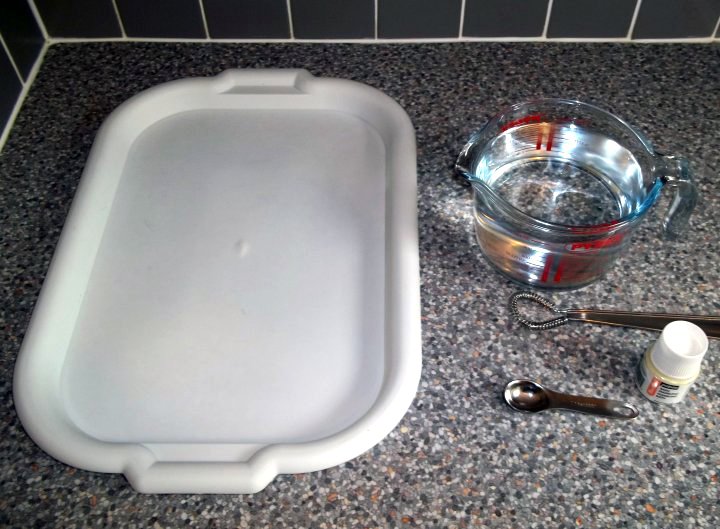
2. Following the instructions printed on your marbling bath pot mix together the powder and water until no lumps remain.
**TOP TIP - I found it difficult to mix the powder in smoothly and had to resort to using and electric whisk to get rid of the lumps. - TOP TIP**

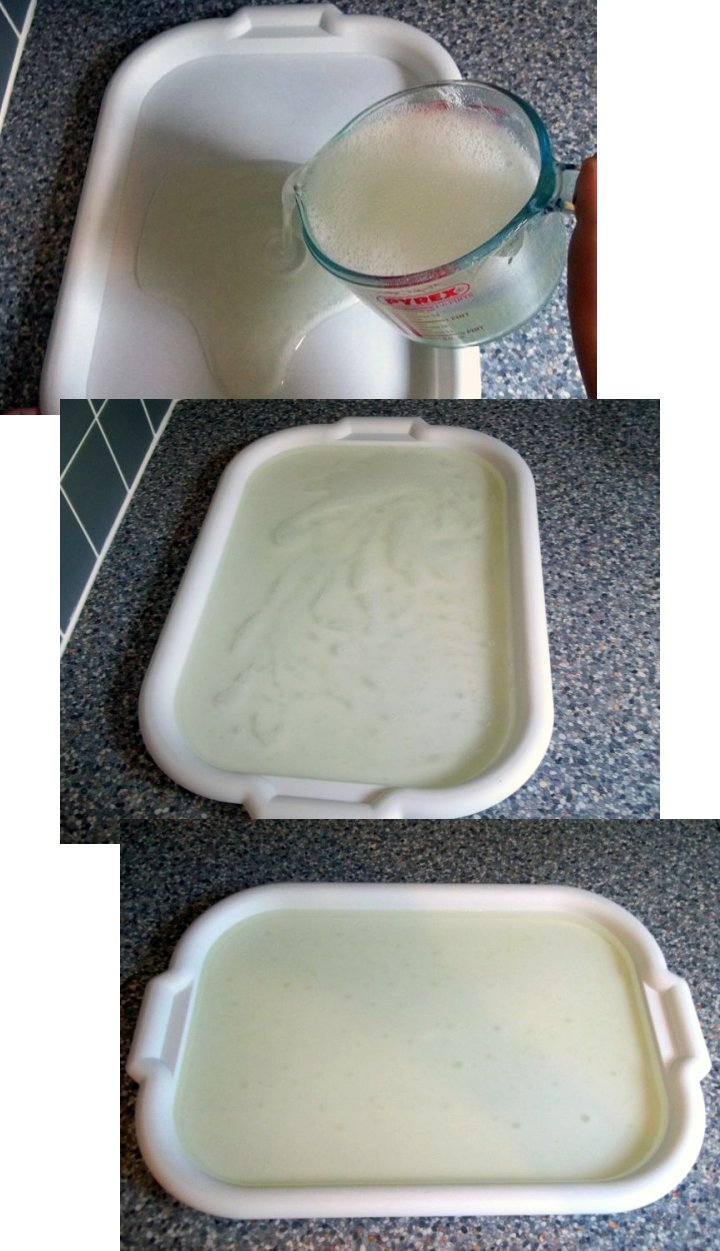
3. Pour the marbling bath into the tray and leave to rest for two hours (or as per your pots instructions).
4. Collect together your marbling bath, colours, skewers and paper/card.
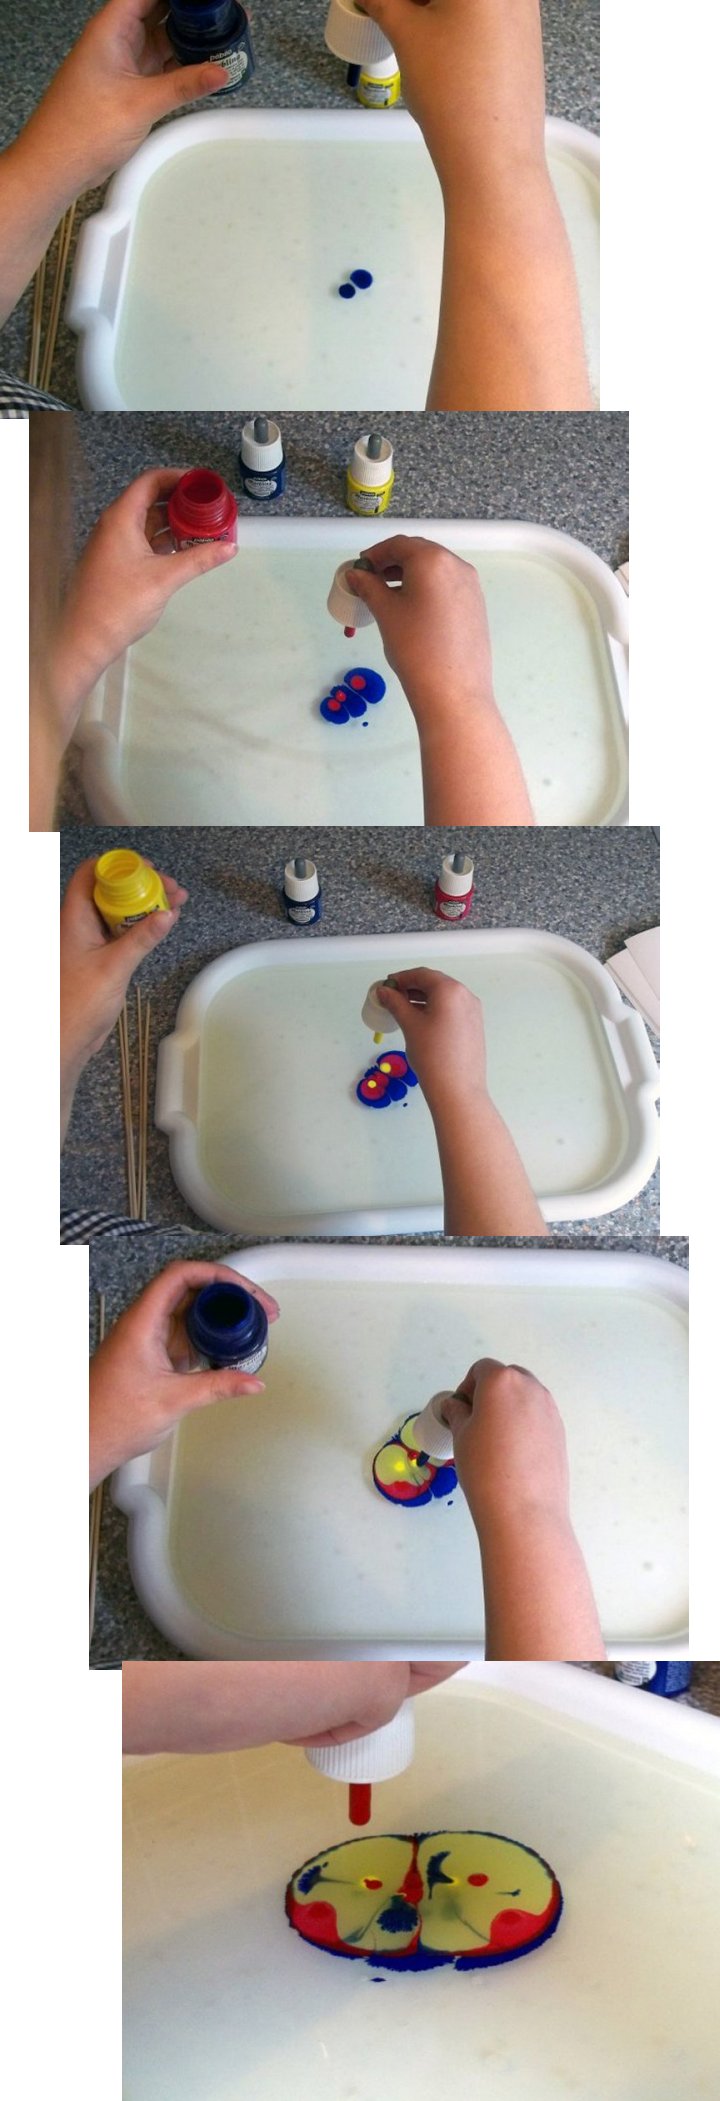
5. Place drops of colours onto the surface of the bath.
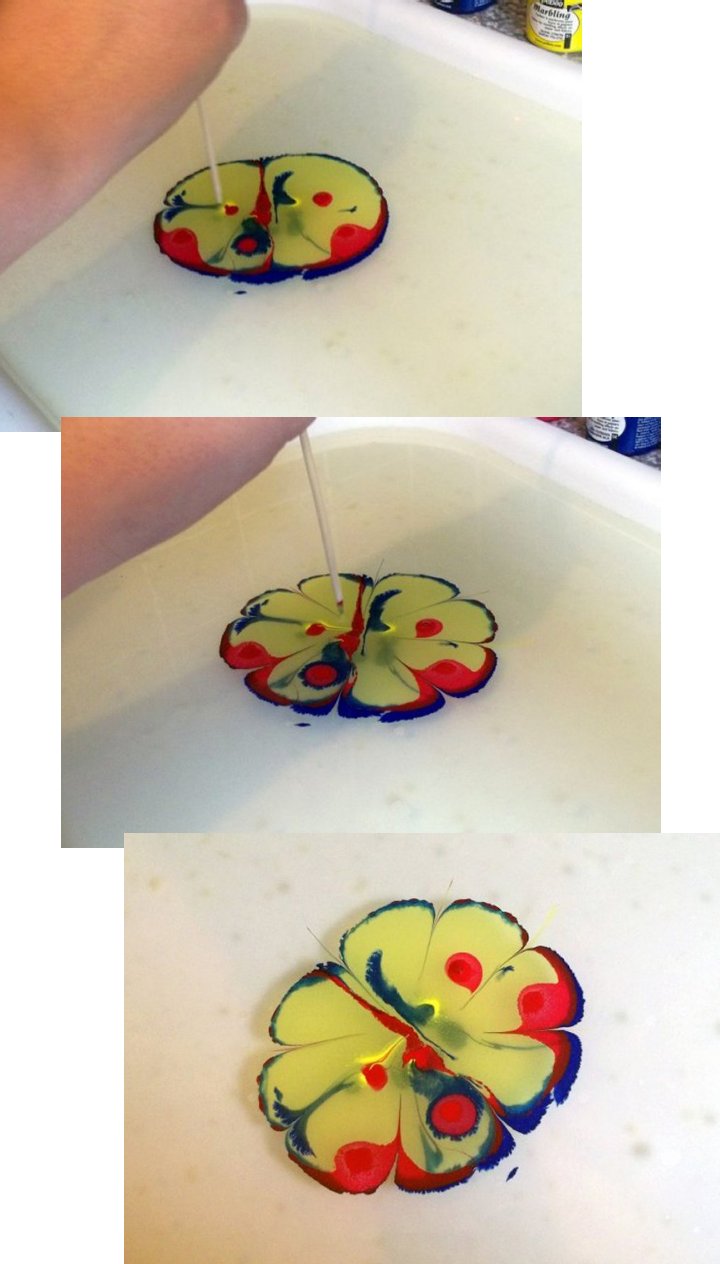
6. Using a skewer move the colours around to create patterns.
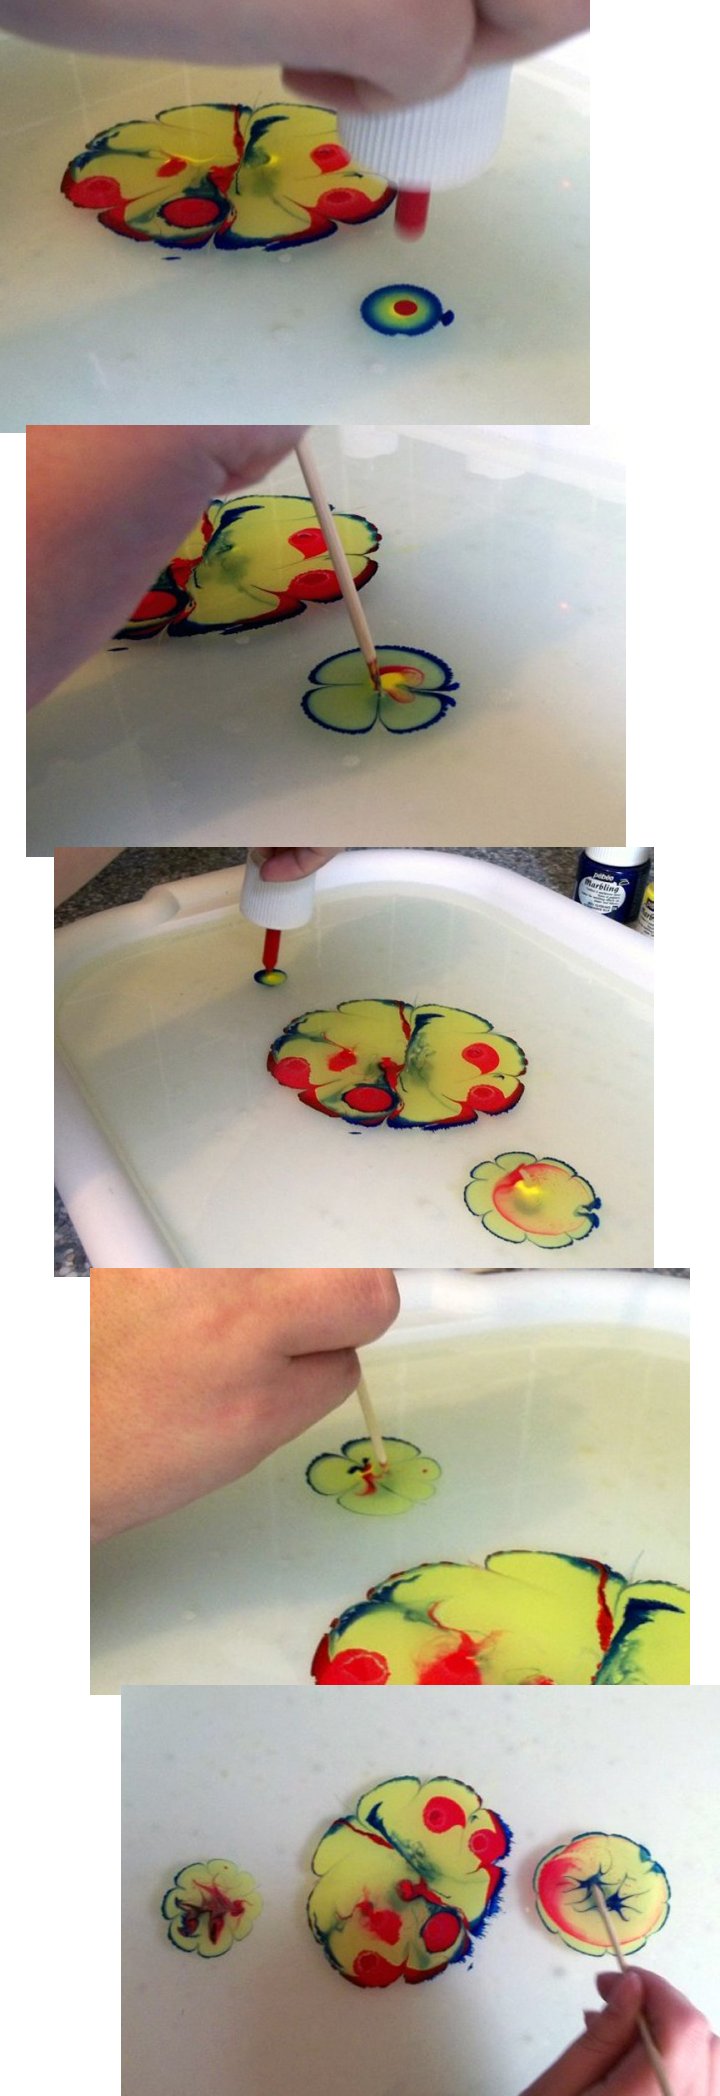
7. Continue dropping colours onto the surface of the bath and moving them around with skewers until you get a pattern you are happy with.
8. Gently press paper/card onto the coloured surface.
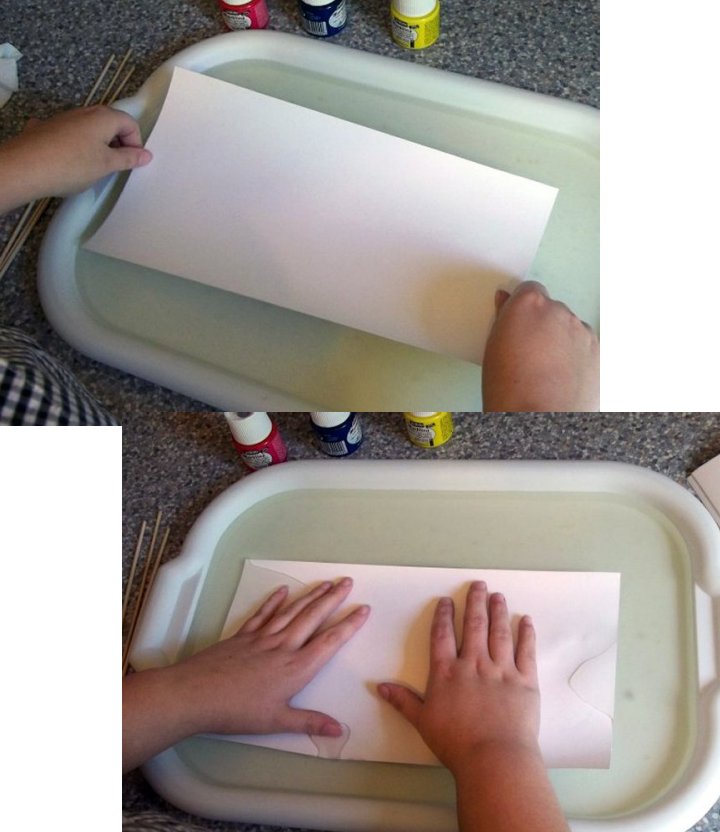
9. Carefully lift the paper/card away from the surface.
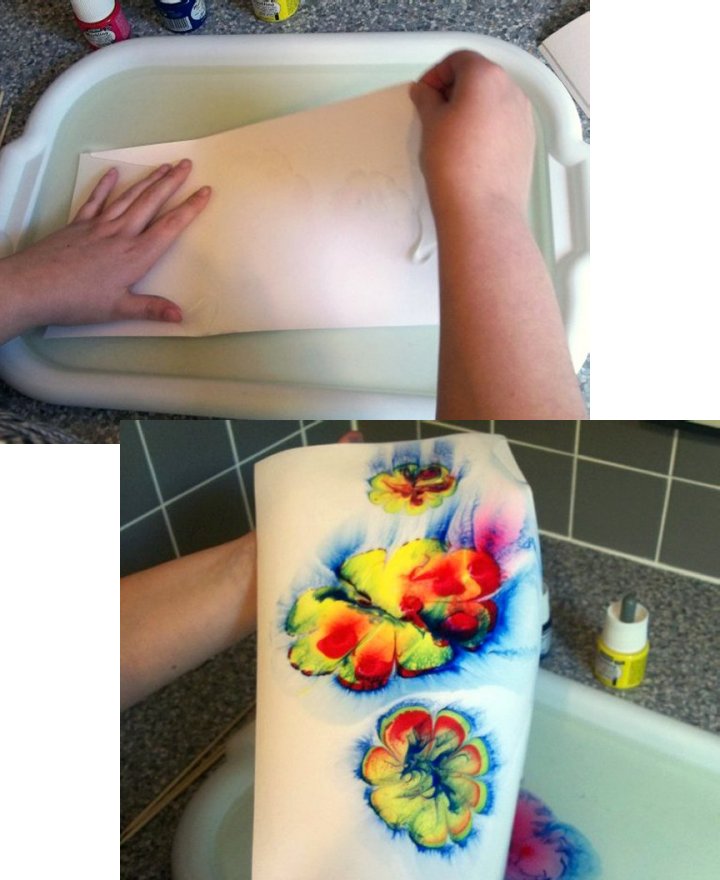
10. Rinse gently under cold running water to get rid of excess colour and bath residue.
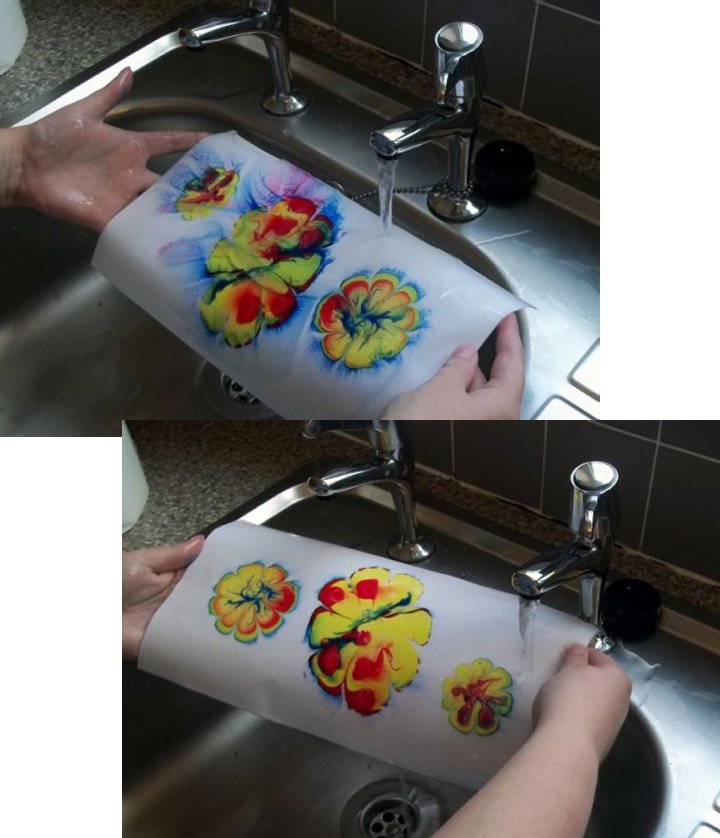
11. Leave to dry on newspapers or hang to drip-dry (I made a make-shift line in my kitchen, tying string between two cupboards).
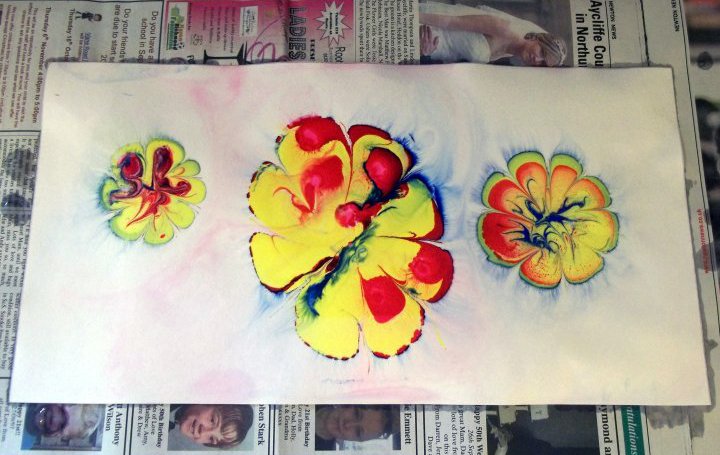
12. You can continue to re-use the bath to make more marbling patterns. Drop in the colours, move them around with a skewer and press the paper/card onto the surface, then rinse and dry as before.

13. Once dry the marbled paper/card is ready to be used in any paper/card craft project, or you could even just frame it and have your marbling as a piece of art.
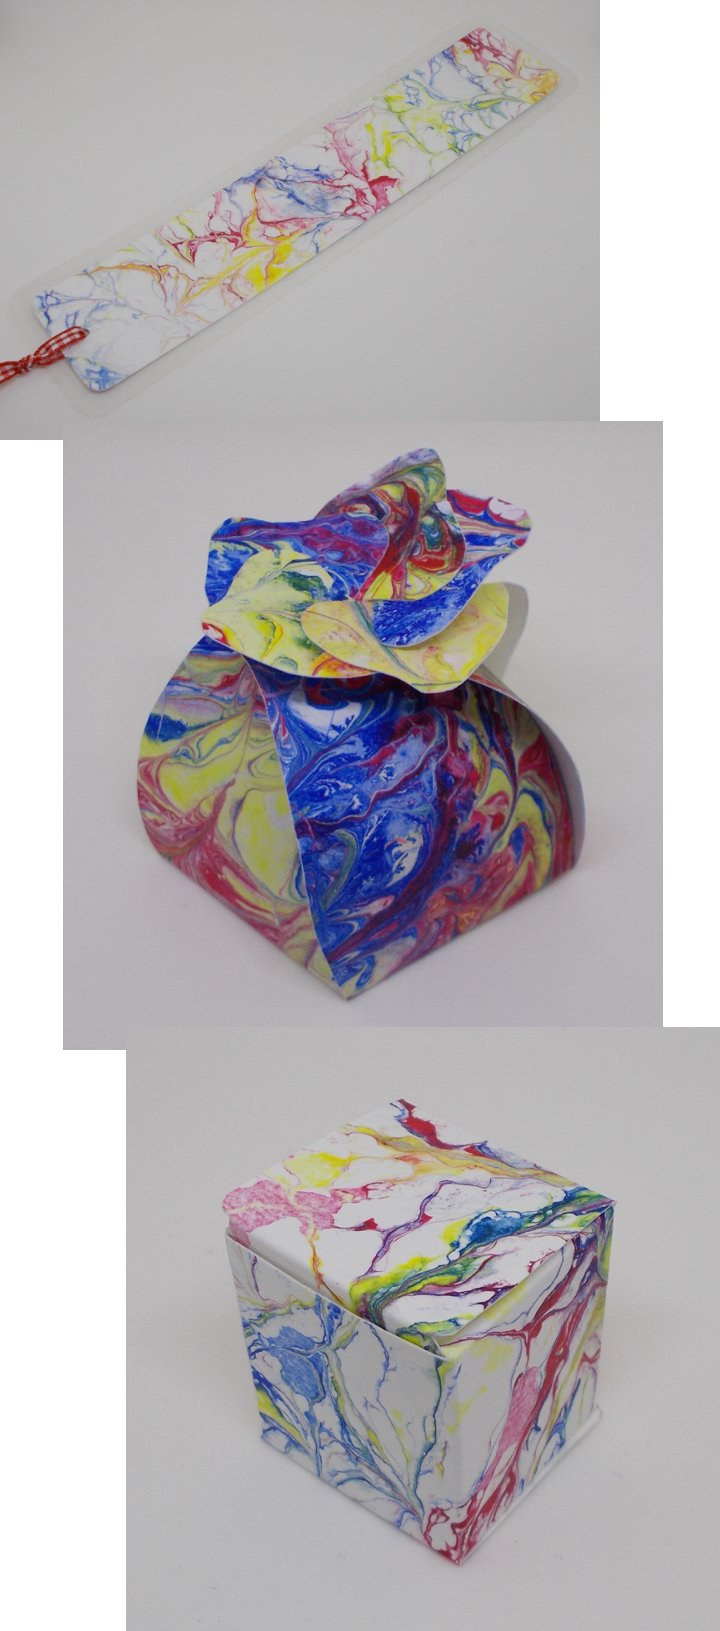
Here are links to the bookmark, flower-topped box and a mini box from the advent calendar project that we have made using the marbled card:
Back to the Painting and Pictures menu...


